
YT-1300 Kestrel |
|
By John Klein |
|
|
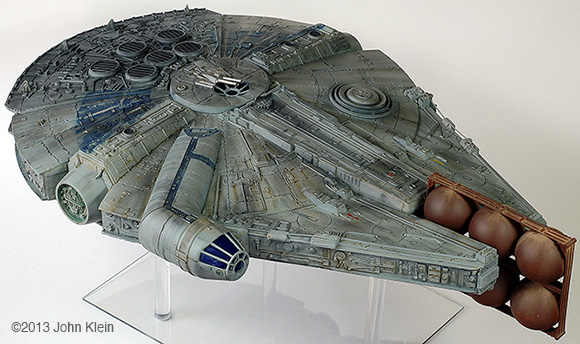
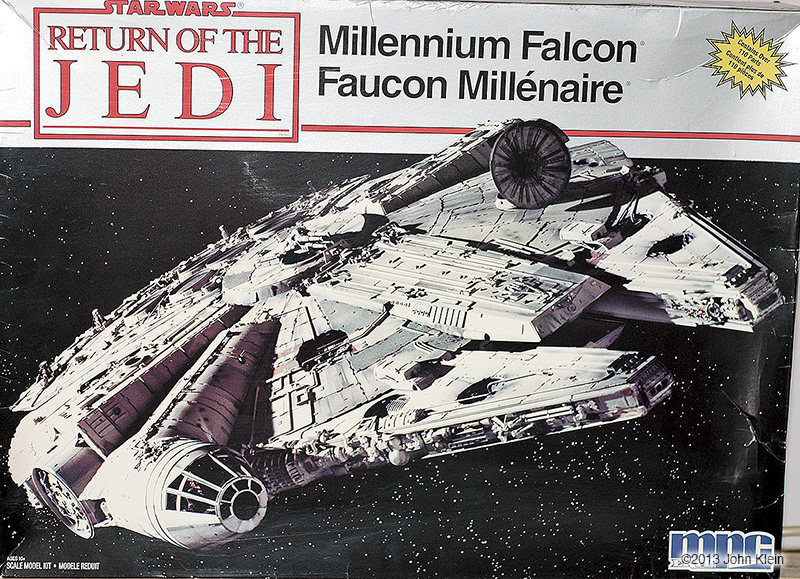
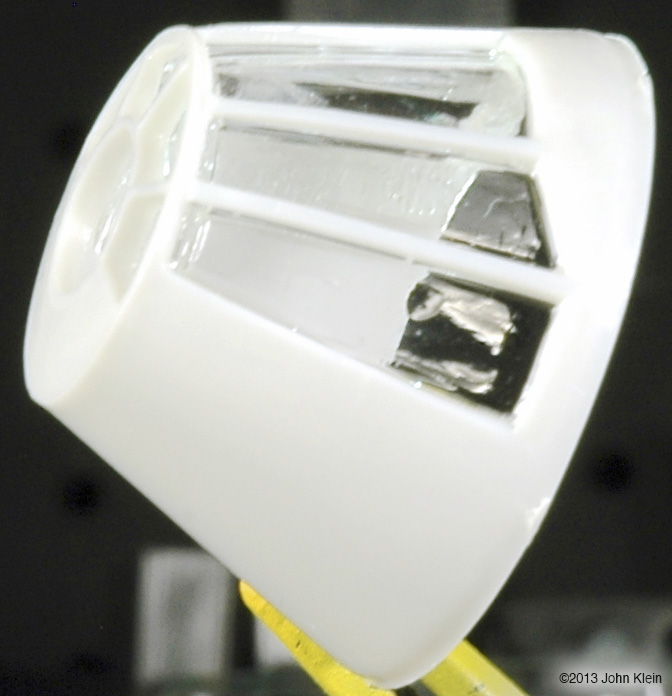
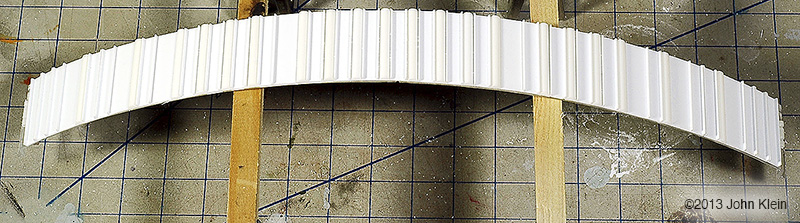
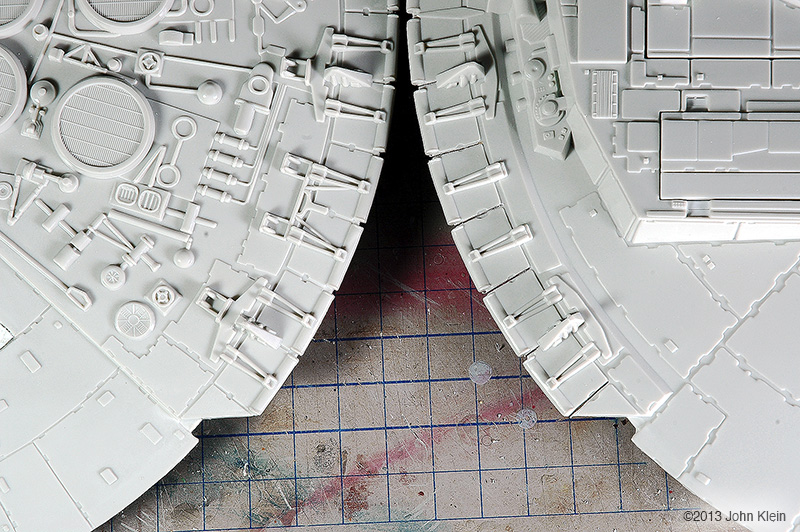
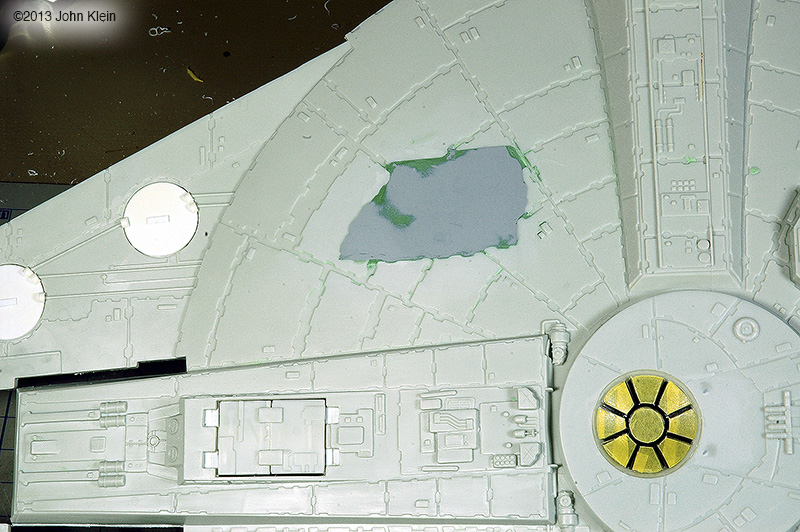
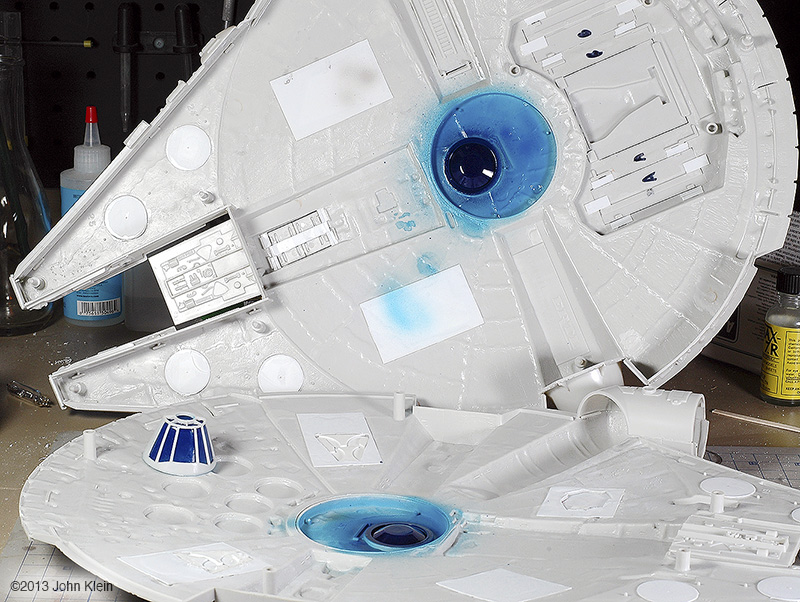
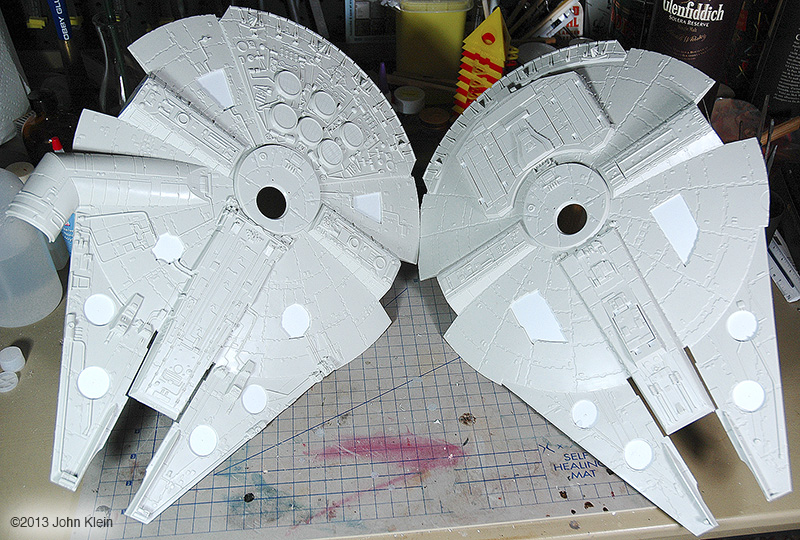
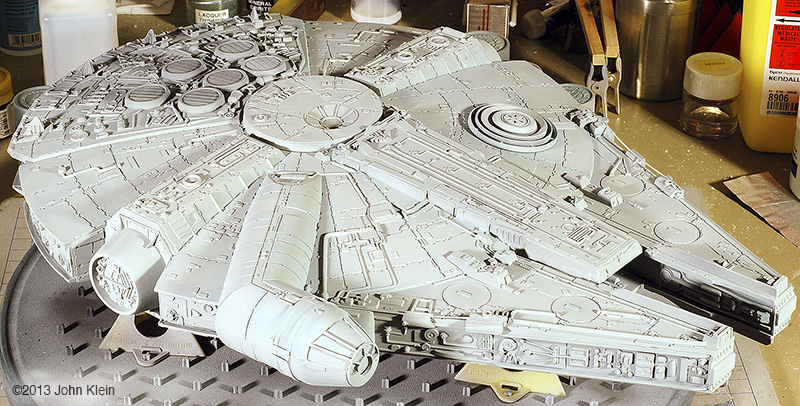
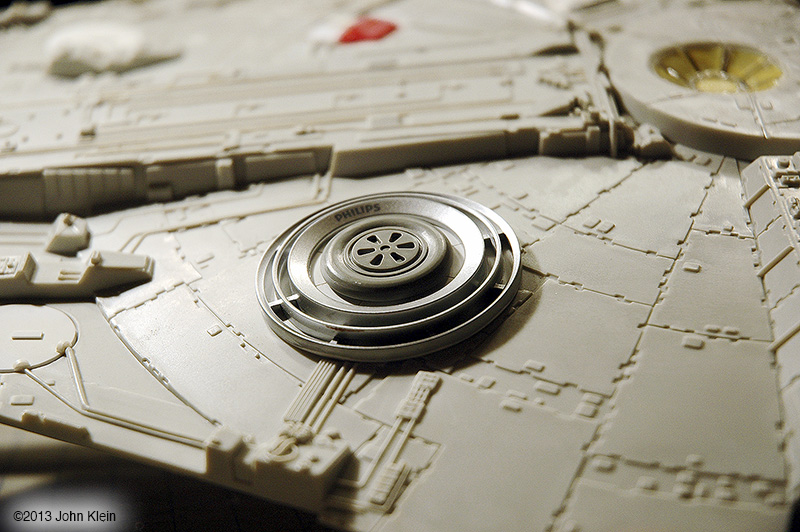
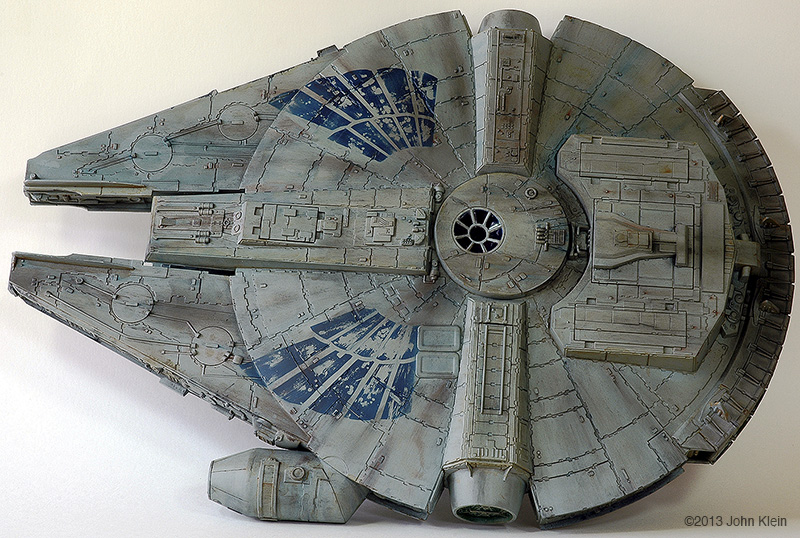
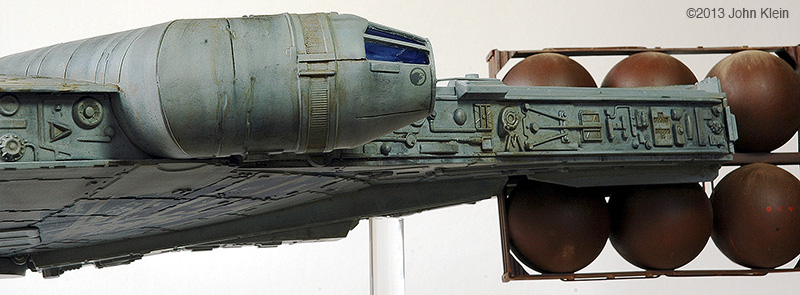
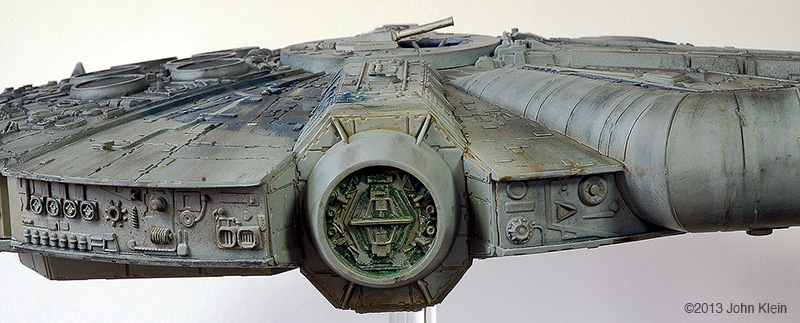
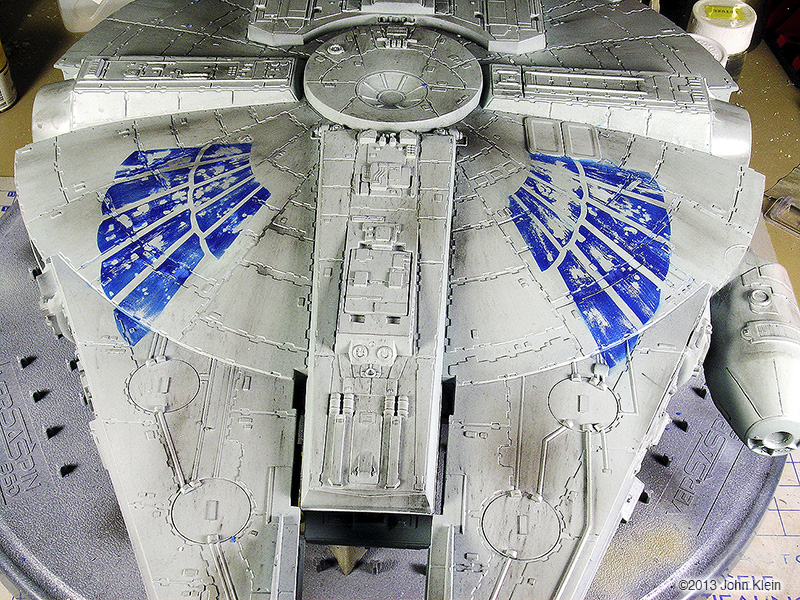
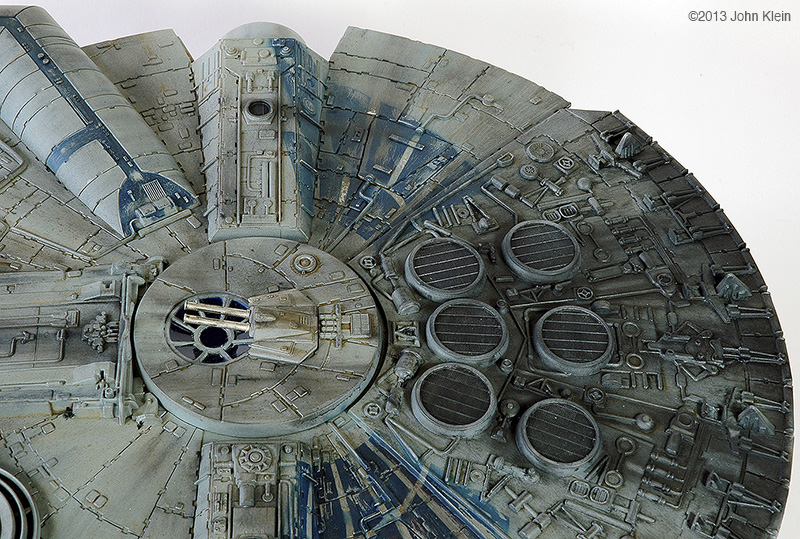
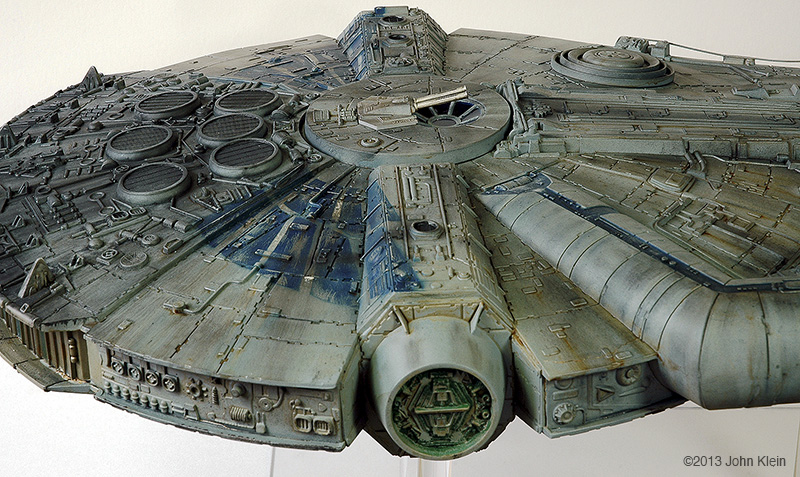
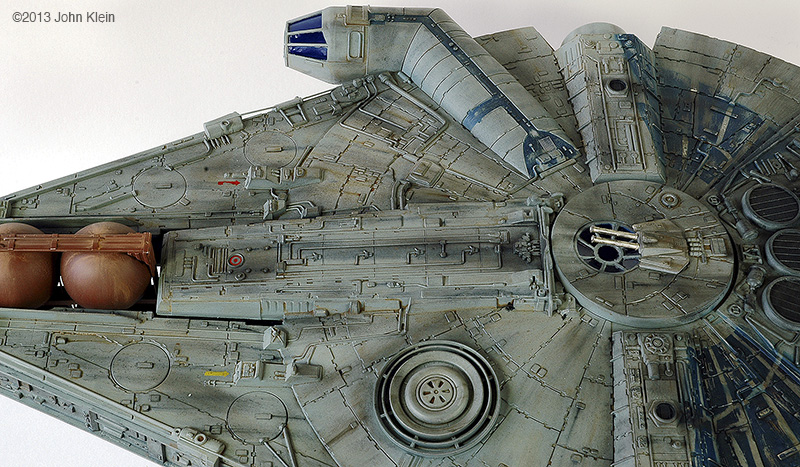
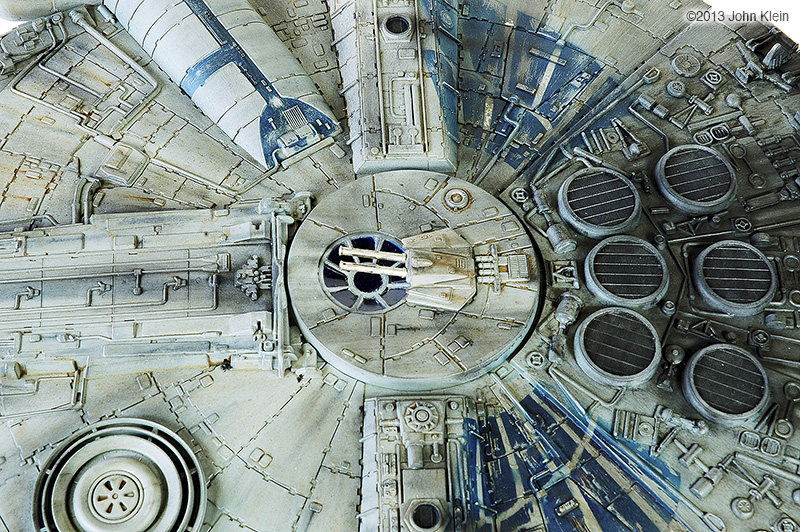
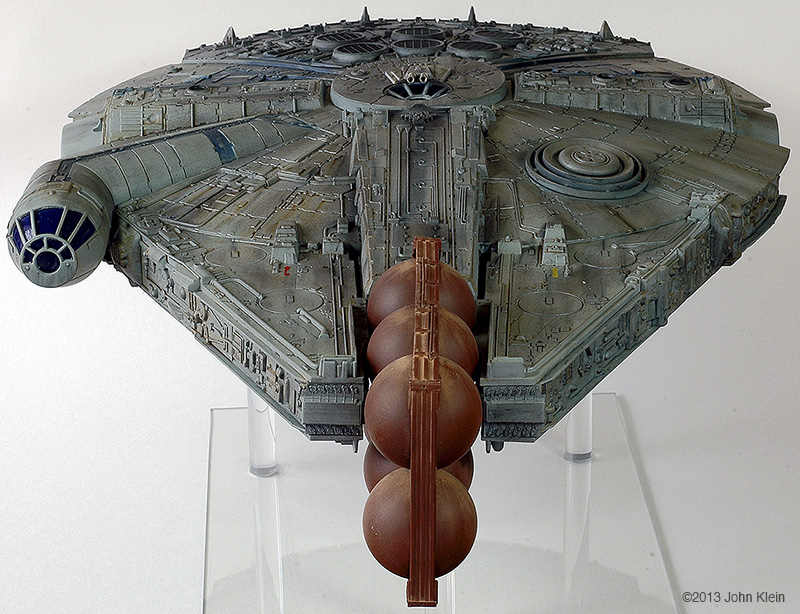
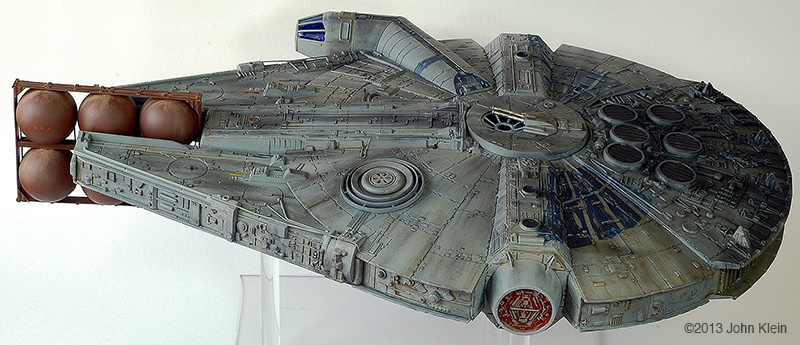
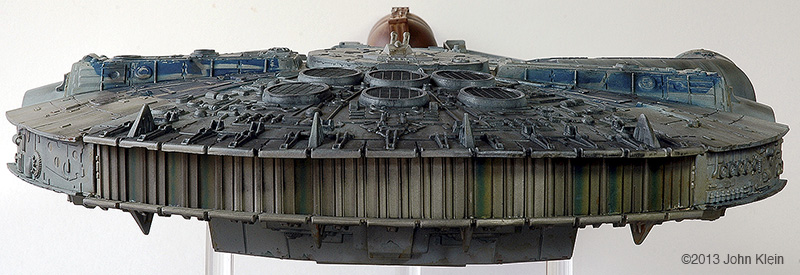
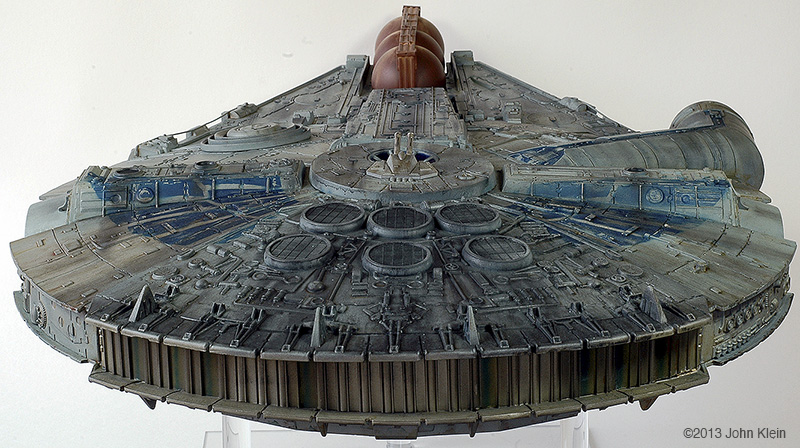
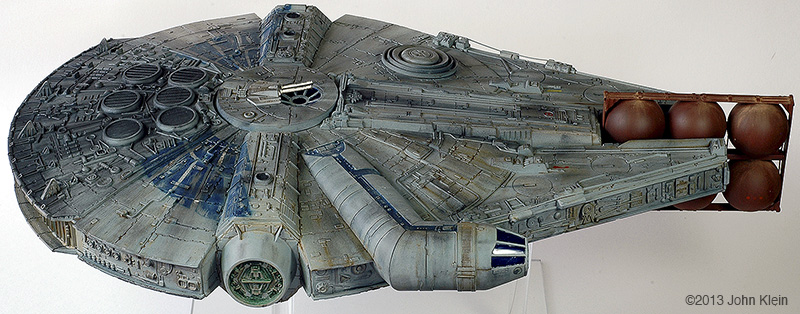
I was looking for a quick-and-dirty build so I took AMC/ERTL's 1/72-ish scale Millennium Falcon kit out of my stash. I've been avoiding tackling this beast due to the vast amount of work involved to make it accurate. Therefore, I decided not to go for accuracy, but instead to build it into a YT-1300 other than Han Solo's iconic Millennium Falcon. In keeping with the avian theme, I named this one The Kestrel. Access Panels & Sensor Dish: There are no canonical references as to what an un-modified YT-1300 looks like so I figured my guess was as good as any. I started by covering all the open access panels with panel covers and hull plating. I backed all the open panels with scrap styrene and then glued closed covers in place. I also replaced the vertical scanner dish with a flush-mounted sensor array. The ringed array is actually the heat sink ring from a broken household LED bulb. Cockpit: The cockpit glazing is provided as a clear cone which fits inside the cockpit tub. The fit of these two parts is very sloppy with up to a 1mm gap between the glazing and the frame. To get rid of this gap, I applied several layers of Future over the clear part and allowed it to flow into the gap between the glazing and the frame. The cockpit exterior is also devoid of detail so I scribed some panel lines and added a few plastic discs to busy it up a bit. I didn't want to take the time to build the cockpit interior so I sprayed the inside of the windows with several layers of clear blue to hide the missing interior. I also used this method for the dorsal and ventral hull windows. Engine Outlet: The kit part for the engine outlet is just a smooth piece of curved clear plastic, designed to be lit from within. I went a different route and detailed the outside of the kit part with alternating pieces of half-round and u-channel styrene. The engine outlet control flaps are molded in the kit as a solid continuous piece; I used a razor saw to separate the individual flaps.
|
|
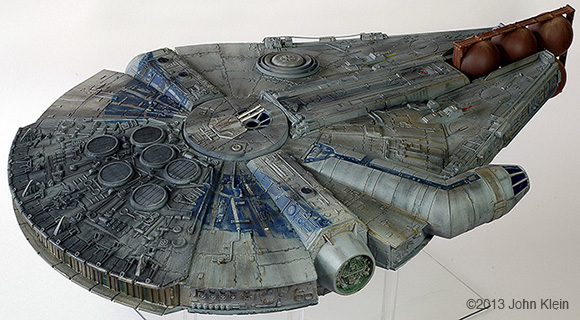
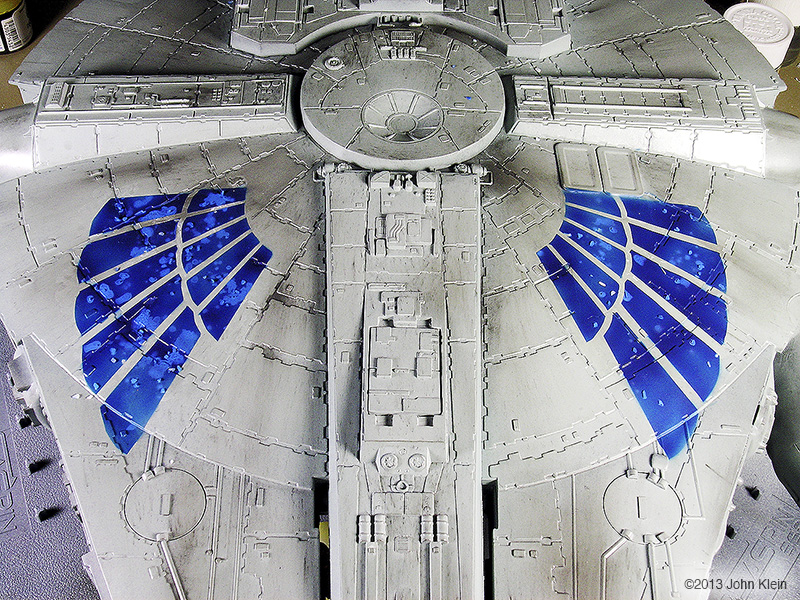
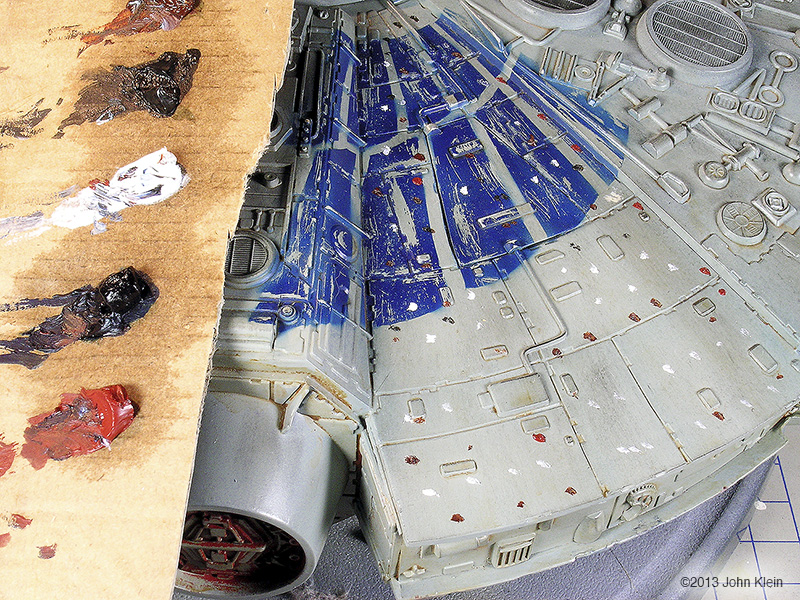
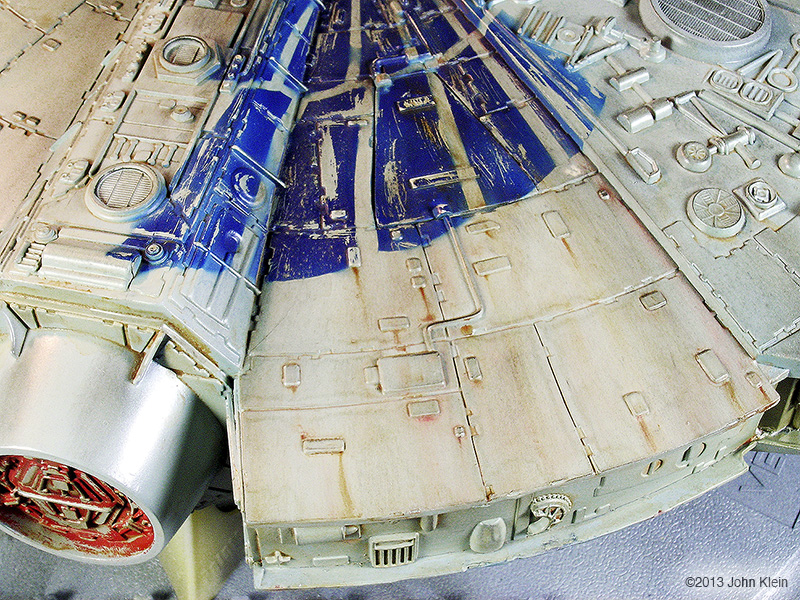
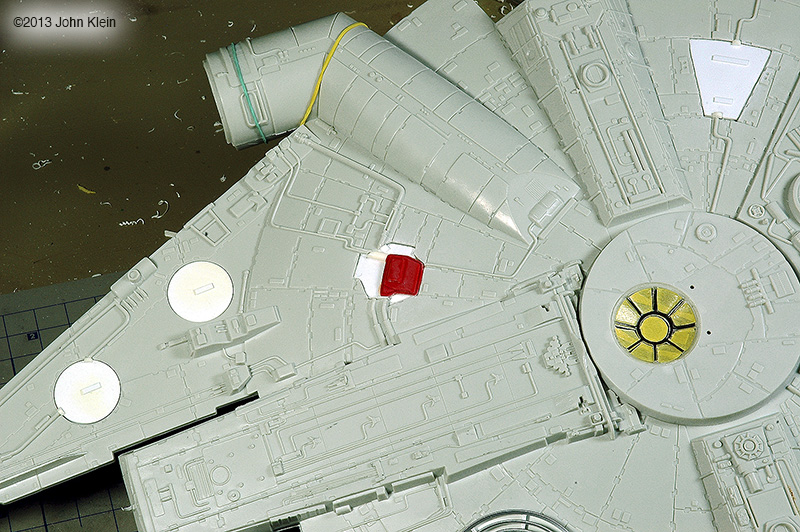
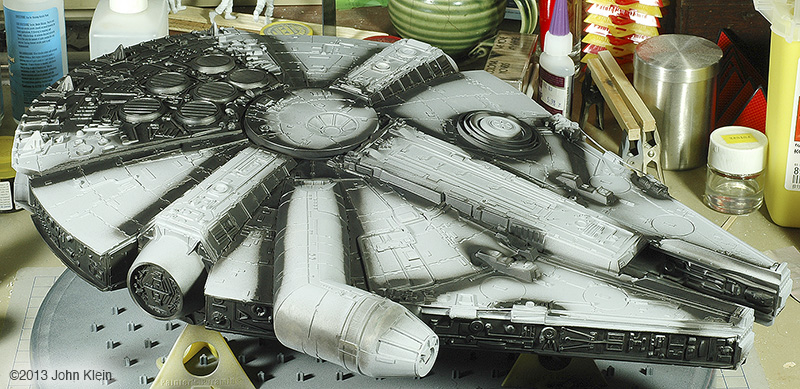
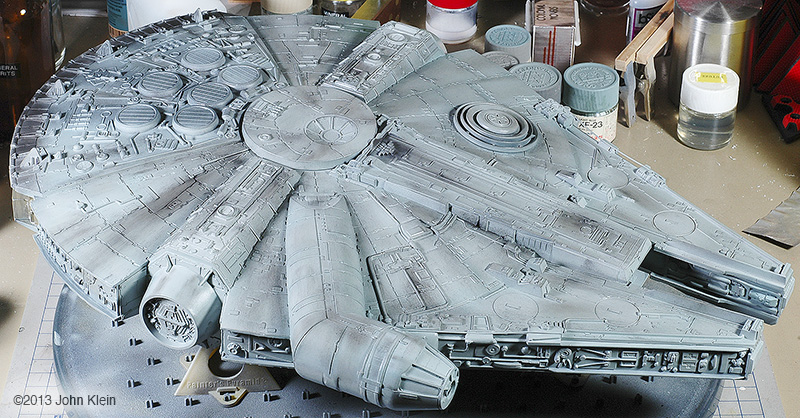
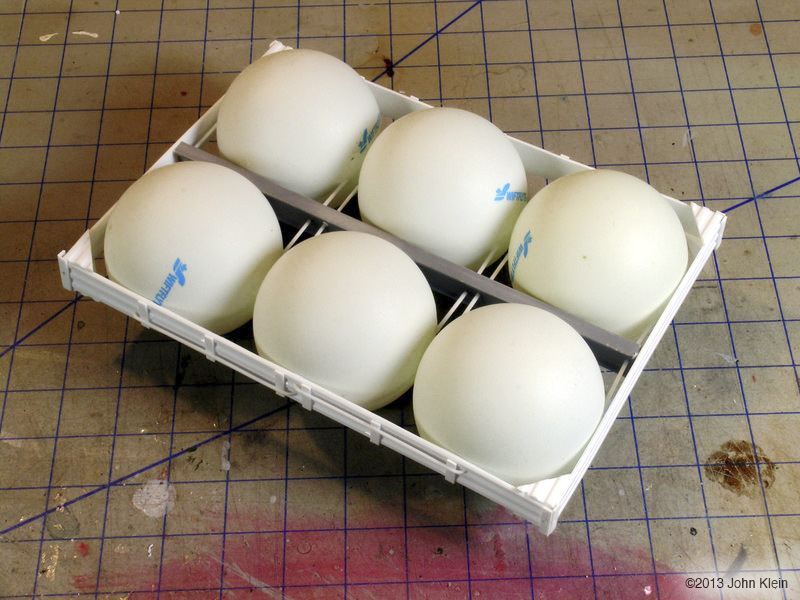
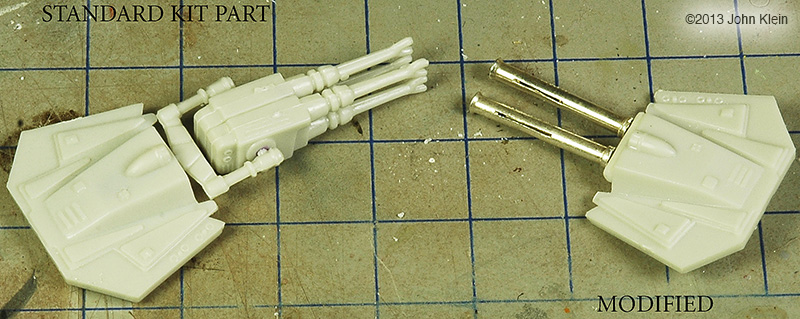
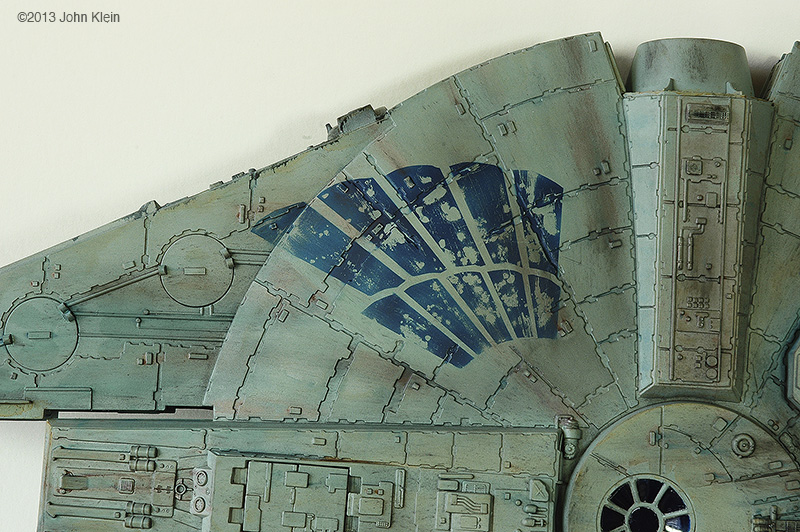
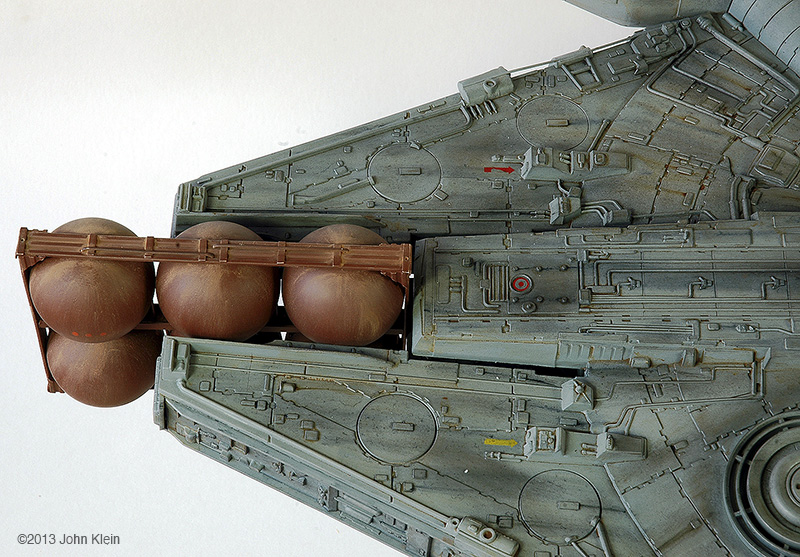
Turret: I found some reference material which indicated that the Millennium Falcon was the only YT-1300 to be outfitted with quad-barreled dorsal and ventral turrets; the stock configuration being a double-barreled dorsal turret only. I re-built the dorsal turret and filled in the mounting holes where the ventral turret was to be attached. Painting: After priming with Rustoleum Painter's Touch Sandable Primer (from a spray can), I pre-shaded all the recessed areas and the engine deck with Tamiya flat black acrylic. I wanted the model to have a slight bluish tinge so I mixed together 2/3 Tamiya sky gray and 1/3 Tamiya light blue and sprayed the entire hull. I then added a few drops of flat white to this mix and sprayed the centre of each hull panel. Tamiya royal blue was added to the base colour to darken it and this colour was sprayed into the recessed areas and along the panel lines. In keeping with the avian theme I wanted to apply wings as hull markings. A Google search came up with a suitable image which I printed onto frisket and cut out to create a mask. I wanted to try using the hairspray weather technique here, so after attaching the mask to the model I applied a layer of hairspray and a few grains of salt. After the hairspray had dried, I sprayed Tamiya royal blue over the masked area. Before the paint cured (about as long as it took to clean my airbrush), I attacked the painted area with an old toothbrush and some water. The water softened the underlying hairspray layer and created a realistic worn/faded paint finish. I also used this method for the blue strip along the top of the cockpit walkway. Weathering: When using a wash for weathering, I always apply a gloss coat of Future prior to applying the wash. I feel this helps the wash flow better along the model's surface and eliminates puddling. That being said, I tried something a little different this time and applied pigment powder before I sprayed the gloss coat. As this model was going to be heavily weathered anyway, I thought that I could always cover it up if I didn't like how it looked. I'm pleased with the result and I thing that applying an initial layer for pigment powder gives the weathering more depth. After giving the gloss coat a few days to dry, I added a few random stencil decals and a decal of a kestrel as nose art. I then applied washes of black, burnt sienna, and gray in various thin layers until I was happy with the result. I also used a technique involving the application of many small dots of oil paint which are then blended together with a soft brush moistened with thinner. This technique allows for a great deal of control as to how much colour goes where and also makes achieving a streaked finish easy to accomplish: simply brush in the direction to want the streaks to go. A few pin washes and a little dry brushing and the weathering is complete. Cargo Pod: I wanted to add a removable cargo pod to fit between the front mandibles. I did this to make the model look a bit different and also to hide the lack of detail on the mandibles' interior surface. Six ping-pong balls and some strip styrene came together to make a convincing cargo pod for .... Tibanna Gas? Fuel? Spice Smuggling? I enjoyed building this model. I was looking for something to do with my old AMT/ERTL Falcon kit now that the more accurate Fine Molds version is available and I think this fit the bill nicely. In Progress Image: The Box Image: Clamps Image: Cockpit Glazing Image: Weathering Image: Dot Filter Image: Dot Filter Streaked Image: Engine Grill Image: Energy Compressors Image: Filling Image: Filled Image: Clear Blue Image: Mandible Openings Image: Other Openings Image: Primed Image: Preshading Image: Postshading Image: Sensor Array Image: Spice Pod Image: Turret Mod Finished Image: Bottom Image: Ventral Markings Image: Front Image: Cockpit Image: Cockpit Art Image: Docking Hatch Image: Dorsal Markings Image: Dorsal Wing Image: Engine Deck Left Image: Left Hatch Image: Right Image: Spice Pod Image: Top Front Image: Top Turret Image: Front High Image: Front Right High Image: Left High Image: Left High Again Image: Rear Image: Rear High Image: Even Higher Image: Right Front High Image: Right Image: Right High Image: Right Rear High |
|
![]()
Starship Modeler Home | Site Map | Gallery Main Page | Feedback
This page made possible by Starship Modeler™ - copyright © 2015.
