
USB Powered Cyborg Skull |
|
|
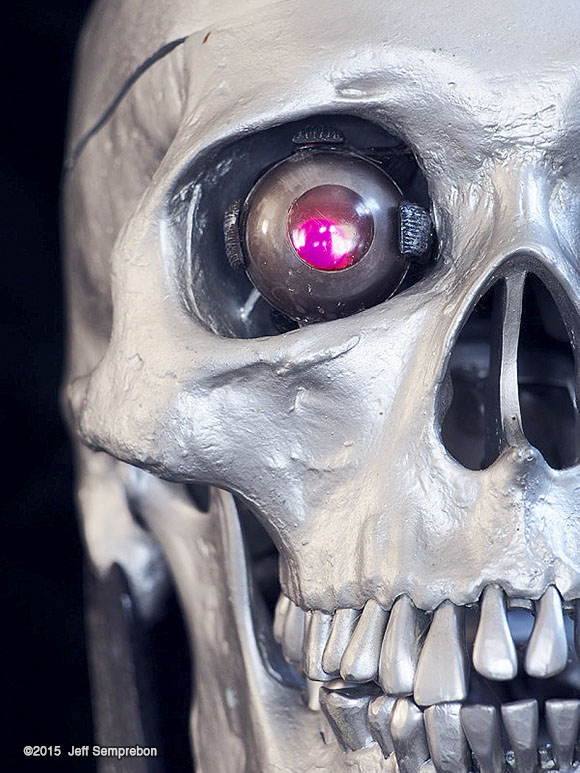
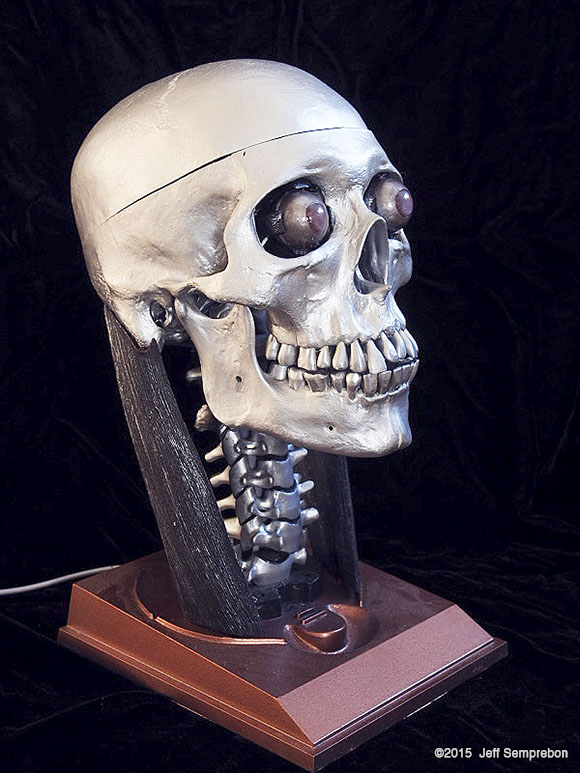
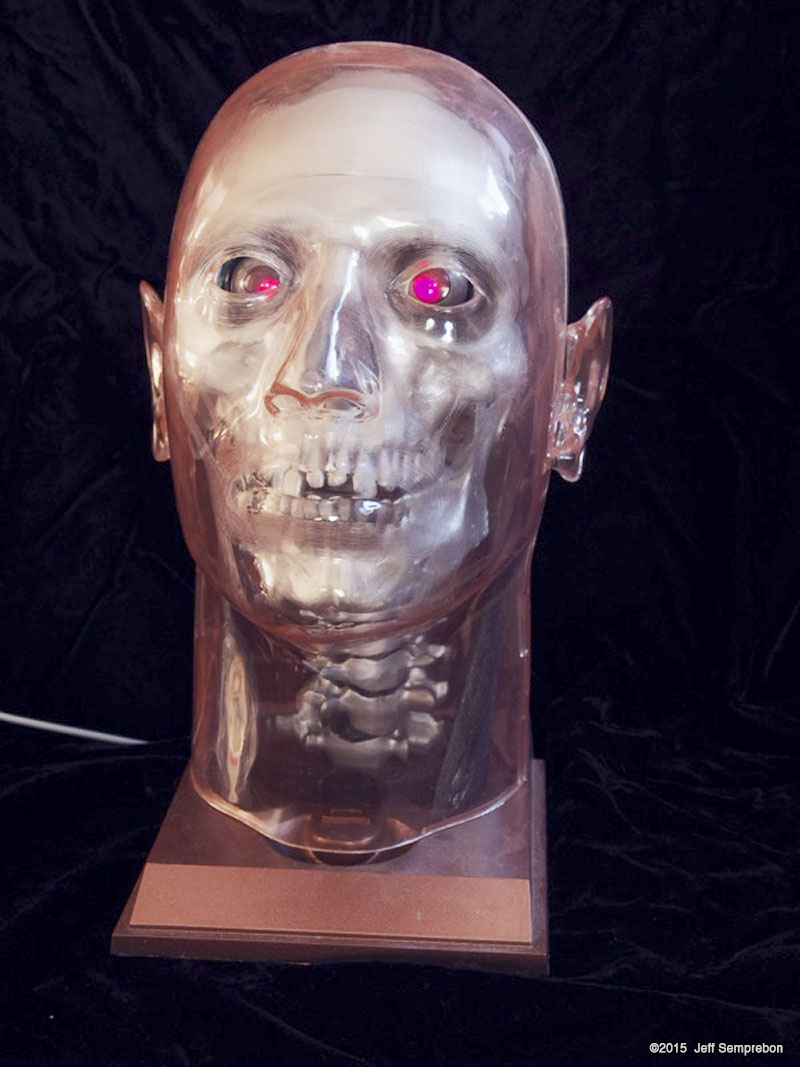
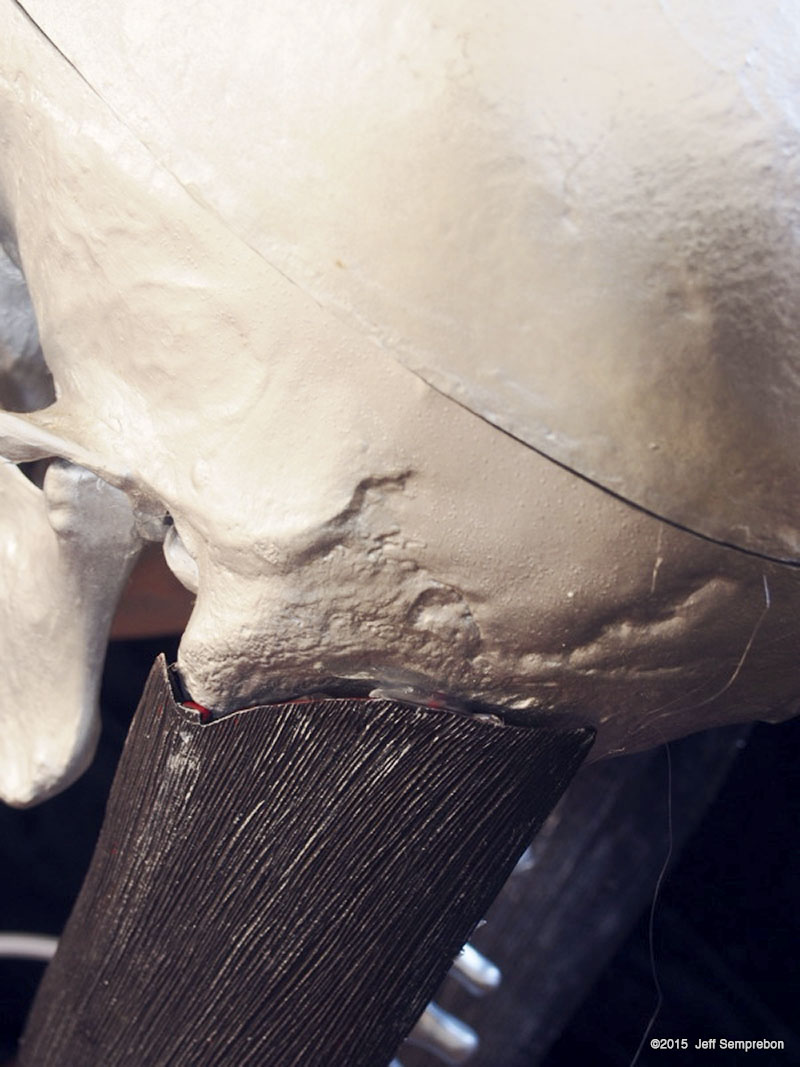
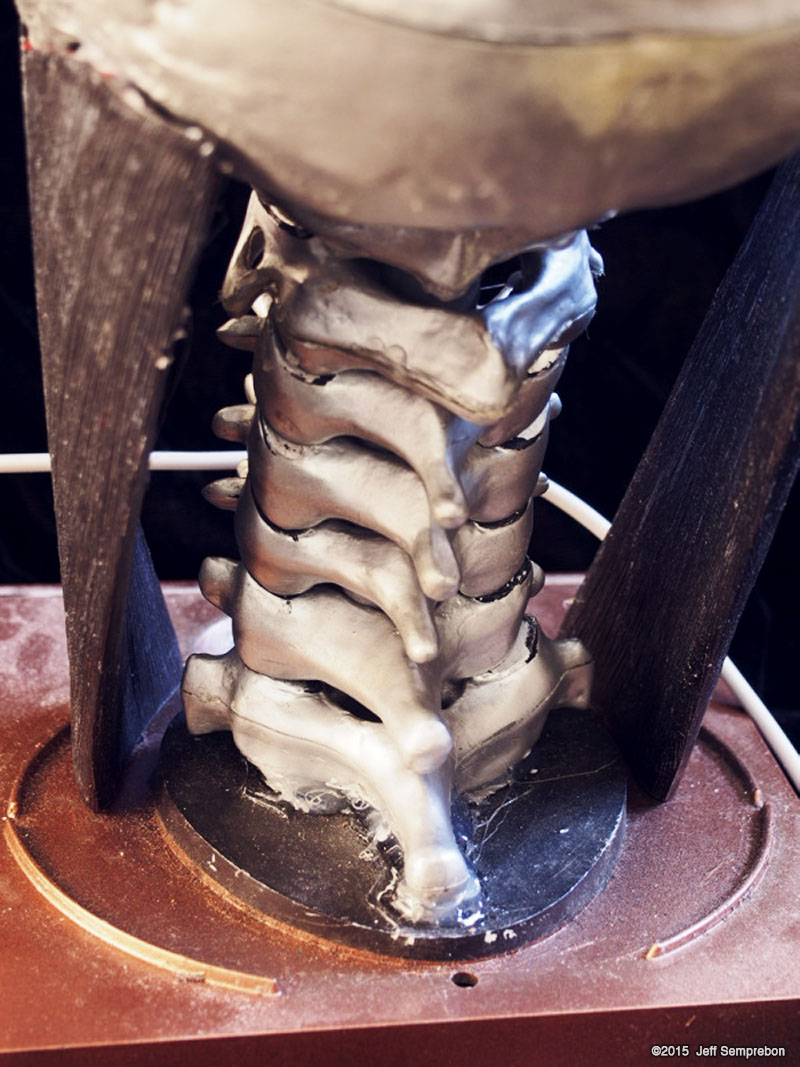
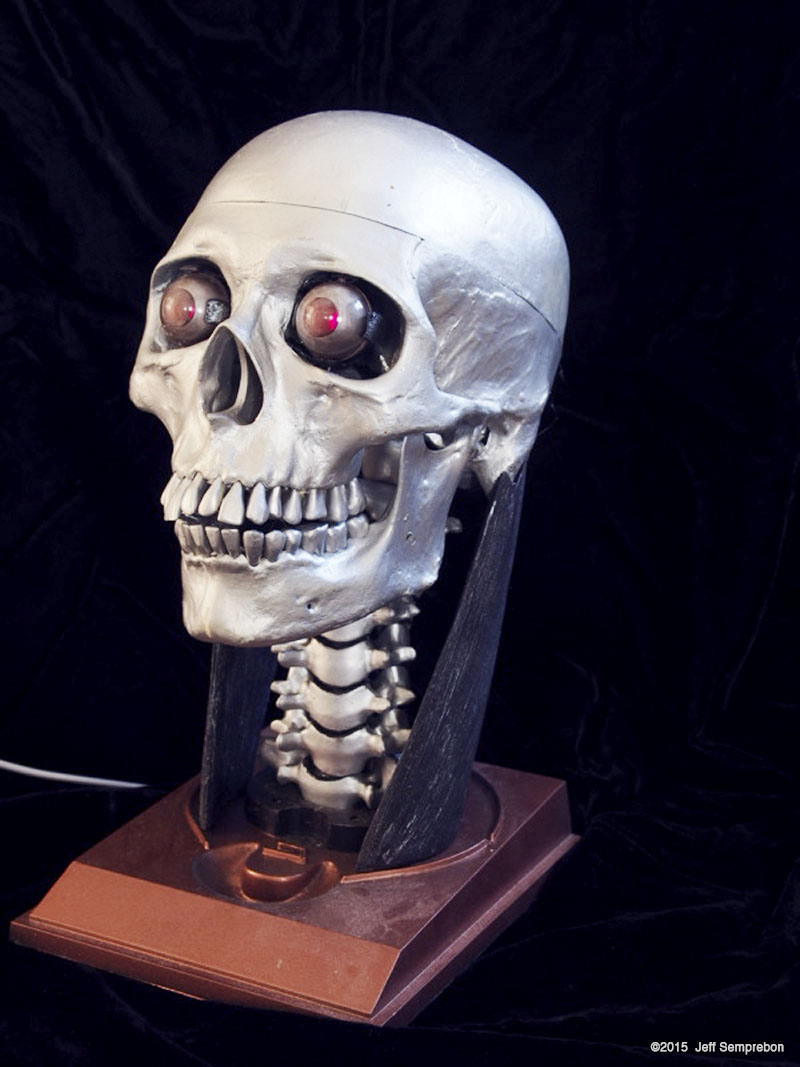
Back in the mid 1980s, the local KayBee Toy & Hobby had a load of Revell Visible Head kits on clearance. Having recently seen Terminator¯, the idea of building one with a chrome skull and glowing red eyes appealed to me. To power the eyes, leads were soldered to a couple of LEDs before they were installed and the eyes assembled (after painting the inside surfaces with a Tamiya flat metallic grey paint marker). A limiting resistor to run the LEDs at 9 volts was added, and the leads were fished down the spinal cord to a power jack in the base. The remaining parts were built as intended, the bones being sprayed with automotive chrome finish paint and the remaining parts brush-painted with acrylics. The pads on the vertebrae were also painted with black acrylic. The LEDs were not well positioned in the eyes, yielding a cross-eyed effect, and the spinal cord piece proved too fragile to support the skull for long before breaking off during a move. The head went into storage for several years. I recently pulled the head out and decided to restore it a bit, including rewiring it to run off a 5 volt USB port. For a start, old power jack was removed and the base was repainted with Krylon Fusion "Hammered Copper"¯ spray paint (a sort of instant-steampunk-in-a-can). The existing wire leads were used to fish the cut-off end of a cheap USB power cable through the spinal cord (after passing it through the hole in the base), and the protruding leads for the LEDs were connected to the cord in series with a 330 Ohm resistor to provide about a 20 mA current at 5 volts. Since the spinal cord piece was broken, the vertebrae were glued to the base and to each other with (rather a lot of) low-temperature hot-melt glue to support the skull on the base. The mouth and throat pieces were left off, but the side muscles were included for additional support of the skull, again attached with hot-melt glue. The side muscles and the eye muscles were repainted in flat black acrylic and then dry-brushed with acrylic "Aluminum"¯ paint. Since the cross-eyed look had been a severe disappointment in the overall appearance, I spent some time and effort this time in positioning the LEDs in the eyes by manipulating their solid wire leads and then hot-melt gluing them in position. The hot-melt glue was again used to fix the eyes in their sockets; the aim is not perfect, but looks far better than in its earlier incarnation. For daily use, I encase it in the original clear pink shell to keep the dust off, although I think it looks better without it. Either way, it lets me know when I've held the power button on my iMac in long enough to start it powering up, and when it is shut down sufficiently that the power switch on the surge protector can be safely shut off. Image: Covered Image: Eye Image: Eyes Image: Neck Image: Spine Image: Front Left |
![]()
Starship Modeler Home | Site Map | Gallery Main Page | Feedback
This page made possible by Starship Modeler™ - copyright © 2015.
