
AMT/ERTL 18-inchť Enterprise |
|
By J. Klein
|
|
|
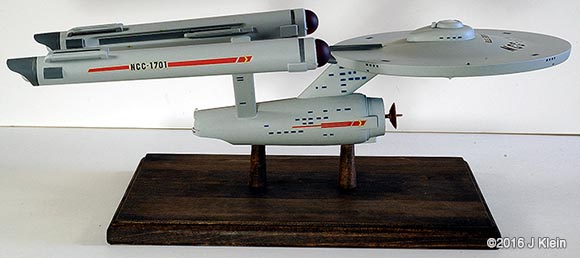
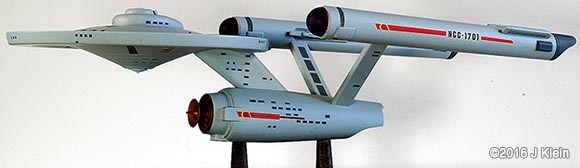
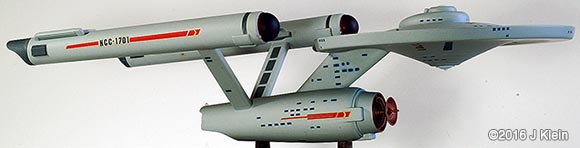
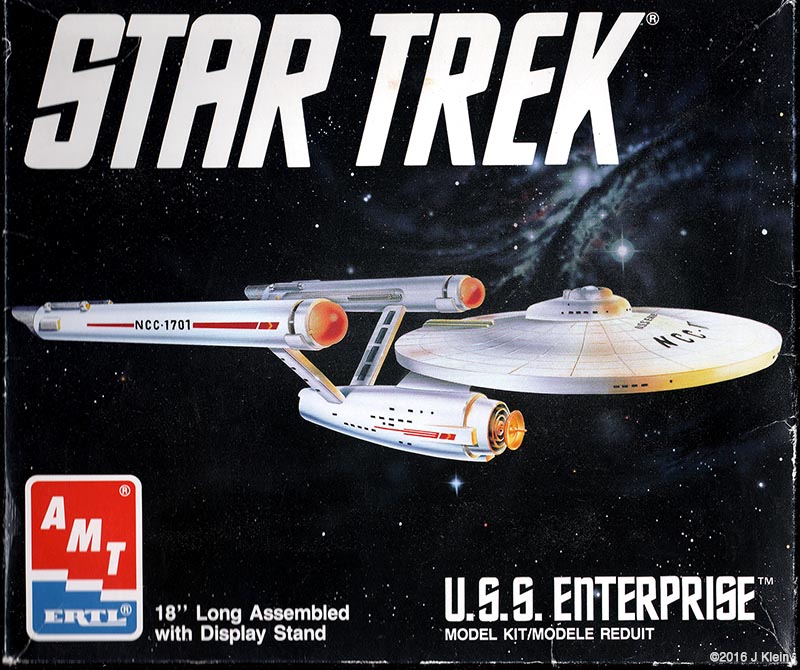
I got my hands on an old edition of the venerable 18-inch (1/537 scale)ť Enterprise (no bloody A, B, C, or D); this is a re-release from the '90s put out by AMT/ERTL. Which way to go? There is always much debate regarding how accurate one wishes to make this model. The kit itself has some inherent problems, and then there are the weathered/unweathered, panel lines/no panel lines, light placement, bridge shape, restored/unrestored paint job debates¦ the list goes on. I chose to build mine to be accurate to what 8-year-old me gaped at on the television screen; also keeping it old school, I wanted to build this kit with a minimum of alterations. Sort of like what 8-year-old me built, only with the benfit of patience, experience, no tube glue, and an understanding of what modeling putty is for. |
|
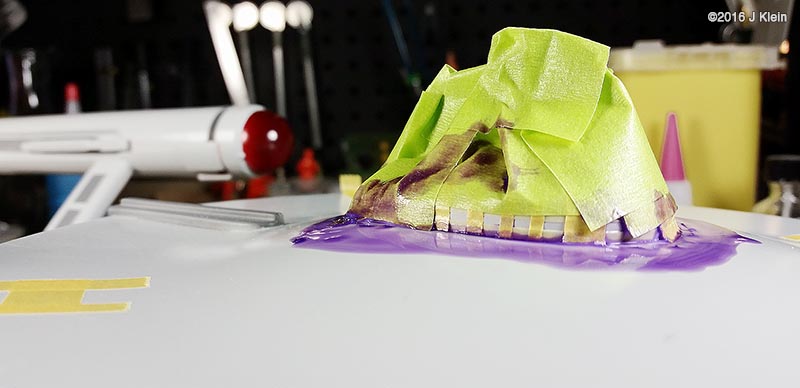
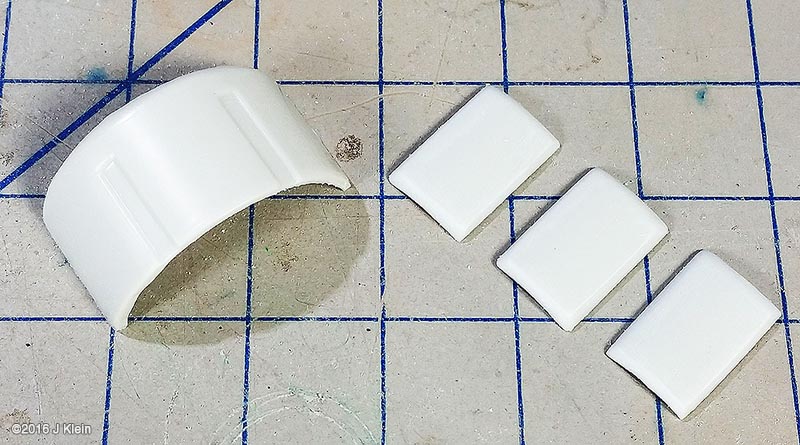
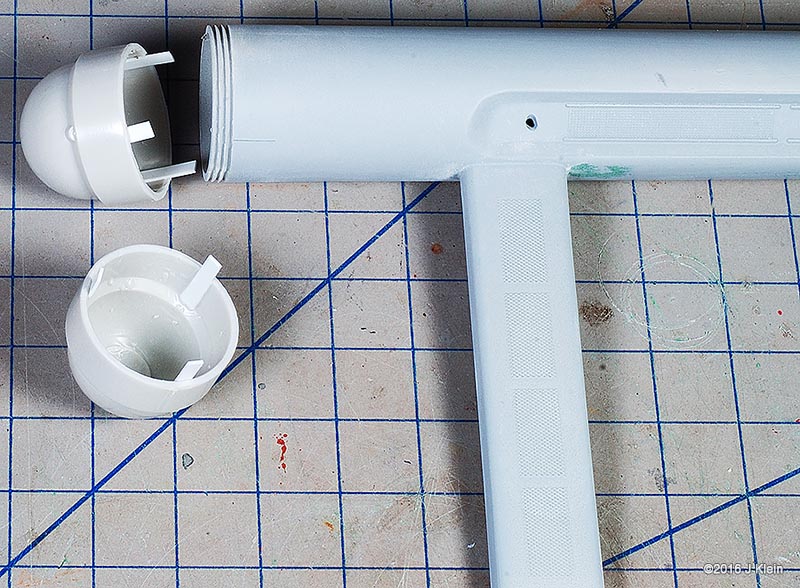
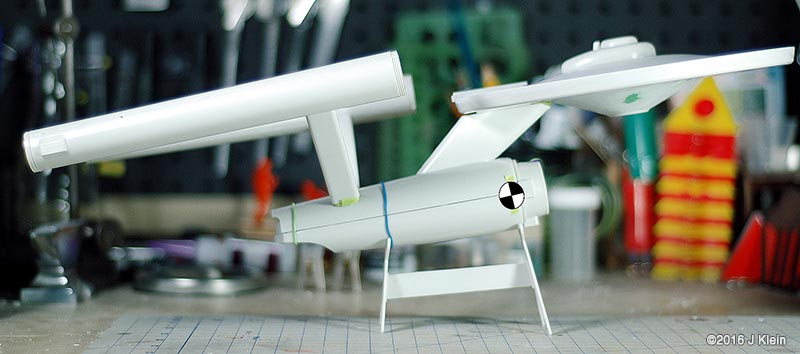
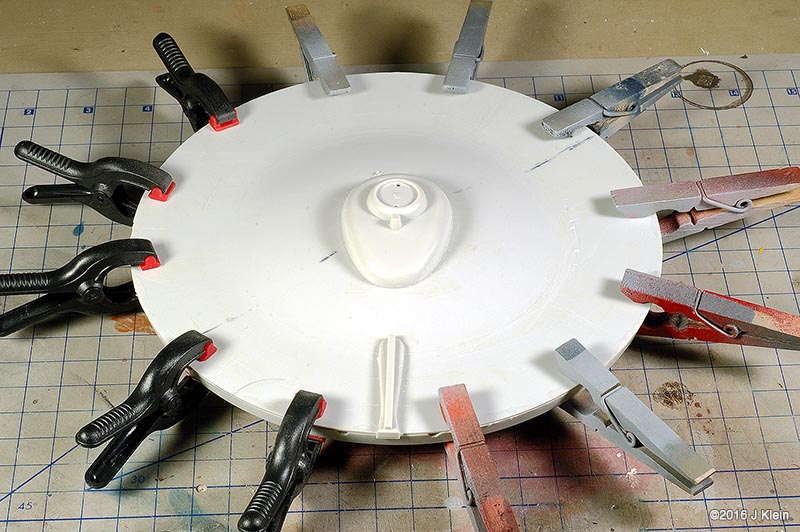
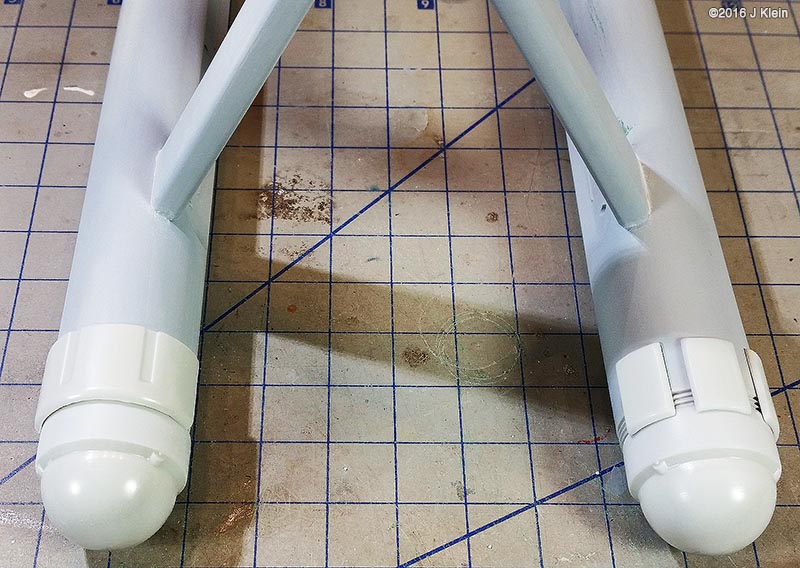
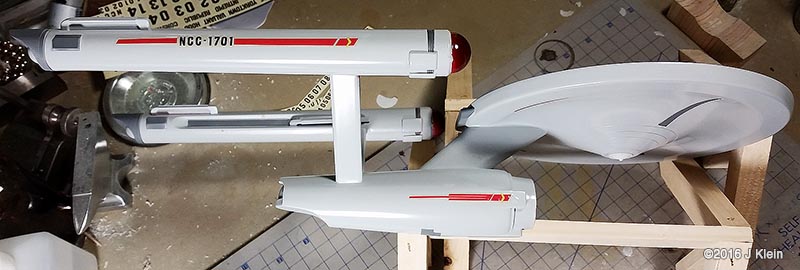
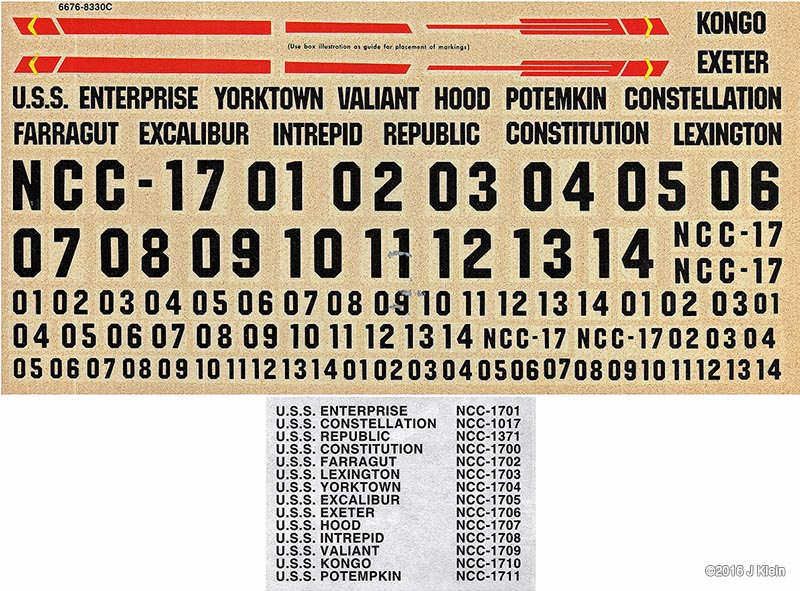
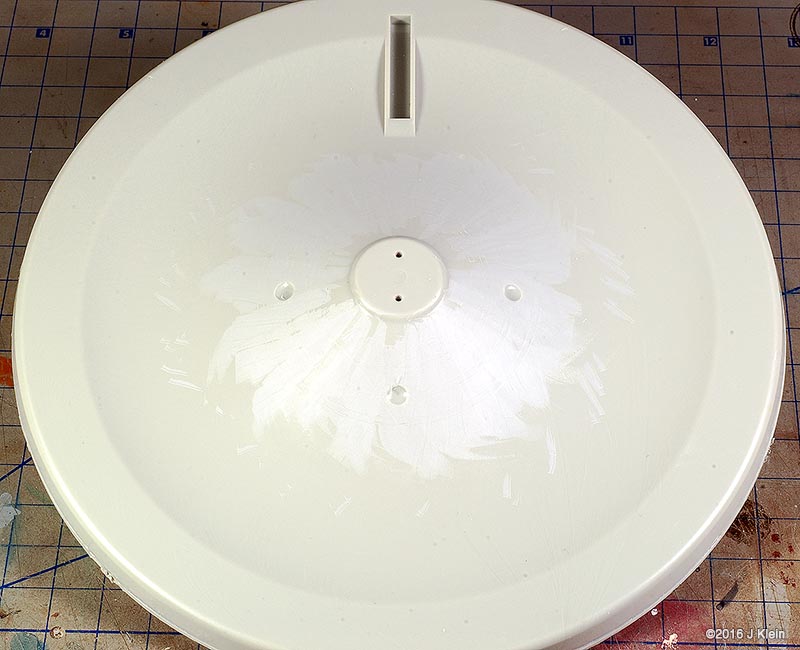
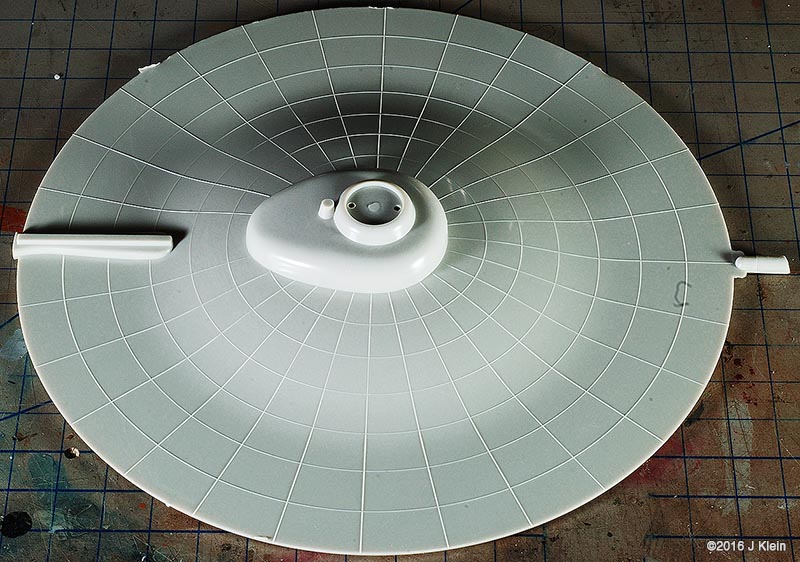
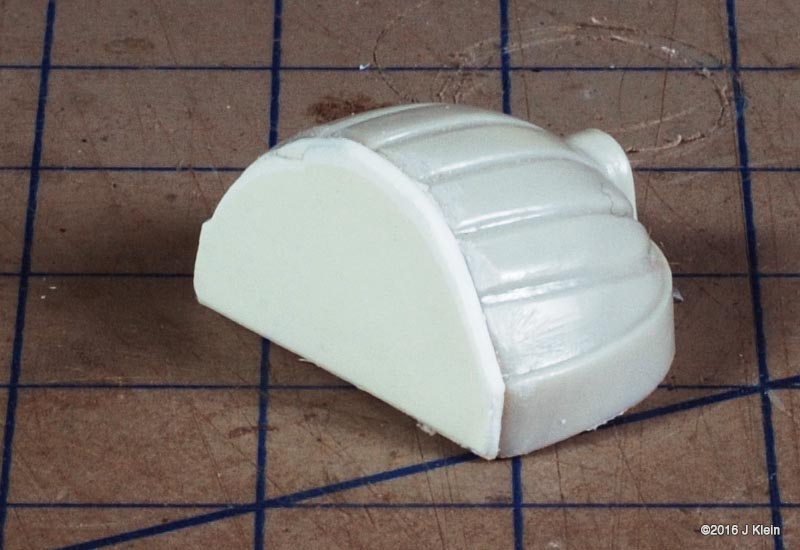
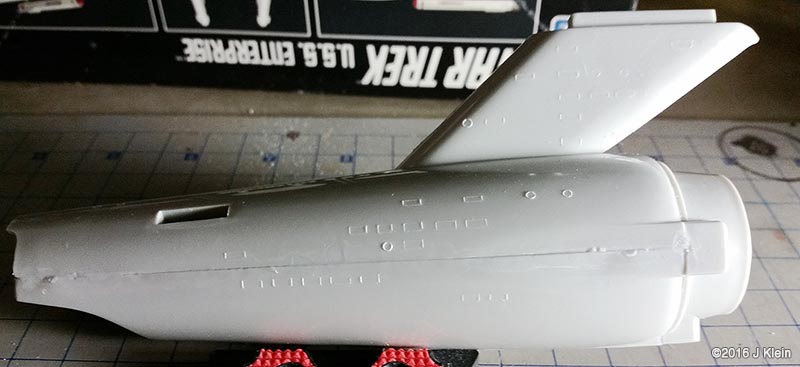
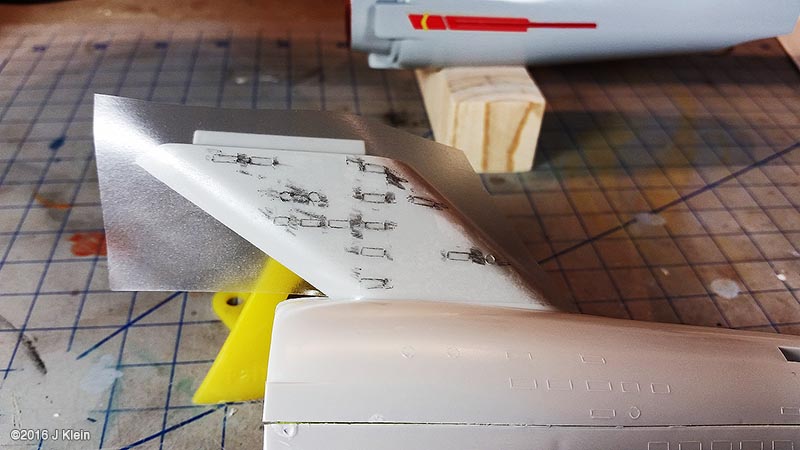
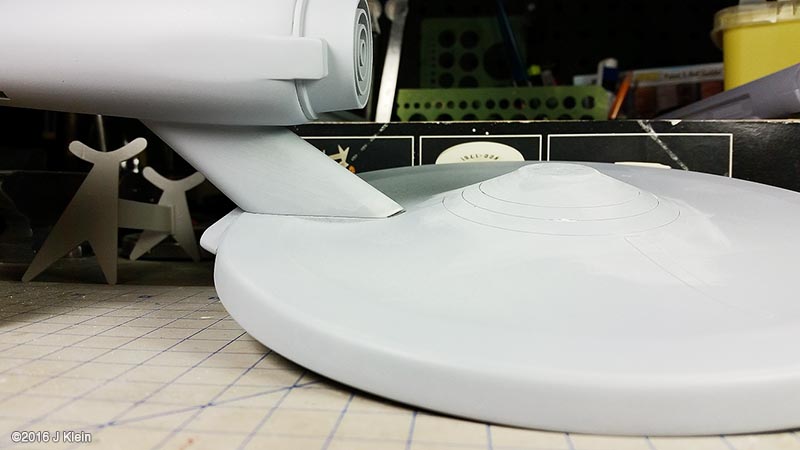
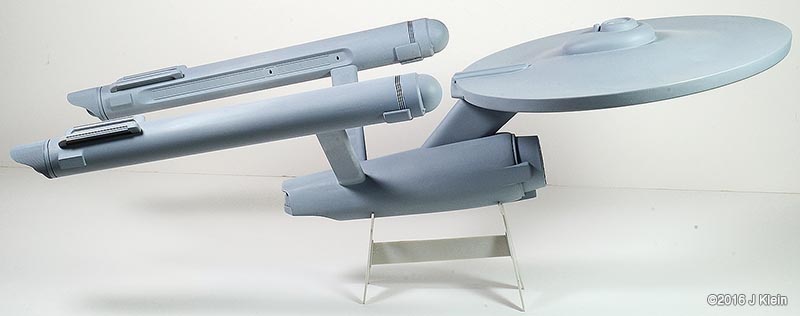
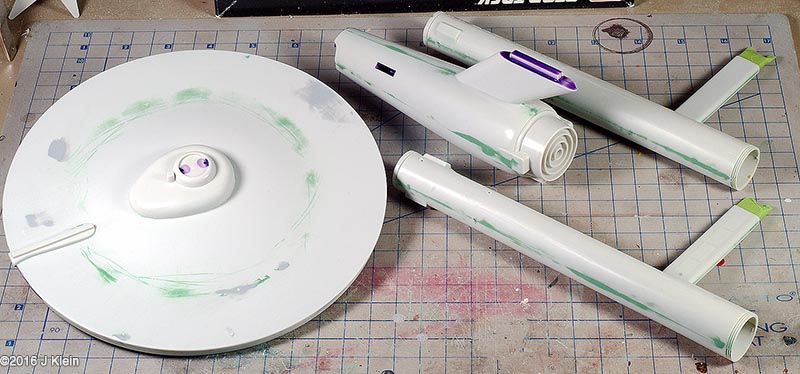
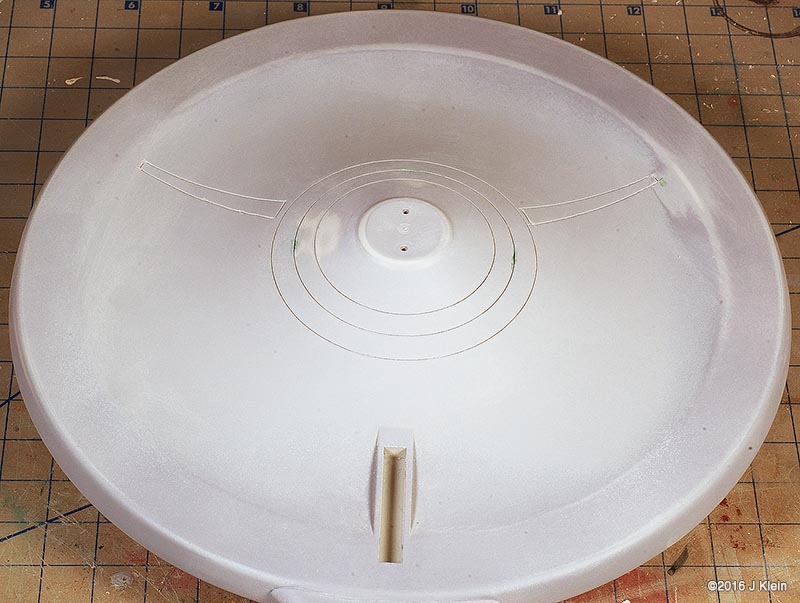
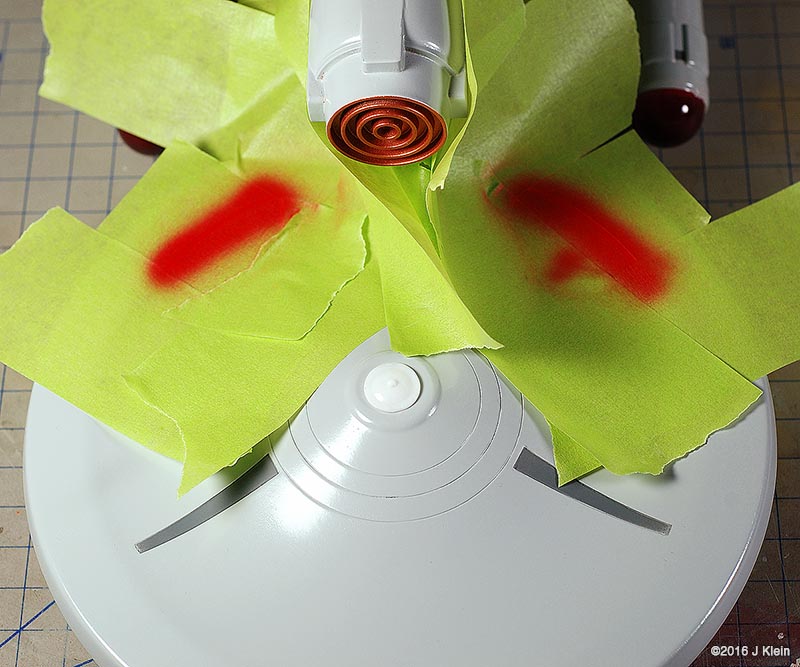
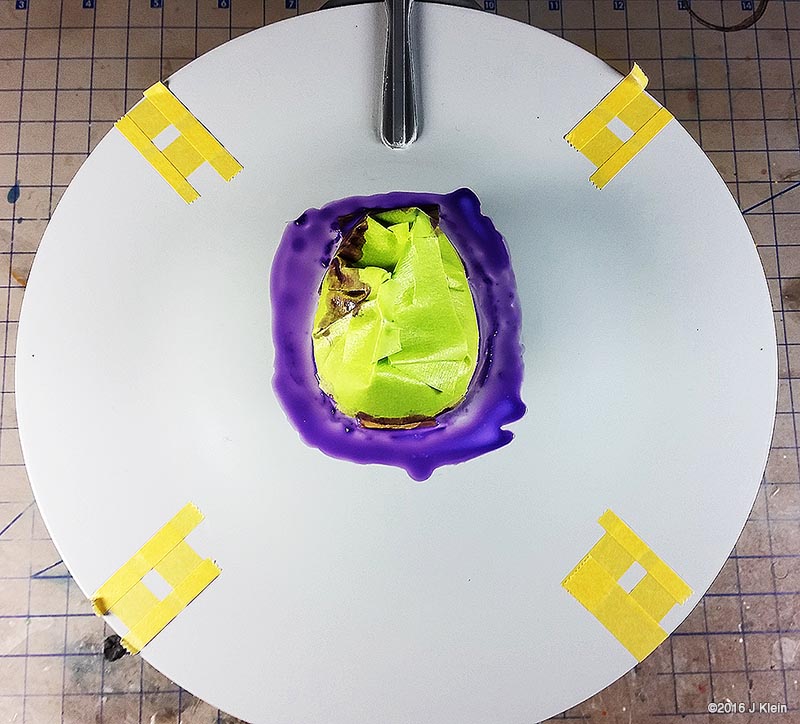
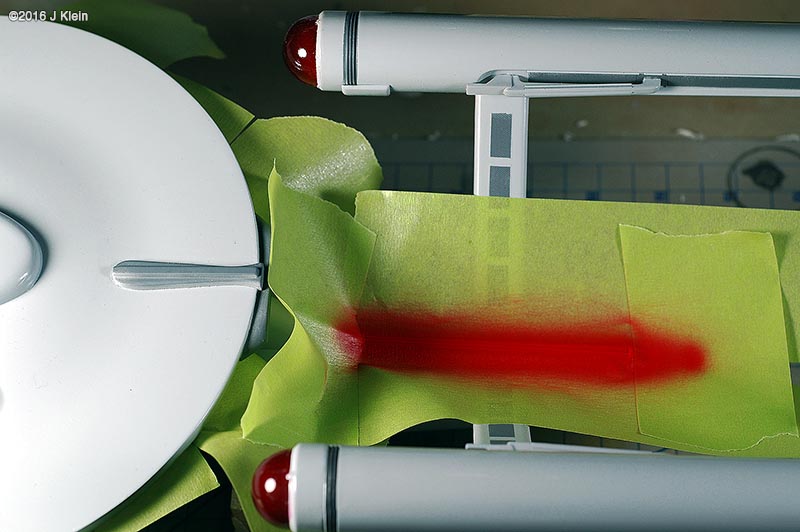
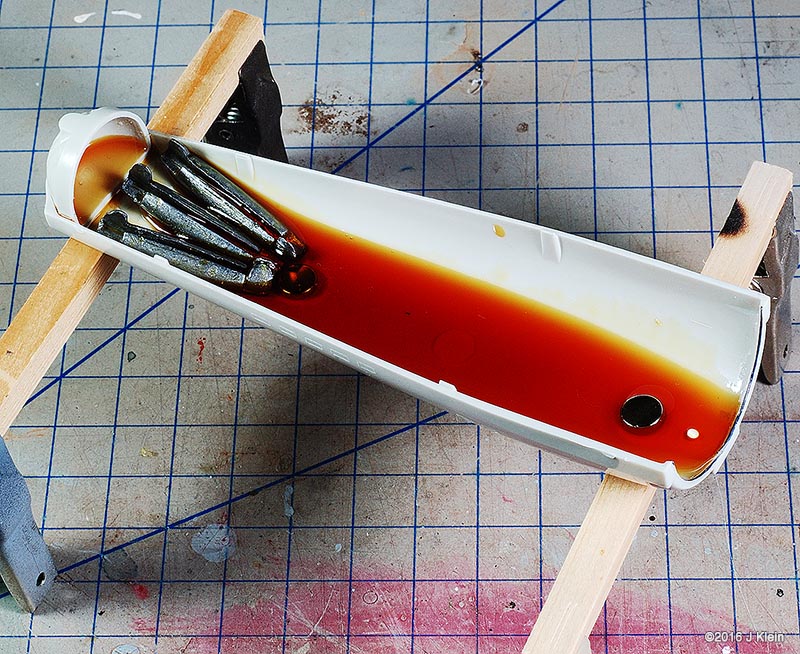
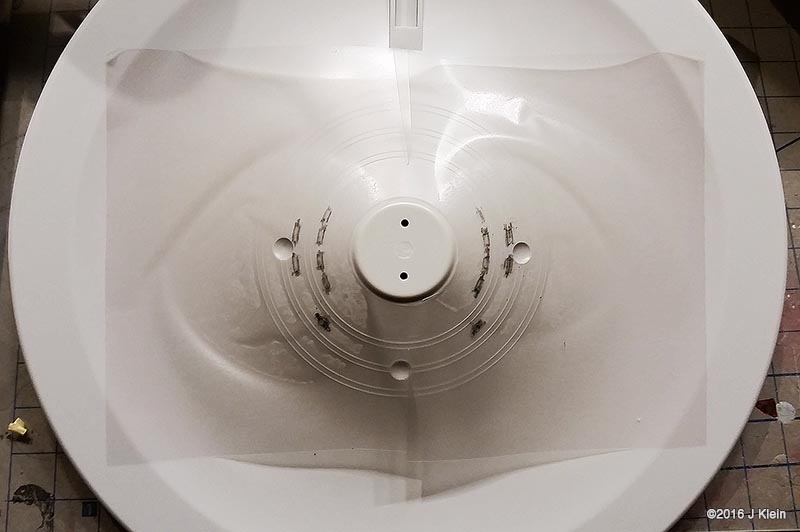
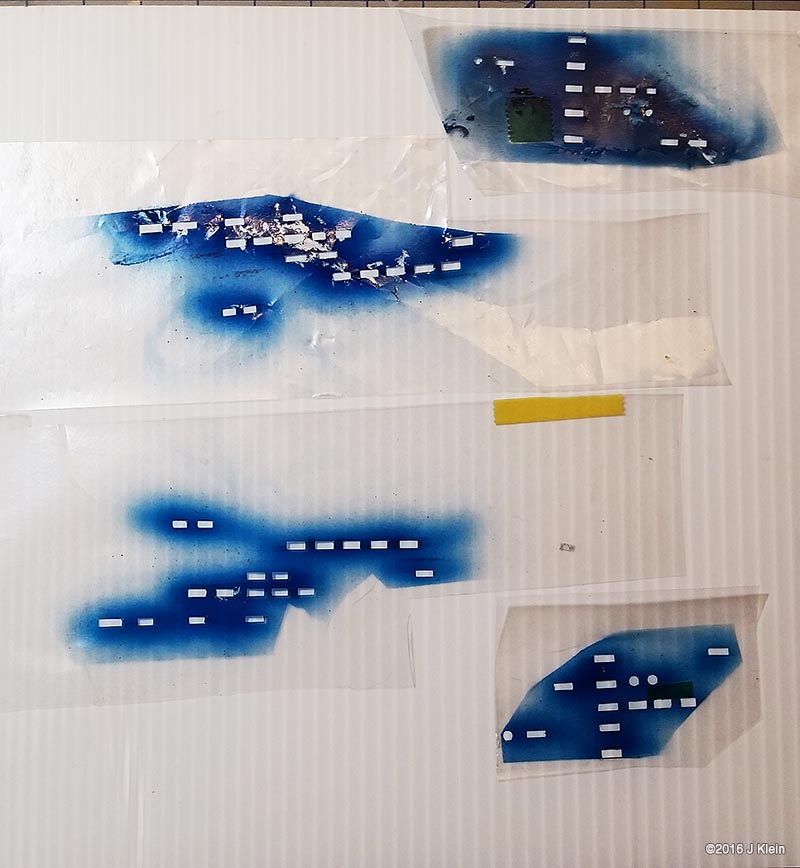
Basic Alterations I wanted to keep the alterations to a minimum during this build, so I only corrected a few of the most glaring faults with the kit. The biggest change was the removal of the raised panel lines and window detail. Whether they should be there or not, the raised panel lines on the saucer section are grossly out of scale so I sanded them off and rescribed concentric circles in their place. I also filled the three dimples on the saucer bottom (I believe earlier versions of this kit included a stand which registered into these depressions) and scribed the two triangular hatches found on the filming model. I also removed the raised window detail, but before I did, I used applied frisket film over the windows and rubbed it down with the side of a pencil to create a template for the windows. After adding a spacer between the upper and lower halves of the saucer to reduce flexing, I glued the halves together, puttied and sanded, and put it aside for painting. The main hull was treated in same manner as the saucer. Prior to sanding off the raised window detail, I made a frisket template so I could repaint the windows later. I also expoxied two magnets into the bottom of the hull which will be mated with a pair of magnets in a wooden base. Since I was already filling the bottom of the hull with epoxy, I also added some lead weights to the bottom front of the hull to get rid of the top heaviness of the finished model (the saucer outweighs the hull), and to move the centre of mass forward so the model is better balanced on the base. The hanger bay door at the back of hull seemed too short, so I shimmed the bottom with a piece of scrap styrene. This sub assembly was then glued, puttied and sanded. On to the engines; the kit provides a detail part for the bottom front of the engine nacelles which is terribly inaccurate. The actual detail is clearly three separate squares, each separated by a small gap. The kit part is one piece with a suggestion of a gap. I separated the kit part into three pieces with a razor saw and installed them individually. The front cap for the nacelle has no registration tabs so I added a few scrap pieces to hold the cap in alignment during gluing. I've heard that the nacelle support arms can droop over time, so I poured resin into the hollow arms to strengthen them. After final puttying and sanding, the engines and pylons were put aside for painting. Painting After joining all the sub assemblies together, I primed the model with Rustolium sandable grey primer and then applied several thin coats of Krylon ColorMaster gloss Pewter Grey from a spray can. This colour seemed a pretty close "on screen"ť match and the gloss finish was a excellent surface for decaling. After everything had dried for a couple of days, I cut the windows out of my frisket templates, applied them to the model, and airbrushed Tamiya Dark Navy Blue to represent the windows. There was no decal for the two prominent red stripes on the main hull's spine, so those were masked and airbrushed. Several red and grey panels were also masked and airbrushed on various parts of the hull and saucer. The front engine nacelle caps were masked off and airbrushed with Tamiya Clear Red. The main deflector dish and the area behind it were airbrushed with Tamiya Copper. Decals I used the decals proved with the kit, and they are horrible. They are somewhat inaccurate, stunningly thick, and slightly yellowed. However, I decided to go with them anyway because I was going for a kind of homage to the version of this kit that I built as a kid. They went on without too much trouble, but there are better decals out there if you're going for a more polished look. Finishing After the decals were dry, I sealed everything in with a layer of Future floor wax and several airbrushed coats of Liquited matte varnish. I mounted the model on a simple wooden base with magnets hidden in two pegs which will match up with the magnets in the ship's hull, holding the model in place. Image: Box Image: Bridge Windows Image: Bussard Image: Caps Image: Center of Gravity Image: Clamps Image: Corrected Image: Decaling Image: Decals Image: Dimples Image: Gridlines Image: Hanger Doors Image: Shim Image: Hull Lines Image: Masking Image: Neck Gap Image: Primed Image: Sanded Image: Lower Saucer Image: Lower Saucer Markings Image: Upper Saucer Markings Image: Stripe Image: Weights Image: Window Masking Image: Window Templates |
|
![]()
Starship Modeler Home | Site Map | Gallery Main Page | Feedback
This page made possible by Starship Modeler™ - copyright © 2016.