
Johnny Ridden's Zaku v2.0 |
|
|
|
|
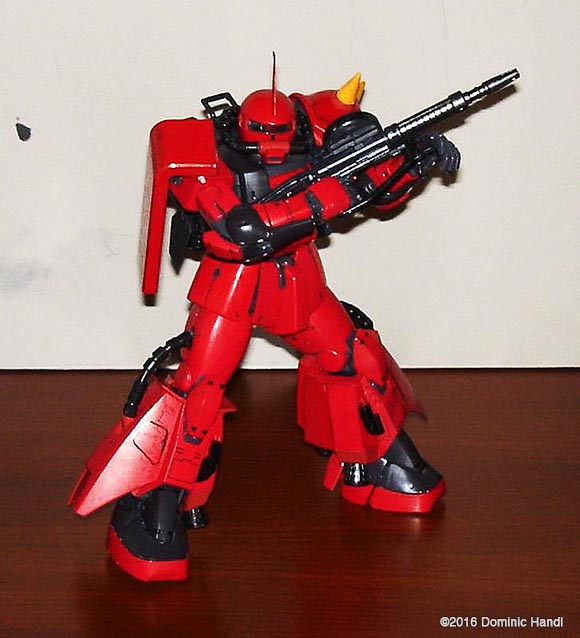
Zakus are known well through out the Gundam universe. The Zakus are the main force of Zeon much like how the GM units and Ball Units are the main force of the Earth Federation being produced in large numbers. A lot of the Zakus are designed for a different purpose and different battle conditions. Bandai produced a line of models shortly after Mobile Suit Gundam aired on T.V.. This was the Mobile Suit Variation (MSV) line. The material from the MSV line looked similar to the material on the Gundam show but, some design changes were made like added armor, extra boosters and the colors were subdued a bit. Among them were the MS-06-R class Zakus. I always thought the Zakus were cool. One of them was the the MS-06-R2 Zaku II of Johnny Ridden. I made one in 1996 when the model was released as a Master Grade Model. When I saw this new Version 2.0 version of this Zaku was being released, I put in my order to Toys -n- Joys in Kaimuki for one. As soon as I got it home I opened the box. The box was just crammed with plastic inside and each individual sprue was plastic bags. This is one of the things Bandai pays attention to. Making sure the pieces won't get scratched or damaged on shipping. All the necessary tools, micron pen, and paint I need are all lined up on the table, easily accessible when I assemble the model. I took each sprue out of their individual plastic bags, lining up each one on the table. Before anything can happen, I had to check the pieces. I took a close look to see if anything was either broken or missing. Painting and detailingis always the fun part of doing a Gundam model, for me. The challenge was deciding what to paint and what color to paint certain parts.The weapons except the heat hawk axe I painted a gun metal steel color. Then I brushed some flat black on the pieces of what looks like the inner frame to make it look like its been weathered a bit. With this type of machinery, I don't think I have ever seen it spotlessly clean. The outer skin was just all molded in red. With as much red as I was able to see, the idea was to paint the pieces covering each one evenly with two to three coats of red. After each coat I let the parts sit over night to dry. After the paint has fully dried, the next step was dry brushing. No model would look good with out the panel lines filled in. Going over the panel lines with a micron pen basically make the details show better. With the dry brushing, it looked a lot better. The first part I had to do was the main body, which had about 32 pieces to it. The first thing I had to put on was the side walls, then the back panel, then the shoulder joints and put those into the back panel. The cockpit goes in next. The chest panel goes over the whole thing, closing up this part. It looked pretty sturdy. Then there was a collar piece that goes on top of this torso frame. Next, I had to put the outer covering on. Before I did that, I weathered the frame a bit more. Then I put the three-piece outer cover on. The lower body frame goes on next I had to assemble it first then install it to the torso. It just snaps into place. After that I put the lower body panel on. Next I did the back pack. This part had a few pieces to it - more than the previous Master Grade Zaku I did back in the 90s. |
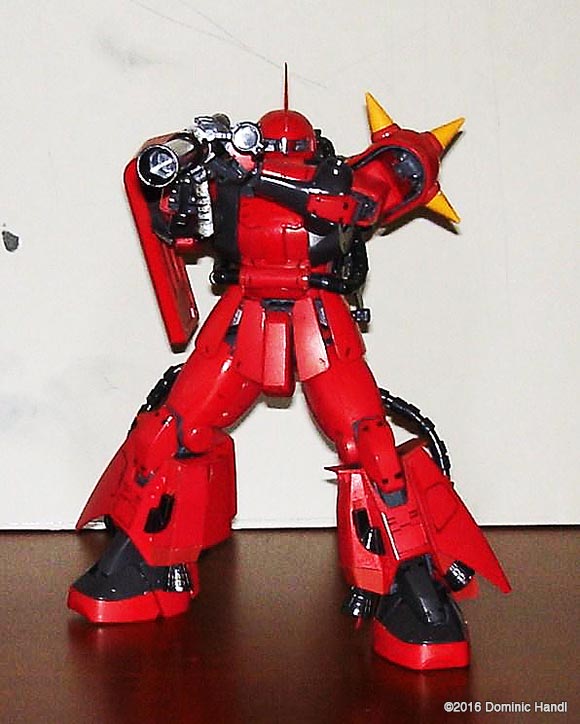
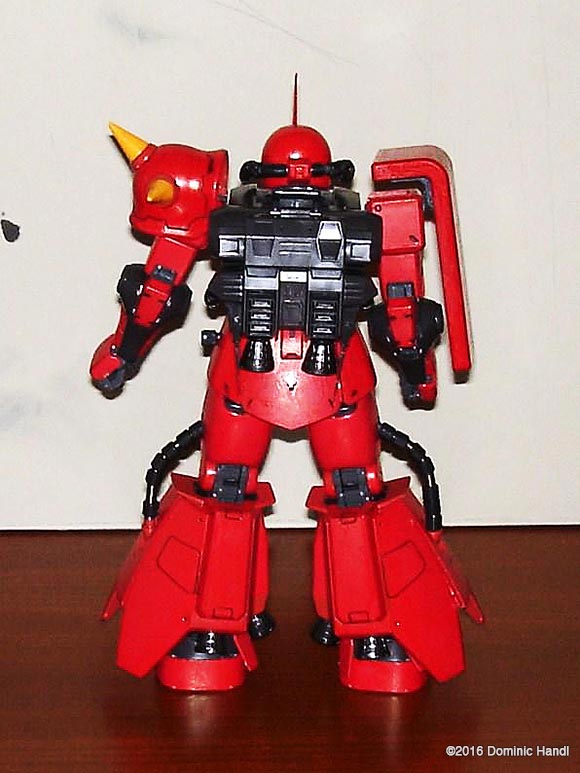
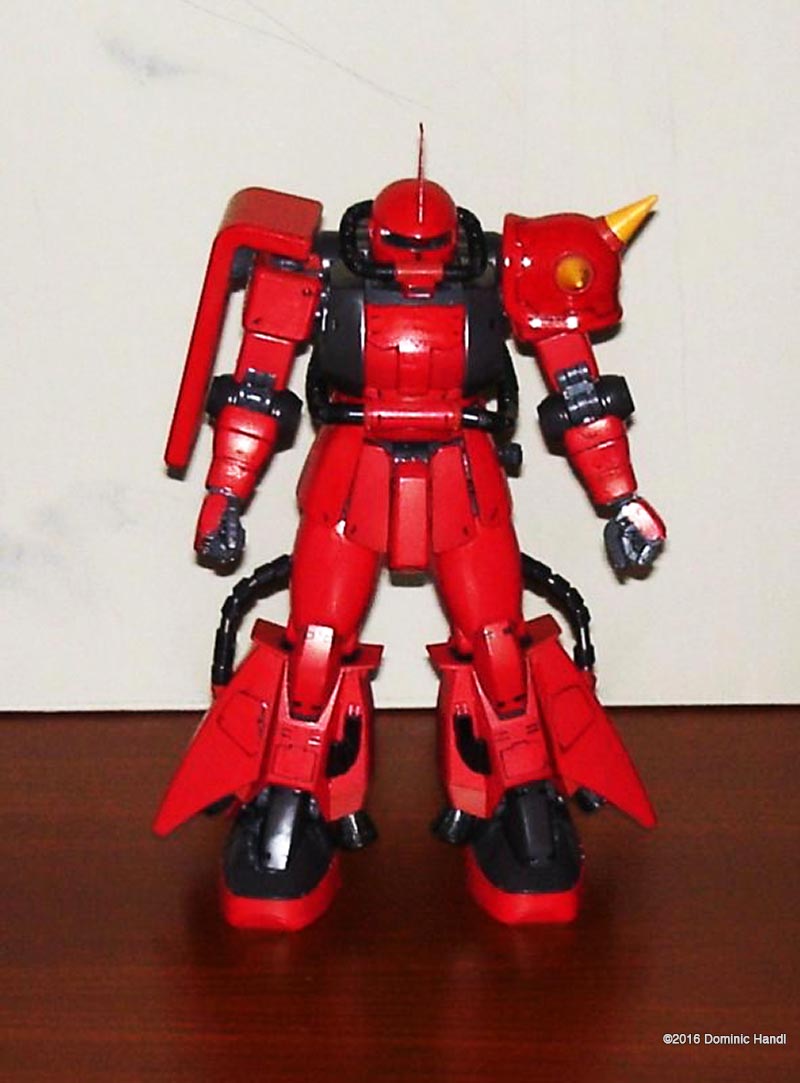
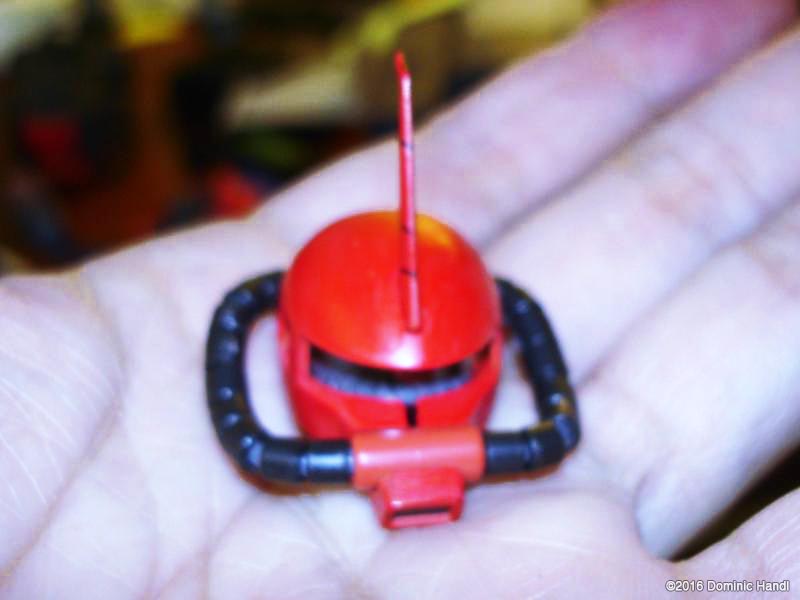
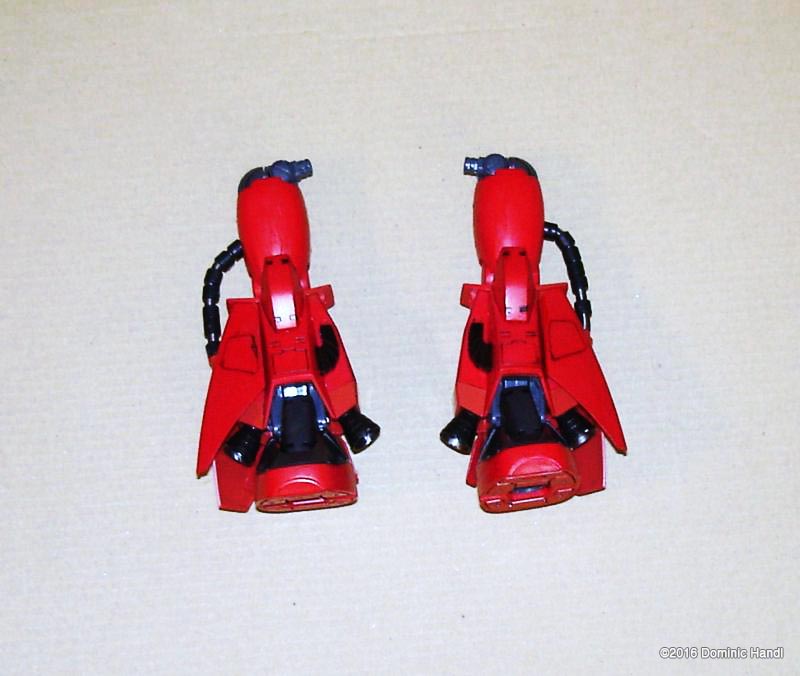
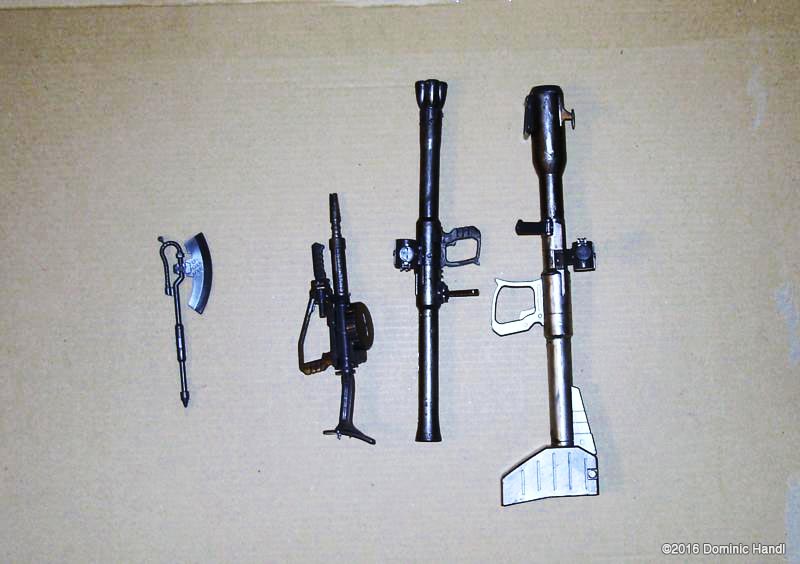
One step was pretty tedious to do: the cables that go onto the back pack and connect to the front of the main body. I had to do this in reverse. I connected the cables from the main body to the back pack. There were holes on the back pack the ends of the cables connected to. I did that and put the main body aside. The head was built next, also in stages. I had to do the skull first. It can be seen why I call it the skull. All the internal frame work is in this part. The camera mono-eye had to be put in first with a gear that moves the camera mono-eye side to side. There was a clear piece that goes on to the mono-eye mechanism. I painted that part a metallic red color then installed it on to the mechanism. Then I put the cranium on. This is the top half of this part. Then this whole thing goes into a lower jaw assembly. There are two optional helmet pieces, one straight and one with a hole in it for the officer's antenna. I used the one with the hole on the front. All officers' Zakus have this antenna on their head. Its quite noticeable. The legs were next. These start withthe skeleton. The lower legs had a ligament piston which came from the top part and the thighs that same ligament piston which came from the bottom part. These two parts connect to a cover that held the knee joints together. The neat thing about this is the extra armor on the leg booster assemblies. It's three separate pieces. The lower body was not designed in the usual style of the Gundam kits I've built in the past. The middle part, instead of being one big piece was two pieces, which is improvement in the frame design over the years. The side skirt armor have frames. Thats good detail. I had to put those frames onto the lower body first, then put the armor over the frames once that was done. Each skirt armor was designed to move individually. I put the whole thing aside for later. I did the arms next. The arms too had multiple components. The interesting part is the Shoulder spike armor. It has a frame that goes over the shoulder and the armor itself goes over that. Then the spikes go on to that part. That alone is more detail than most Zaku models I've built in the past. The covering on each arm is a sleeve the frame goes into. There is a cover that goes over the wrists after the poly cap is put in the wrists. The hands are jointed on the fingers. Each finger moves to grip something. The weapons were pretty straight forward. I had two bazookas to do and one Zaku machine gun. The heat hawk axe I didn't have to do anything with, just detailed it. It looked good as it is. The tip of the machine gun I brushed with soot black paint to give it that burned look from being used so much. Now to put the whole thing together. I collected all the sub-assemblies I put together, started from the legs and worked my way up. After I put the Zaku together, I put some final touches to it. I brushed on some soot black paint on some of the edges of the model. This makes it looks like it has carbon burns from being in action. It does look better when its a bit dirty. The placement of the joints in the various major areas of the Zaku give it a good degree of articulation. It can pretty much assume any pose I was able to think of. My only gripe is the thing can't crouch on one knee. I was hoping it would be able to do that with this level of articulation. Conclusion: I would recommend this model. I enjoyed putting it together. Bandai did a good job on this kit. I can see how much attention Bandai has paid attention to each detail to retool this kit from the 1995 release. Very nicely done. Image: Front Image: Head Image: Legs Image: Weapons |
|
![]()
Starship Modeler Home | Site Map | Gallery Main Page | Feedback
This page made possible by Starship Modeler™ - copyright © 2016.