
Gundam Exia |
|
|
|
|
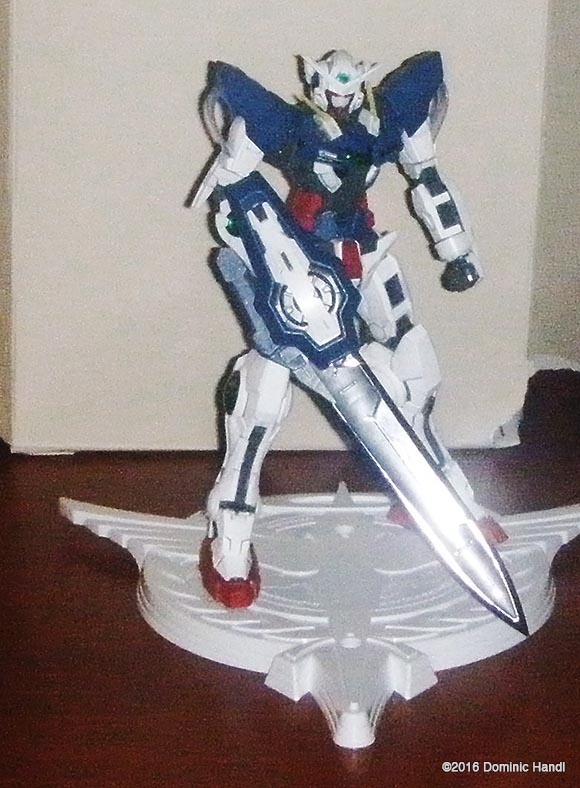
In the year 2009 a new Gundam Series aired on T.V: Gundam 00. Among the more prominent Gundams in the series was the Gundam Exia piloted by Setsuna F. Seiyu, a young and very mission-driven individual. bandai released three Exia's as Master Grade models in the months to follow, which became very popular quickly: MG Gundam Exia, MG Exia Ignition Mode and MG Exia Trans Am Mode. The MG Exia Ignition and Exia Trans Am Mode were more popular because of the added features. I'm not really much of a Gundam 00 fan, but I wanted to try my hand on a Gundam Exia model. I was in Tokyo on a trip, spending the holidays there. In the center part of Shinjuku, looking around in one of the hobby stores, I ended up on the B1 level of Yodobashi Camera. That whole floor had racks of different models do I had a lot to choose from. I didn't think a lot of the old stuff from the 90s still existed. I looked around and came across a wall with Master Grade models. A whole wall. After going down each row I found two MG Exias, the regular one and the Ignition mode which came in a larger box, because of the extra pieces it contained. I bought the Ignition mode kit. Upon my arrival back to Hawaii, about a week later, I decided to put this model together. I carefully opened the box, which was crammed with plastic. Before I did anything else, I studied the 21 page instruction booklet out. Despite the Japanese writing each step was shown visually how to put the model together. As complex as the model was. I had no trouble understanding the assembly diagrams. I took the sprues out of the box and carefully removed them from their individual plastic bags. There was a total of about 14 sprues- over 300 pieces total. One sprue had shiny silver pieces. What caught my eye was the shiny silver blade of the GN sword. Other things I saw were two LED bulbs. Now this is getting really cool. The GN drive and the chest lights up. Also included in the set are option parts to make the Exia look like its battle damaged. The damaged GN sword looked really good. I was impressed with the detail of the pieces. I planned how I was going to do the model. I actually did a lot of brain storming on the options till I decided what I was going to actually do with the model. I decided to make the model look "real", with some weathering and a bit of damage. I had to select the parts needed for that. The model itself is molded in color, so the option to build it "as is", is open for anyone who doesn't want to do a lot of painting. However, I do paint my models. The blue pieces looked a bit light, so brush-painted them with a Tamiya acrylic flat blue color. Then I did the same with the red pieces. I let the paint dry overnight, then repeated the process with the second and third coats of paint. Painting the white pieces was a bit tricky. I used a Skull White color by Games Workshop. The tricky part was getting the right thickness of the paint. Even with a brush it was hard to do. The next part was the eyes. It's a piece molded in all clear. Nothing exciting, just see through plastic. I painted the outsides around the eyes black using a fine tip micron pen. I have done that with numerous Gundam models I've built and it works pretty well. Once that was completely dry, I went over the eyes with metallic green paint marker, making sure they were properly covered on all sides. The two sets of vents for the face and for the chest I painted a burnt iron color. |
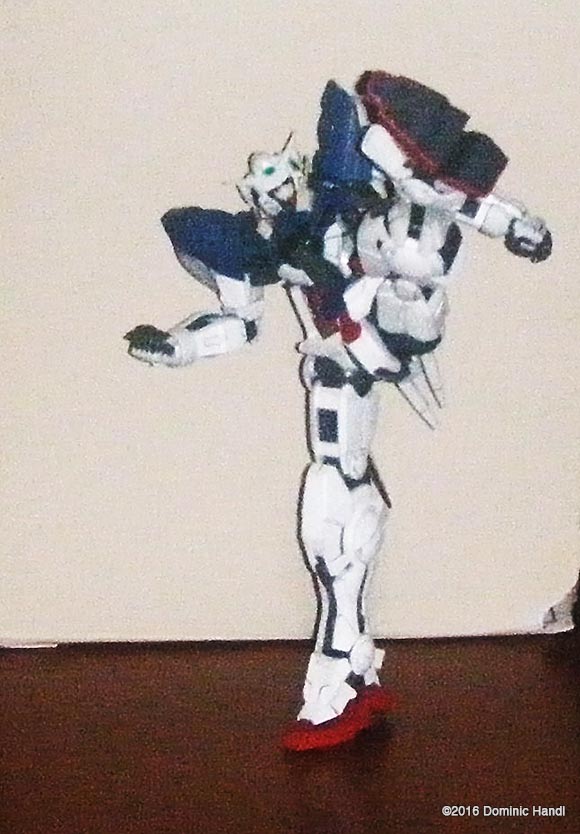
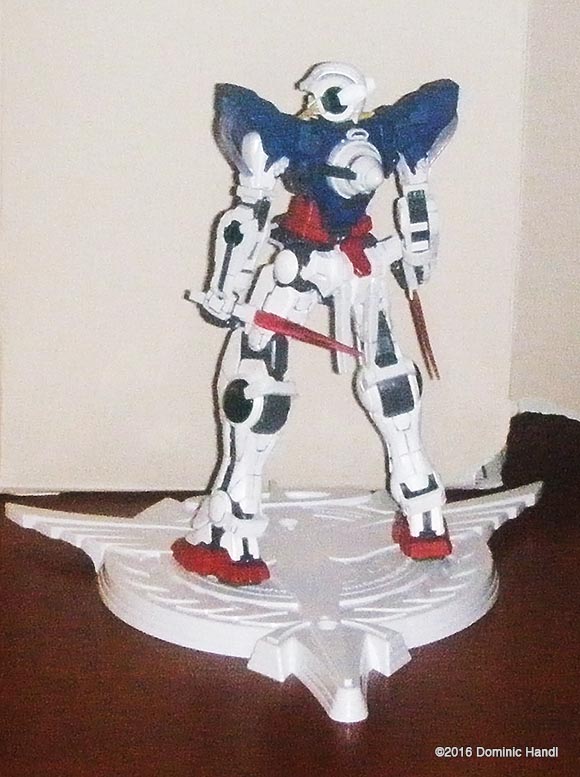
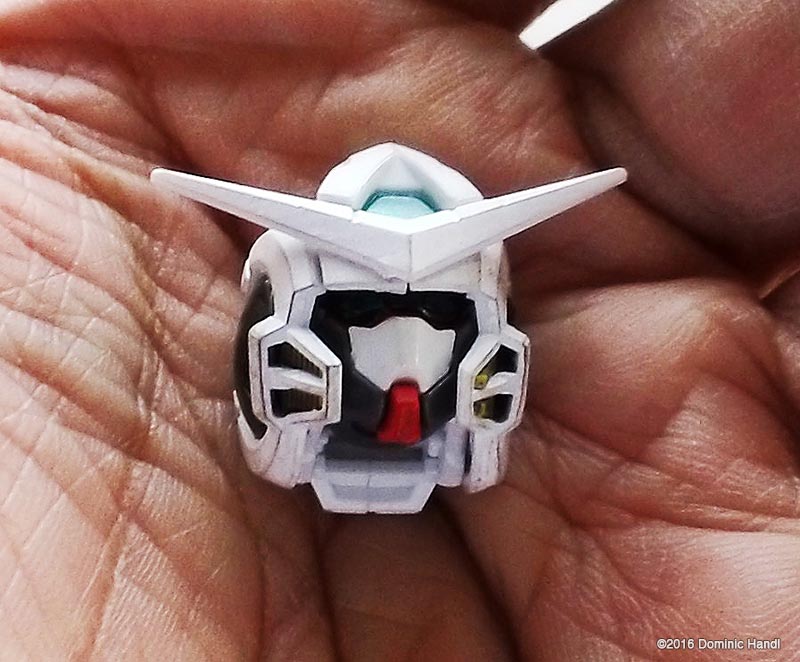
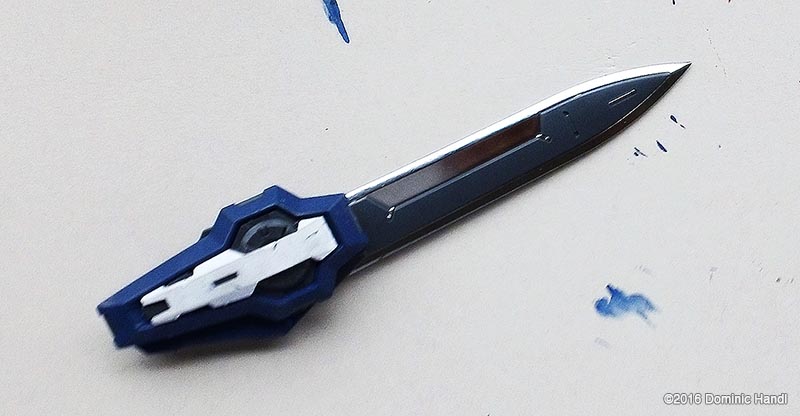
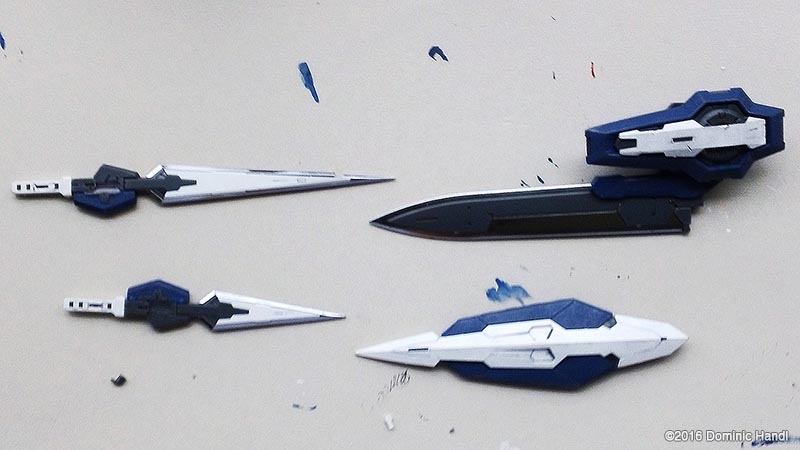
I detailed the peices with a combination the basic panel lining using my micron pen and going over the panel lines. For the red pieces I did a combination of both panel lining and some dry brushing. I used my Real Touch marker, which is a thin ink wash. I dabbed some of the ink on the raised areas of the pieces and on the corners and used a tissue to spread the ink over. Even a q-tip works well. I wanted to make the frame look dirty with a bit of weathering. I used a toothbrush to do this. I put some flat black paint on the bristles and lightly went over the pieces putting black carbon streaks on. Then I used that weathering kit I had. Put some titanium color on the brush that came with the kit and went over the edges to make it look like scratches. It looked pretty good. I put some carbon streaks on the white pieces, also using the weathering kit. I have to say that stuff adheres better on painted plastic than the straight plastic. Then I used a bit of the titanium color for paint chipping. The model was starting to look like it had been abused. I studied the instructions a bit more before I started assembling the model to make sure I don't miss a step and that everything would be done correctly. The first thing I had to do according to the manual was the GN Drive, which is a shiny silver turbine with LEDs. First I put the batteries into the LED light bases. Each one took two of those small flat watch batteries. I tried the lights to see if they worked. For small lights they were pretty bright. I assembled the GN drive and tried the lights again. The lights tend to flicker a bitso I took the whole thing apart and tried to correct that. The shiny silver turbine inside the GN drive reflects the light inside it, emitting the light out to the sides, much like how the GN particles are emitted from the GN drive in the show. I touched up the GN dive with some carbon streaks looking like its burned from the heat of the GN particles. The front of the light up system goes into the chest of the model , but I will get into that later. The whole unit comes with a rack to put it on when not using it. I put it on the rack till I was going to use it again. The chest was next. I had to do the inner frame first which was about eight pieces. After putting the clear green dome on the chest and the cockpit hatch on I took the GN drive I put together and turned on the lights Put it in the hole in the back. I can see not only does the GN drive light up but the chest lights up also. The lettering on the clear green dome glows. I had already put the outer covering on. I touched up the parts where I cut the pieces off the sprues and added the paint chippings and carbon streaks. That looked really good. There was a cockpit hatch piece that look dented. I used that for this model. I did the head next. The manual showed an option to do head having a half busted face exposing the right camera eye, but I decided not to and went with the complete fin. When I was done with assembly, I touched up the head with some carbon streaks. The arms were multi-components done in stages. The for arms and the elbow joints had to be put together first. Before I was able to put the cover on to the forearm, I had to put a clear dome and a clear green dome over that, then put the outer cover on to hold the domes in place. That was a lot of work for a Master Grade model. The biceps are pretty much hollow pieces which have two poly caps in them. Each one had this holographic clear piece that goes onto them. After that part has been assembled, I did the shoulders, which are five pieces a frame and the outer cover. On the back of each shoulder, the beam saber handles go on. I had already put the brace on the end of the shoulders this connects with the arms to the shoulder joints. The other end of the holographic clear piece that is on the arm connects to the shoulders. I put the arms together connecting the elbow joints to the biceps then the completed arms to the shoulder joints on the body. The hands were pretty straightforward. I always liked the idea of moving fingers on a model. After connecting them to the wrist joints on the arms I tried to see if they worked. So far no problems. The shoulders I touched up with a bit of paint chippings using a bit of that titanium colored weathering stuff. The legs were a bit tricky. Seeing how the pieces were placed in the manual, I did the legs exactly how the assembly was shown to be sure I didn't make any mistakes. After putting the frame together, I tried out the mechanism to see if it worked. Everything worked well. Then I put the outer covering on. I had to put two clear green domes on the outer surface of each leg for the GN condensers. This part I touched up with carbon burns by applying the black powder from the weathering kit lightly along the raised areas and corners on the legs. The assembled feet I touched up and lightly put some silver on them to look like paint chips like I did with the shoulders and chest. The lower body I had to study a bit to see how it was assembled. There was a pretty interesting feature I saw in this part: the hip joints move down, forward and out a bit. From the design, this part was supposed to enhance the articulation a bit more on the legs for better range of movement. After assembling this part I connected the legs and tried out the mechanism. The front skirt armor moves out of the way allowing the legs to be raised pretty high. This was quite impressive. I was already thinking what sort of dynamic pose I was able to do with this type of articulation. After connecting this whole part to the main body, I put the GN sabers in their holders on the back skirt armor. Moving on to the weapons, I did the GN sword first, ctting the silver chrome blade out off its sprue very carefully so that I didn't scratch off the chrome while scraping off the excess flash. I was thinking about using the broken blade option part but for this application it wouldn't look right. I used the broken cover for the shield that the blade connected to that held the GN rifle assembly. It seemed to match the application I had in mind. The long and short swords were pretty straight forward to do. Now it was time to see what the model can do. I put it in various poses I could think of. The joint movement is just really good. The GN sword as big as it is, was a bit heavy so I had some trouble having the model pose holding it. But I managed to get some good battle poses out of it. I will say it's a really good model. Bandai did a good job on this kit. I can see the improvements to the frame and the added detail over the years. The frame itself was a lot of work. But it was still a lot of fun to build. The fun part was actually adding the realism. The light weathering on the body does make it look a lot better than looking clean. I think this model is as real as I could get a Gundam model to look. This is not the last model I will try to make looking real. I do recommend it. Highly. Image: Front Image: Head Image: Sword Image: Weapons |
|
![]()
Starship Modeler Home | Site Map | Gallery Main Page | Feedback
This page made possible by Starship Modeler™ - copyright © 2016.