
M120A2 Hover Tank |
|
|
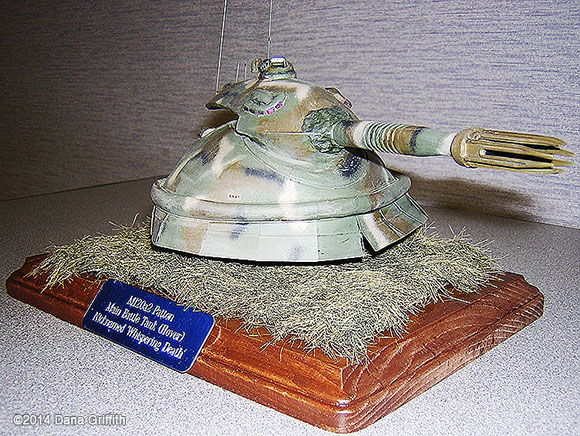
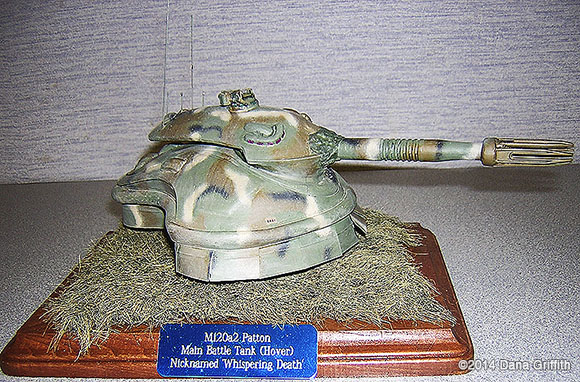
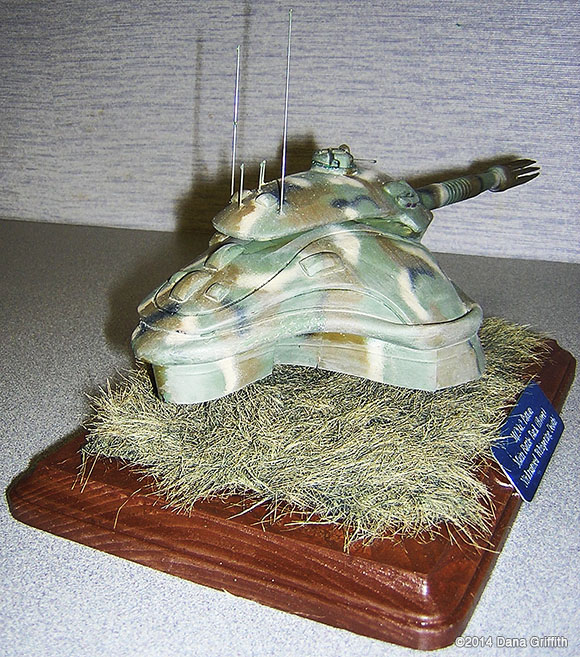
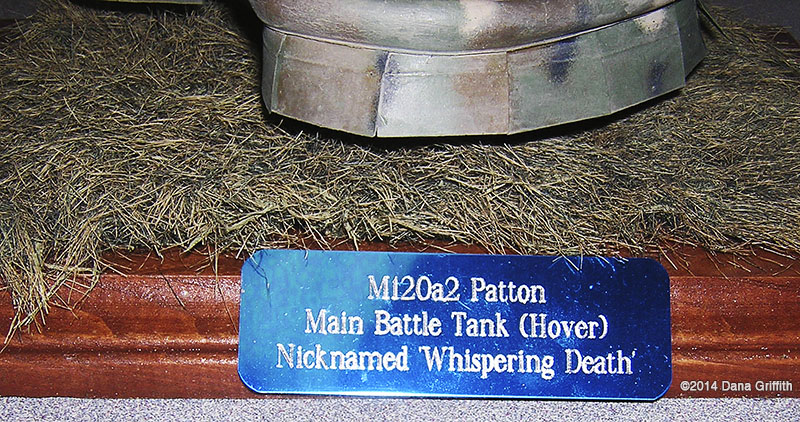
Review of the M120A2 Patton Main Battle Tank (Hover); or, how to recycle junk and widgets. I tend to be partial towards computer track balls as opposed to computer mice due to old injuries and joint creaks. Over the years several have given their best and finally gave out. Looking at the dead hulk of a track ball one day and pondering tossing it out, it dawned on me that it looked like a tank hull. I mentioned this to my wife and we started scheming how it should look. From there I commenced to collect parts. Dollar stores are very helpful in this endeavor. Once I had most of the parts I began prepping the hull. Two sheet plastic fillets covered two gaps near the prow of the hull. I then started to fill and smooth gaps on the hull with water-based wood putty. I've been a big fan of the stuff for years. It dries hard. It can be sanded, buffed and handles paint well. The best is it can be smoothed with water, cleans up with water, and above all does not smell strongly. The other big plus: it is inexpensive and lasts a very long time. One tube of the stuff would take some four years of model projects to use up. I purchased an assortment of adhesive rhinestones (which earned some odd looks from other customers who saw the items in my possession). These became hatches and access panels for both the turret and the hull. The shroud around the base of the hover tank stated life as two types of weather strip for windows and doors. These were cut, trimmed, and then attached with super glue. The hover tank is powered by three steel rods imbedded into a wood base and tipped with trimmed glue stick rods, raising it from the ground. The power source is the soft plastic light strip and battery from a runner's illuminated safety band. This widget was affixed to the bottom of the hull and either flashes or gives a steady light illuminating the ground over which the tank hovers with a faint light. The turret started life as a dollar store plastic cooking ladle. It was cut and trimmed so the turret has an overhang. The base of the turret started life as a large wood toy wheel. Rhinestone hatches were added. A 1/72nd scale ESCI M60A2 Commander's Cupola was added for scale and a hint of tradition. The main cannon is a chopped up plastic razor blade handle and that huge Star Wars-type cannon muzzle is made from four chopped up plastic cocktail forks. The turret received a large quantity of wood filler. The weapons system shrouds are wood filler as well. The several antennas are lengths of thin steel wire tipped with white glue for antenna balls. Once the turret and hull were merged and all looked well, the painting could commence. The paints are all acrylic, starting with a base coat of some kind of flat green Floquil model RR paint someone was giving away years ago. The rest of the modified MERDC Camouflage scheme was airbrushed using Model Master Acryl Paints. Weathering is done using hobby craft acrylic paints. The wild field grass started life as a piece of Danice Faux Fur purchased at a local sewing supply store. With a lot of sage and apple green craft paint, the fake fur looks very much like old summer prairie grass. The sign was made by an engraving firm on Ebay for a few dollars and had very fast turn around. That is pretty much it. The project proved to be a rather rewarding and personally gratifying experience, as well as a serious ˜thinking outside the box" exercise. Image: Base plaque |
![]()
Starship Modeler Home | Site Map | Gallery Main Page | Feedback
This page made possible by Starship Modeler™ - copyright © 2015.