
1:4 Scale Spy Drone |
|
|
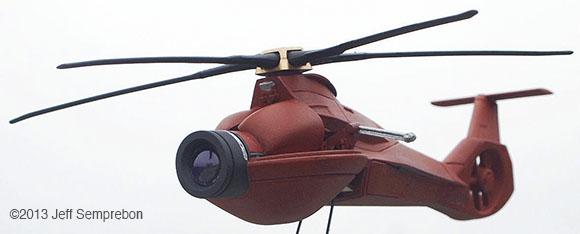
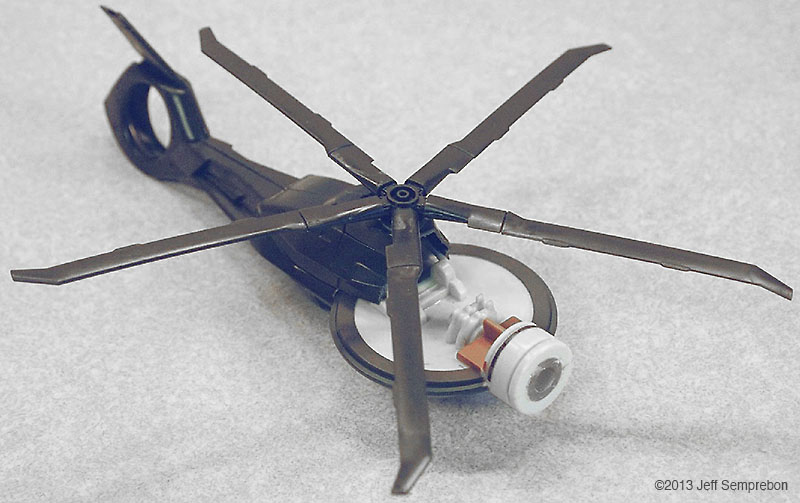
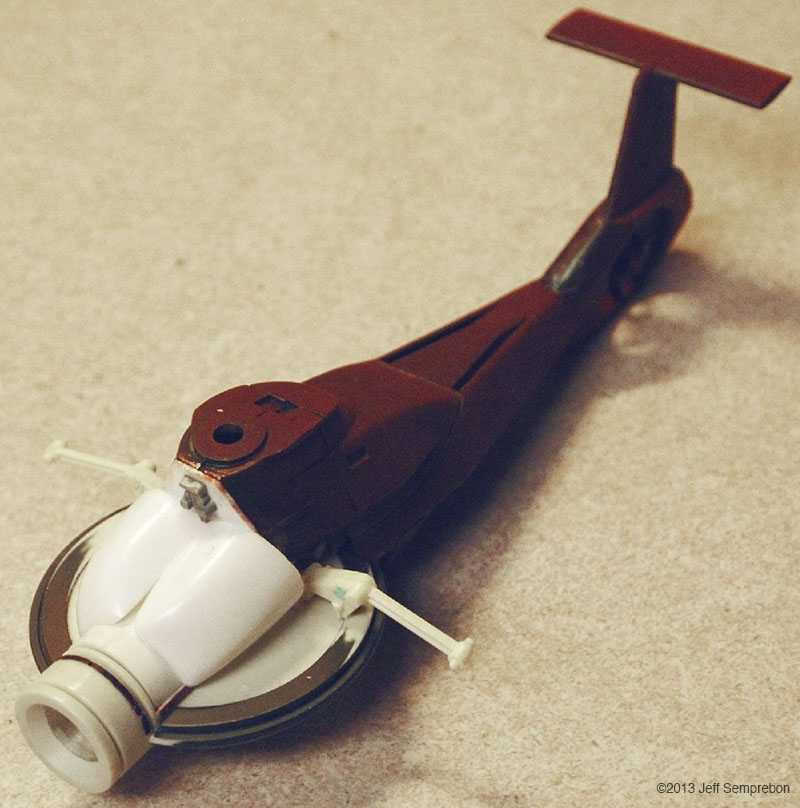
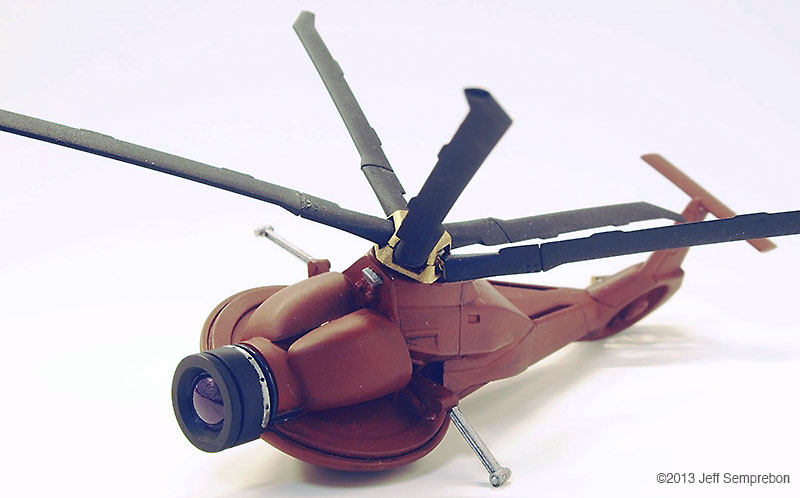
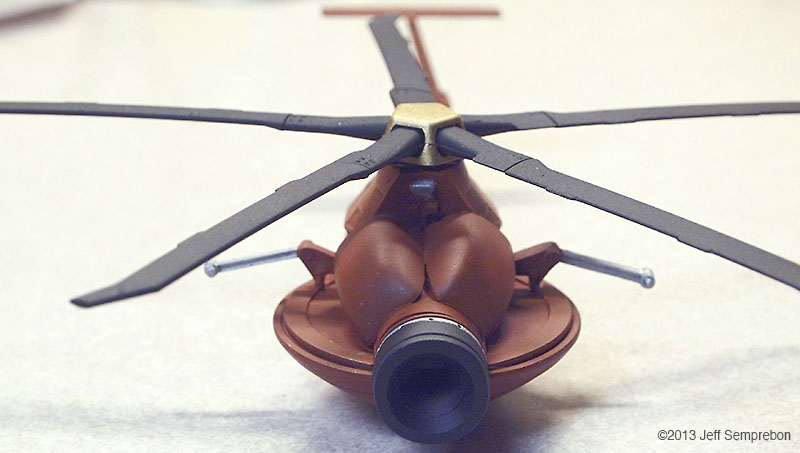
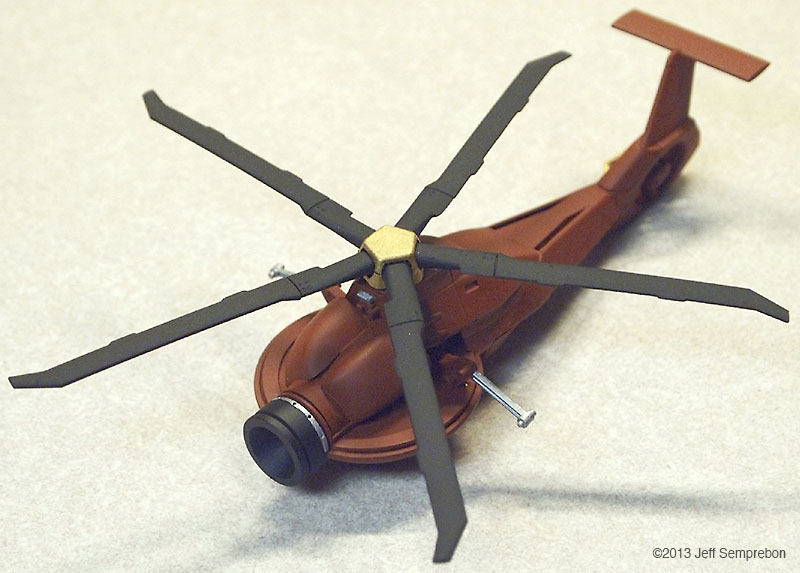
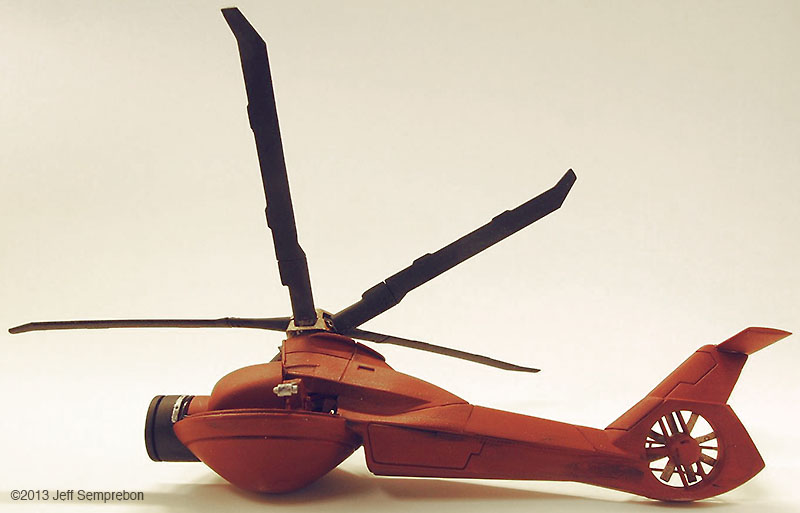
Having a need for a surveillance drone model for a photography project, a search of available parts on hand revealed an Italeri/Esci 1:72 RAH-66 Comanche missing its cockpit (which had been cut off to be mounted on a 1:48 Votoms mecha for another project) and a 1:6 scale Star Wars Pit Droid toy made by Hasbro for their line of 12" Star Wars dolls errr.. action figures. The Comanche rear fuselage was built stock, with rotor and trim parts sprayed flat black or gold before assembly. A piece of corrugated styrene sheet pained black was used to fill in the exposed gap in the lower fuselage that would result (which not visible in any of the photos). The Pit Droid was decapitated by driving out the wire pin on which the head pivots, and the unconvincing clear plastic front lens was sawed off. The two soft plastic antennae were carefully sliced away with a knife; the soft nature of the plastic appeared likely to cause problems with sanding. The eye socket was given a conical tapered interior with a deburring tool intended for dressing the rims of brass cases when reloading ammunition. A conical-surface bit for a router or motor tool in a hand-rotated chuck would likely work as well. A half-piece of tubing the same diameter as the eye was notched to fit behind the eye to continue this contour back to give the eye a bit more substance. Plastruct's PlastWeld cement worked sufficiently well to secure the styrene part onto the relatively soft plastic of the droid head. At this point, the Comanche fuselage was notched and carved to fit onto the inverted droid head, and a slanted bulkhead was added to close the front where the cockpit had been removed and add additional surface for joining the parts. The two assemblies were then secured together with PlastWeld cement. |
|
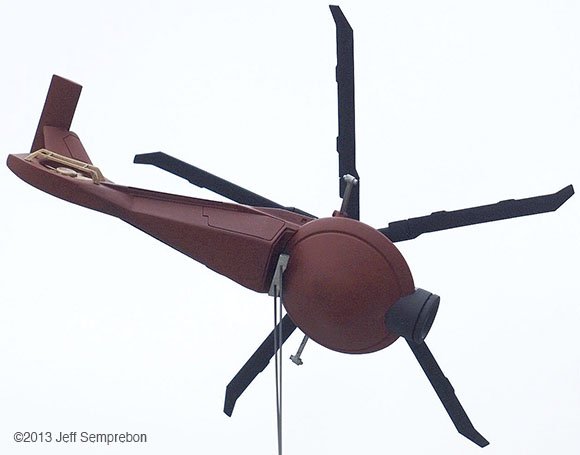
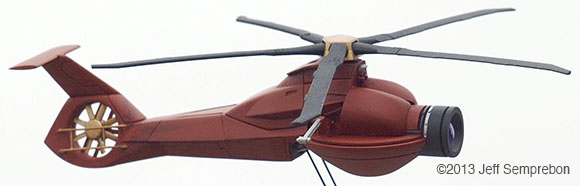
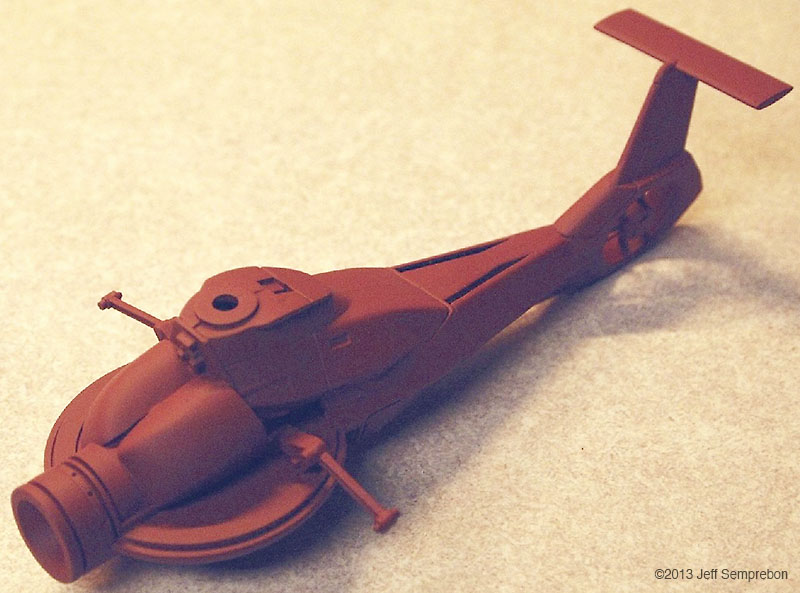
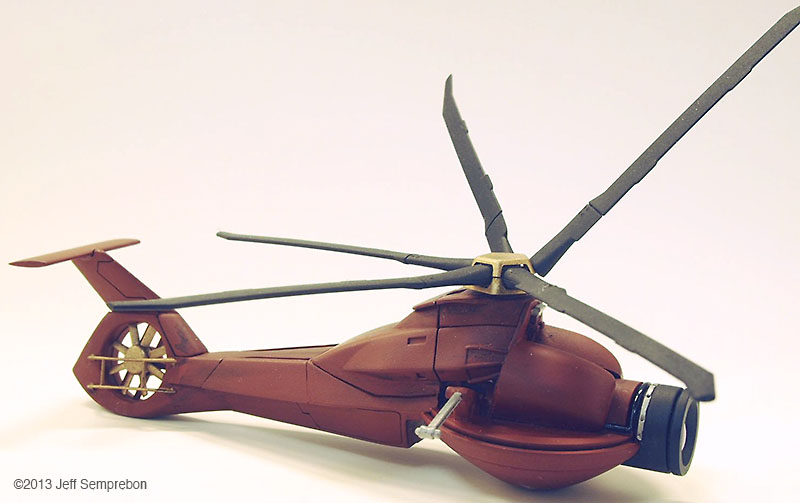
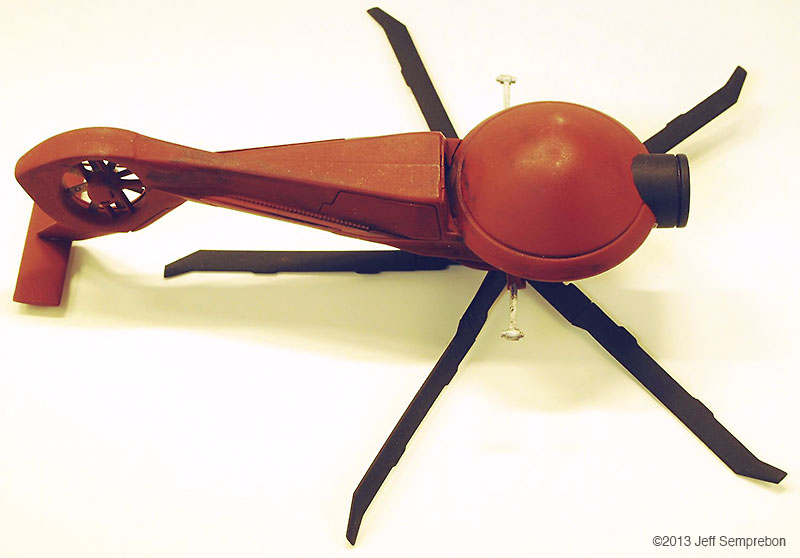
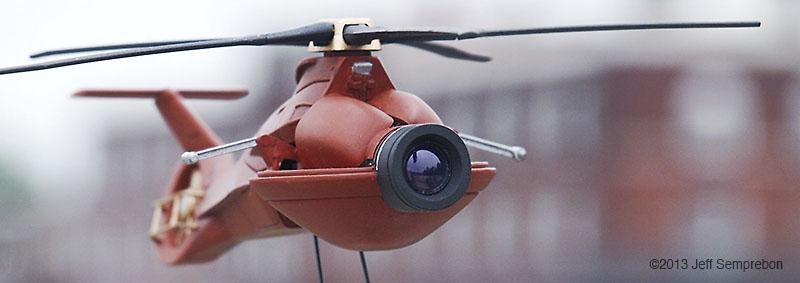
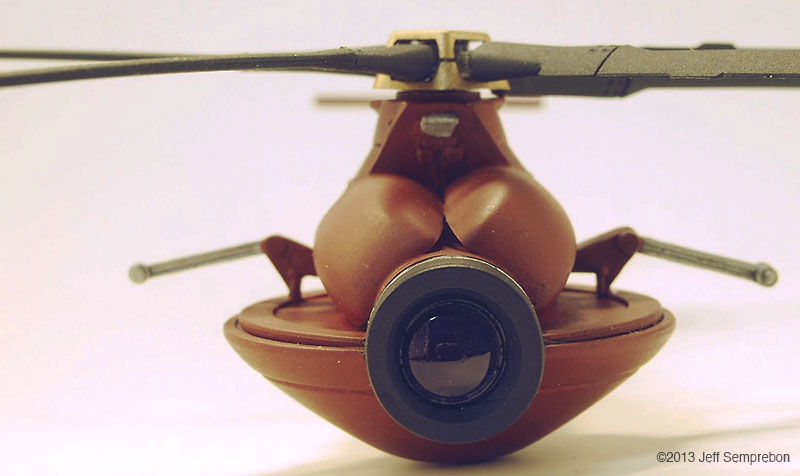
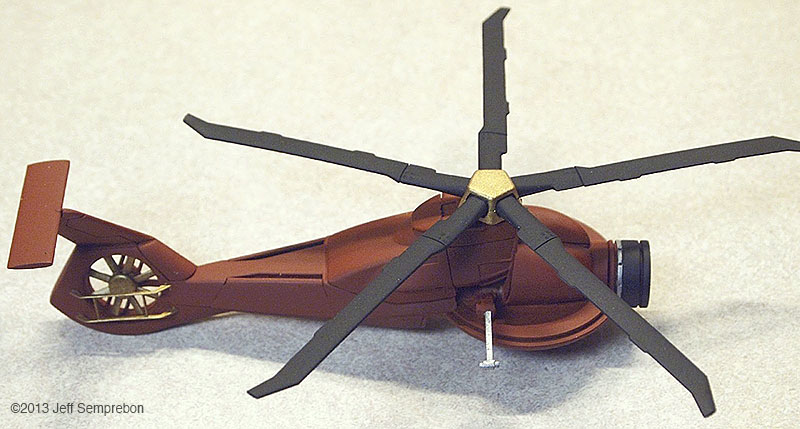
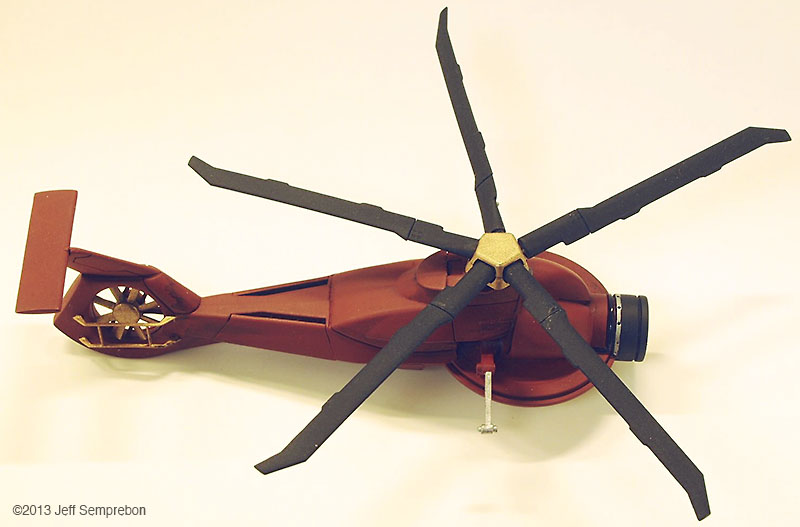
The head looked a bit sparse, needing more bulk to house the presumed equipment to operate the camera eye. After dry-fitting various parts, a couple of 1:200 Space Shuttle Orbiter engine fairings were selected. These were sanded to fit against the eye cylinder and then cut at an angle to rest against the bulkhead. To add a bit more of an insect-like look, a couple of silver-painted greeblies were attached sticking out the sides. I believe that these were part of the brake gear of a 1:25 Matchbox Freuhauf tank trailer. Another piece from the scrap box was used to fill in the blank spot at the top of the bulkhead. The resulting assembly was sprayed with Krylon red oxide primer. Once the base coat had cured, all but the camera portion were masked off and the camera sprayed flat black. After touching up some details with brush-applied silver paint, the body was given a (rather sloppy) dark wash. Since the camera eye is the focal point of the model, I wanted something particularly transparent looking for the lens. The lens was cut from a 'googly eye', a plastic eye craft item consisting of a white background sealed to a shallow clear dome, with a black plastic pupil rattling around inside. These are available at craft stores, but if you know anyone with children in daycare or kindergarten, they frequently can be salvaged from art projects (like foam shapes, glitter, and colored feathers, daycare providers love to have the children glue these 'googly eyes' onto their projects to make the paper harder to recycle). The clear dome was cut off from the white background around the perimeter, using extreme care as the rounded shape made it difficult to get a grip, and required moving the knife towards one's fingers. Once free, the clear dome was given two coats of clear acrylic finish ("Pledge with Future" brand flooring finish) which had a small amount of purple acrylic paint mixed in to give the appearance of an anti-reflective lens coating. The lens was then set in place and secured with an additional application of the clear acrylic, and the model declared complete. For "in flight" photos, an ungainly construction was formed of two lengths of piano wire held apart by a drilled styrene strip at one end and inserted into a small block of wood at the other. The wood block was fitted with a 1/4" x 20 T-nut to allow it to be mounted to a conventional photography tripod to support the model at the desired angle. The wires fit into small spaces between the droid head and the helicopter fuselage, and will eventually be removed using digital processing in the final photographs. A final modification was made after the rotor blades (never secured to the fuselage) had been dropped a couple of times. Simply gluing them back on proved to be insufficient due to the small surface area available, so the two blades currently broken off were reattached with strands of copper wire dipped in CA adhesive and then inserted into holes drilled in the hub and the base of the blade. This allowed the blades to be bent for a battle damaged appearance (perhaps after the drone met with a large flyswatter). Assembly Image: Front Image: Lens Image: Parts Image: Base Coat Final Image: Blades folding Image: Bottom Image: Left Folding Image: Lens Image: Front Image: Front Left Image: Front Right Image: Left Folding Image: Lens Image: Right High Image: Top |
|
![]()
Starship Modeler Home | Site Map | Gallery Main Page | Feedback
This page made possible by Starship Modeler™ - copyright © 2013.