Enterprise D Bridge |
|
By George Hill |
|
|
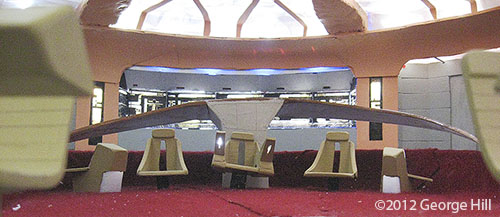
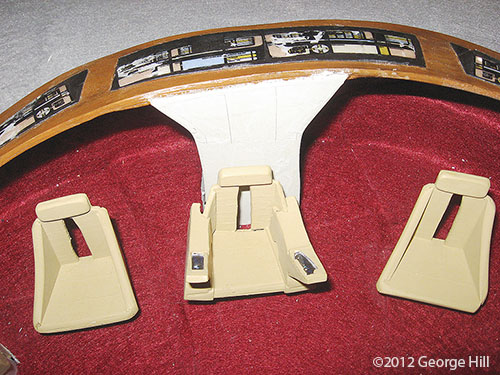
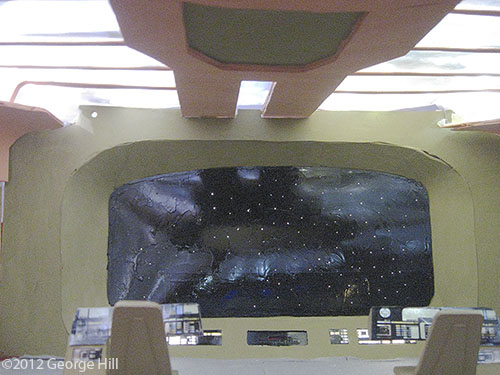
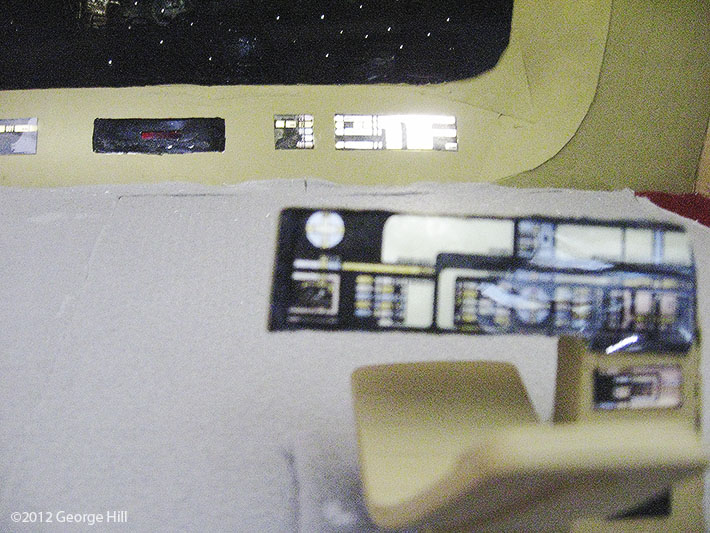
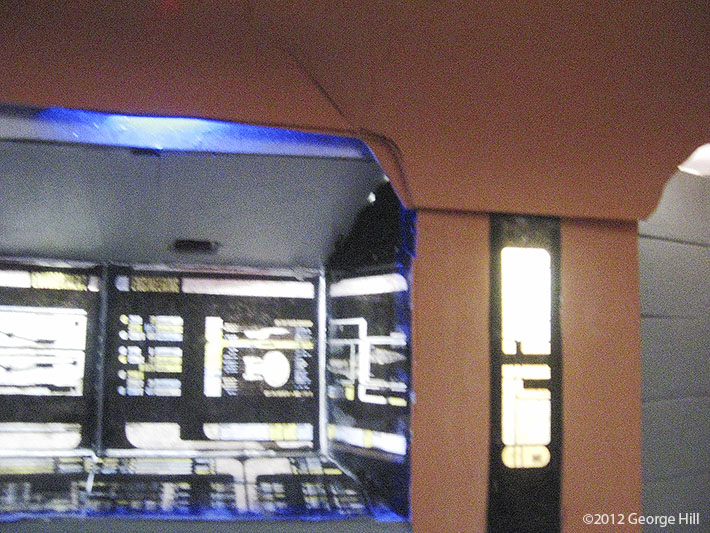
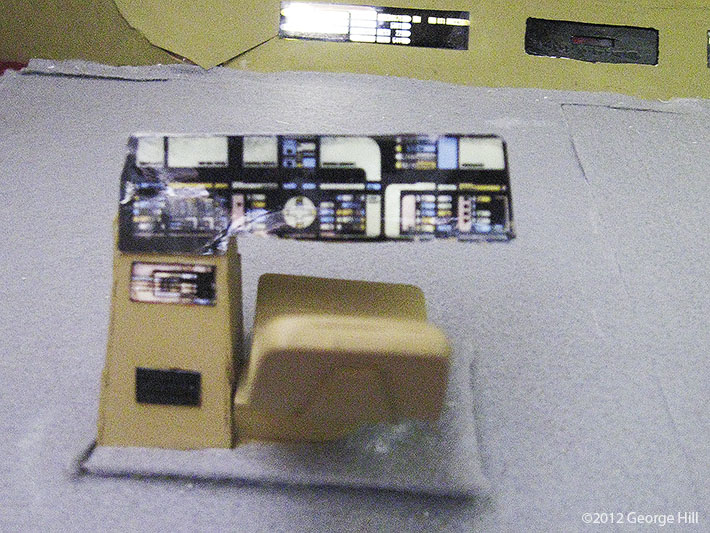
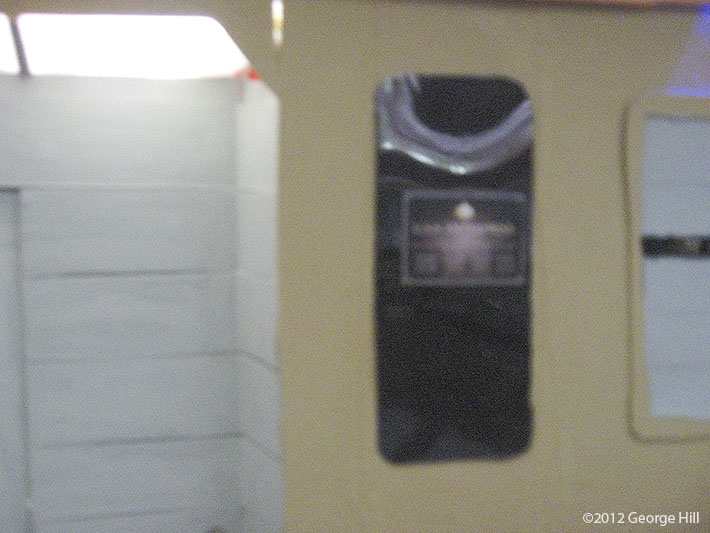
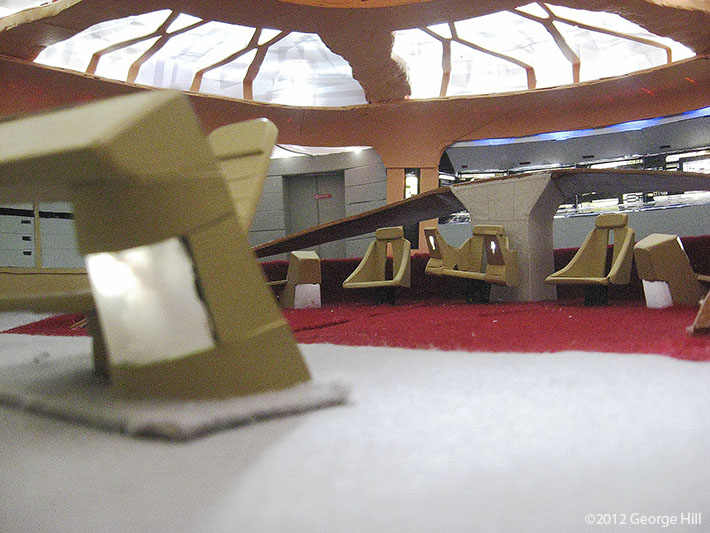
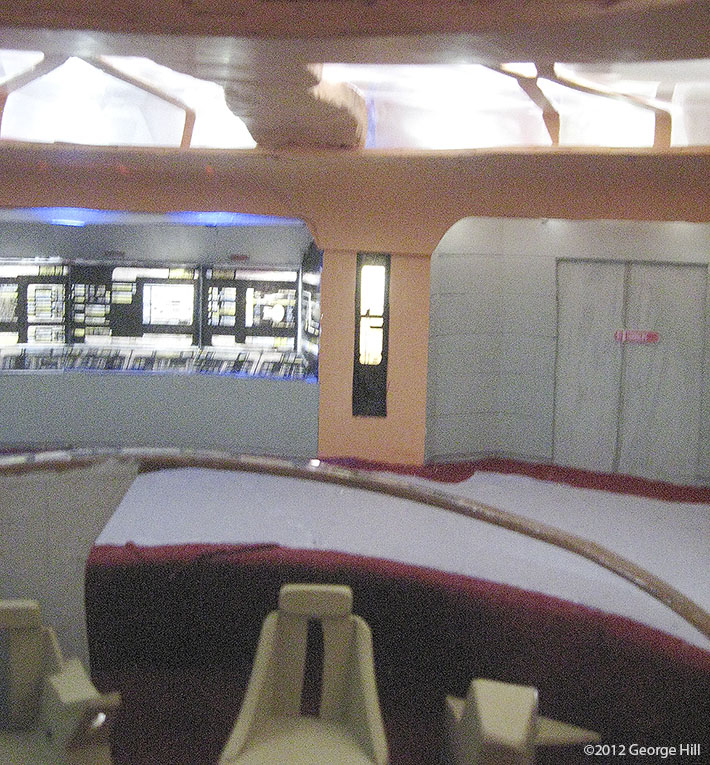
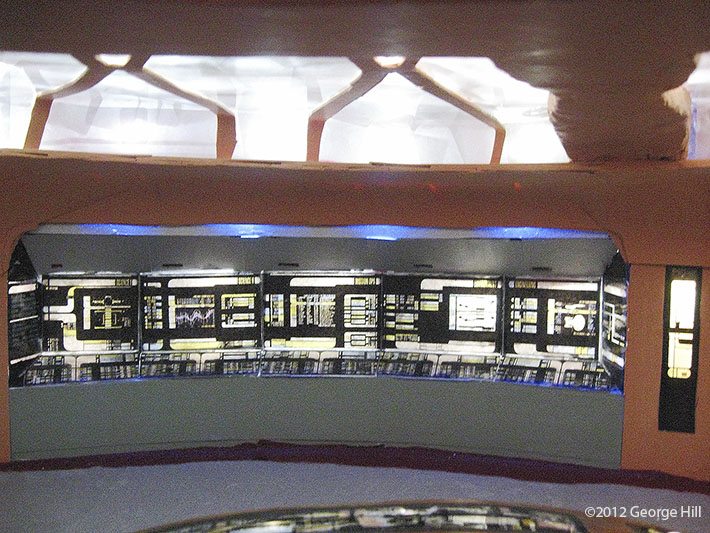
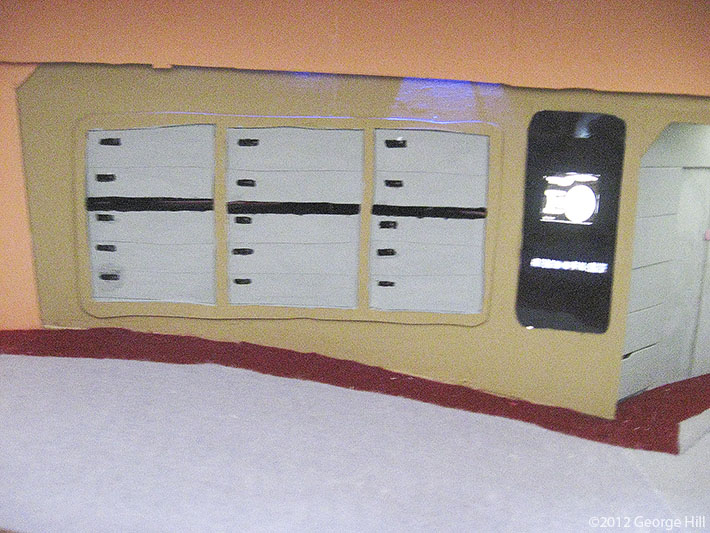
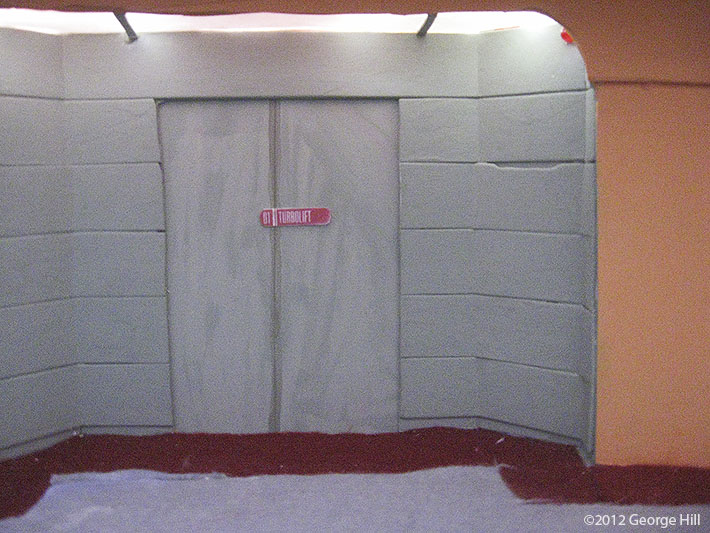
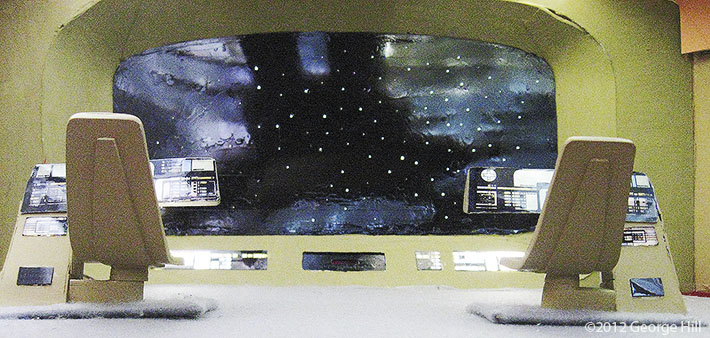
I always wanted a model of the Enterprise-D bridge, but there was never a kit available, so I decided to scratchbuild my own. It is in scale with my Playmates TNG Action figures from the 1990s. This has been a project I have been working on for the last two years. It has practically taken over the living space in both my old and new apartments. The model measures 4 feet by 4 feet by 14 inches, and is primarily made of styrene sheet, with a foamboard floor and felt carpeting. I began by scouring the internet for a floorplan of the bridge. After finding one, I blew it up, printed it out, and taped all the 8.5 by 11 sheets of paper together. While I was doing this, my wife saw me and asked "Just how big is this thing gonna be?!?" I made her a deal that if she let me build it, I would build her a fantasy castle next. I then built the floor, and traced the floorplan in to the foamboard. From there, I worked on the Tactical railing, the Ops and Conn stations, and the chairs. Using a combination of reference material, screen captures, and the very helpful Ex Astris Scientica website, I built up the walls. Because the LCARS displays are all backlit, I could't simply use decals for them, so I again scoured the internet and found some beautifully rendered images of all the displays. I shrunk the pictures to scale, and used superglue to glue them face down to pieces of clear plastic. (You can see some white lines on the tactical displays, because they were the first ones I did and didn't quite have the hang of it yet.) The Dedication Plaque was done in a similar way, only it was glued face up to a piece of styrene. The Viewscreen stars and the sequence lights below it are done with fiber optics. The Red Alert lights under the viewscreen, on the side panels, and above the aft consoles all flash when you trip the "Red Alert" switch. |
|
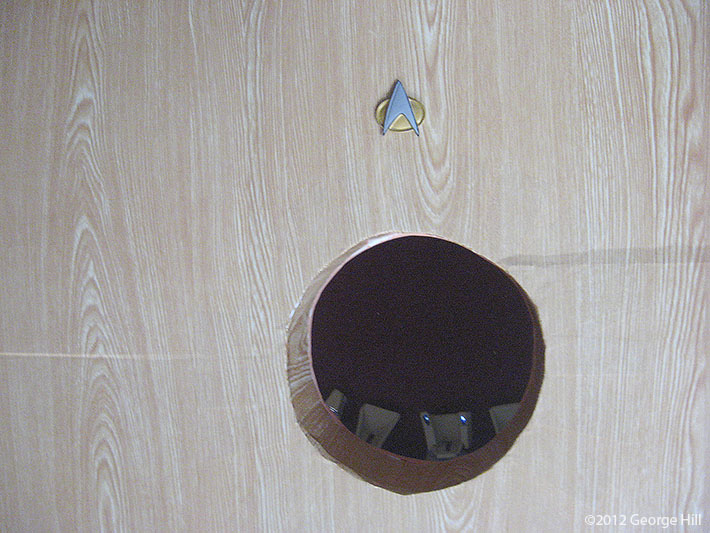
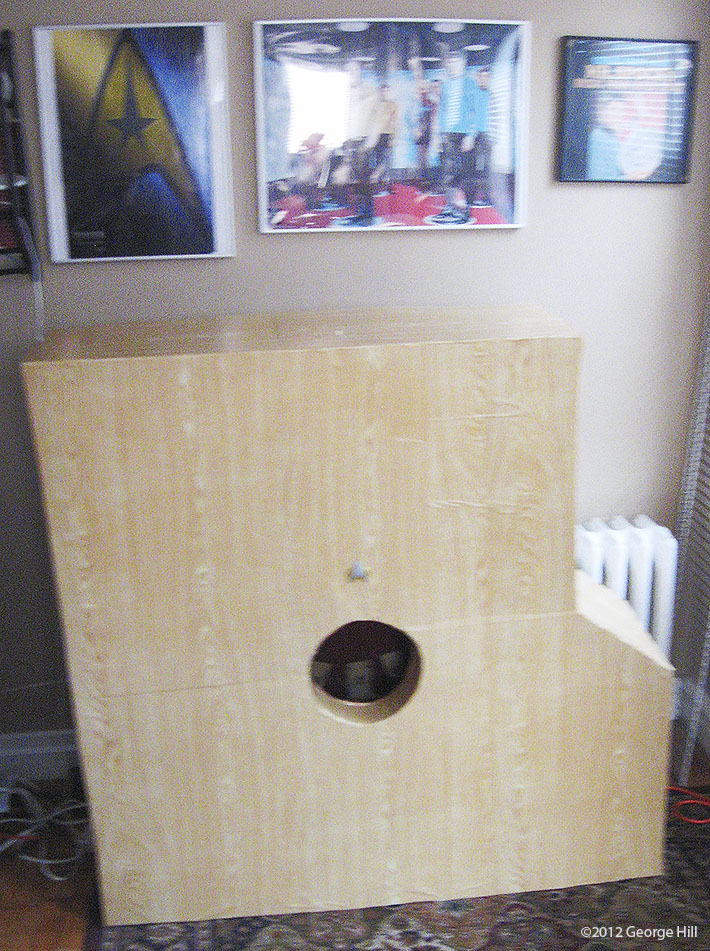
The biggest pain to do was the ceiling. To create it, I cut the circular piece out of 9 sheets of styrene. I connected the circular part to the four support arms, which were made from countless pieces of styrene glued side by side, then sanded to the right shape, filled with putty, and sanded again. The projection that connects the viewscreen to the circular piece was built in a similar way to the circular part, and two layers of styrene are actually common to both the circular part and the projection. I then glued the support arms to the "shelf" I had created that rings the top of the walls on the bridge. Finally, I added single styrene strip pieces to fill in the details, and then I glued clear plastic sheeting to the whole thing. I glued some paper in to make it look like the translucent plastic it seems to be on TV. Lighting the ceiling was a nightmare. There are something like 100 LEDs in there, held in to position by styrene strips, most of which are less than 1/2 inch apart. To magnify the lighting effect, so that I wouldn't have to put 200 or 300 LEDs up there, I glued aluminum foil to the styrene strips to reflect the light. To finish, I enclosed the whole thing in foamboard, and covered it with a wood-print shelf liner laminate. Finally, I glued one of my TNG Communicator pins to the outside. The model is standing sideways, and you can see it by sticking your head in the hole at the top of the bridge over the captains chair. The effect really looks cool. I toyed with the idea of wiring up some sound effects, but I could't seem to get them to play reliably, so I said "forget it" and just have to imagine it. (Probably just as well, because my Parakeet was starting to imitate the "Red Alert" sound anyway.) There were a few details I got wrong (the slant of the Tactical Console, the smooth transition from support columns to ceiling, the fact that there is no replicator near the ready room and there should be, etc.), but after two years, and who knows how much on supplies, I'm happy with it. Now it's time to build the fantasy castle! Image: Communicator Image: Con Image: Engineering Image: Ops Image: Outside Image: Plaque Image: Ready Room Door Image: Rear Image: Back Consoles Image: Side Panel Image: Turbolift Doors Image: Viewscreen |
|

Starship Modeler Home | Site Map | Gallery Main Page | Feedback
This page made possible by Starship Modeler™ - copyright © 2012.