
Ma.K Melusine |
|
By Collin Davis |
|
|
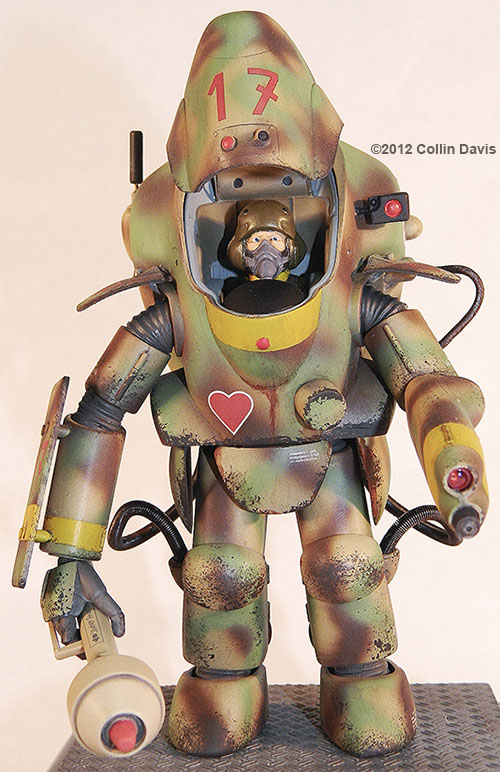
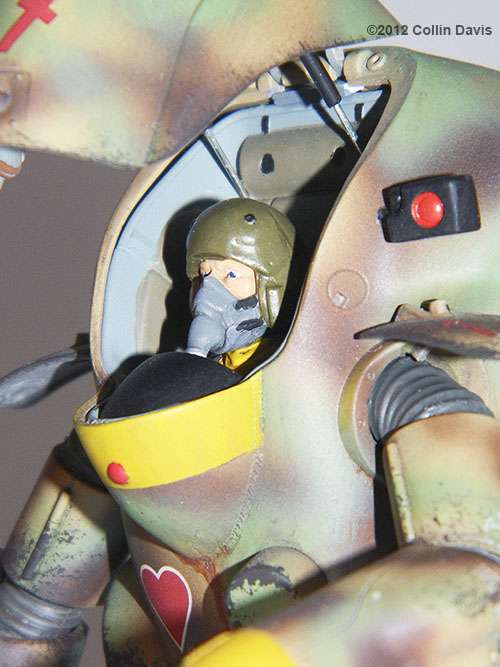
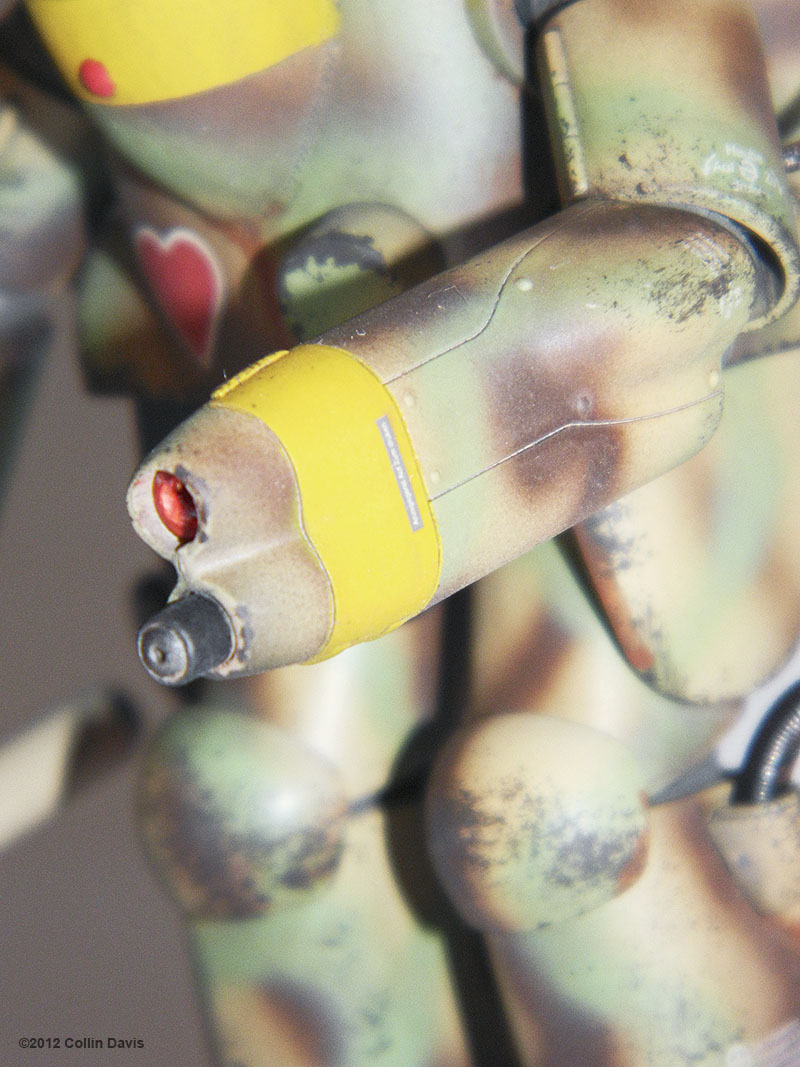
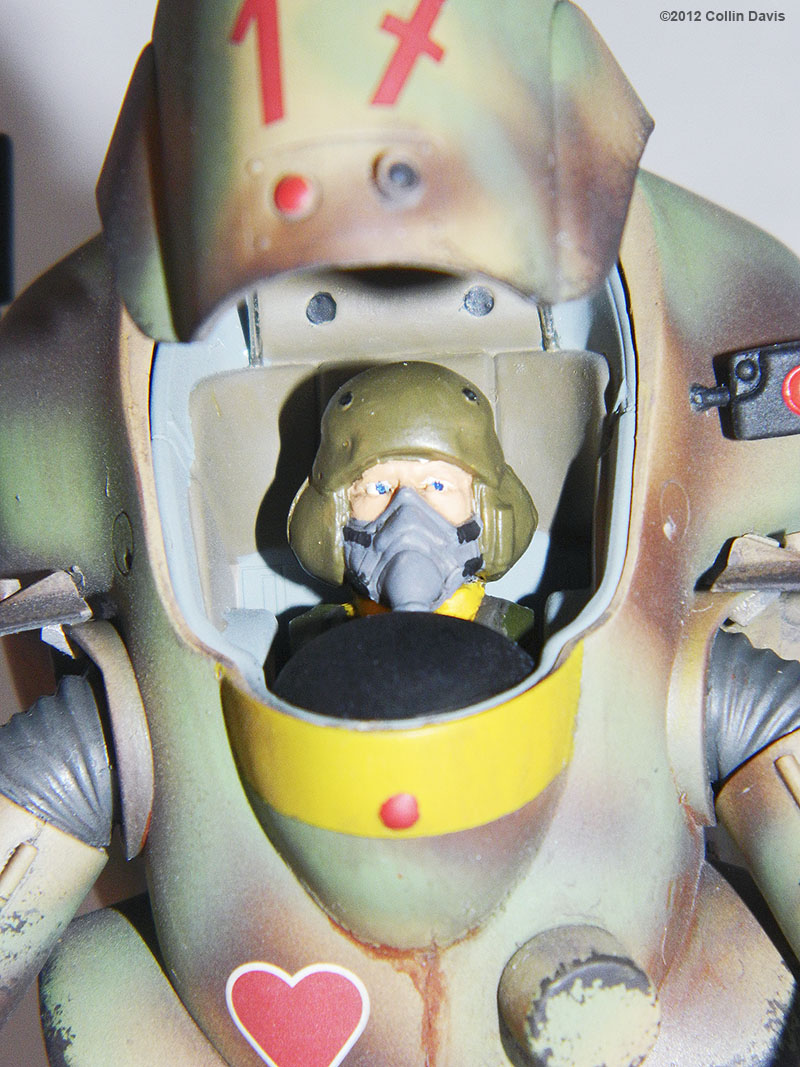
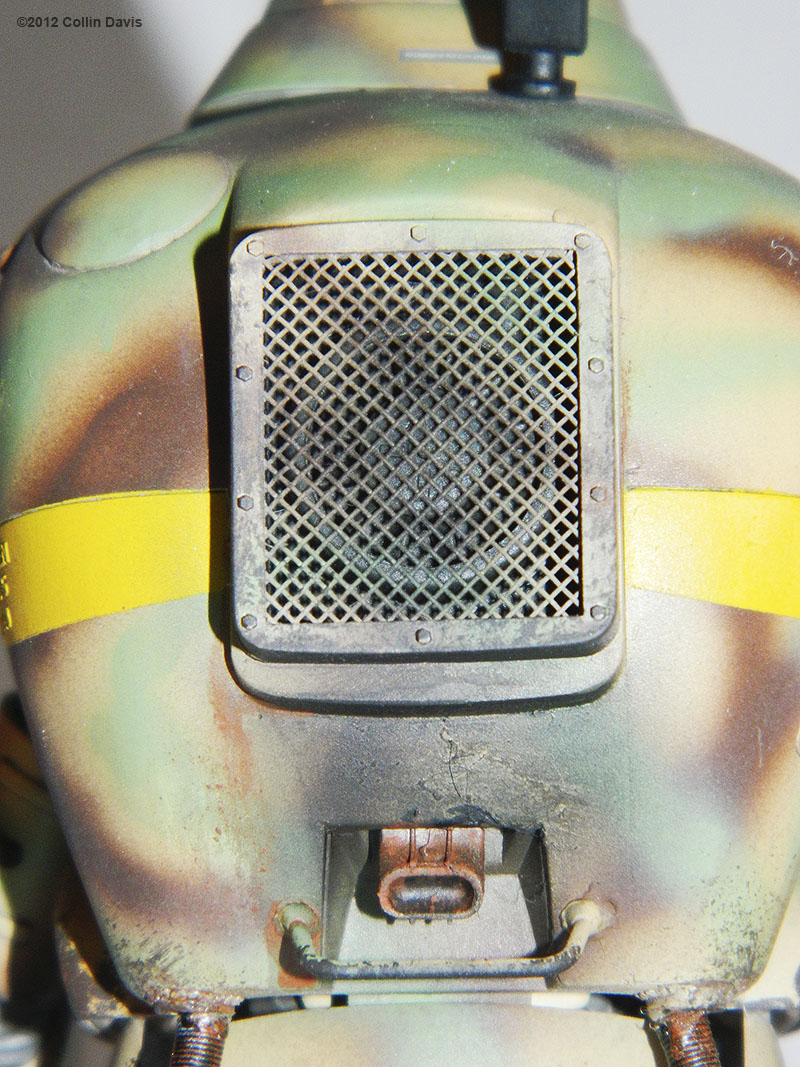
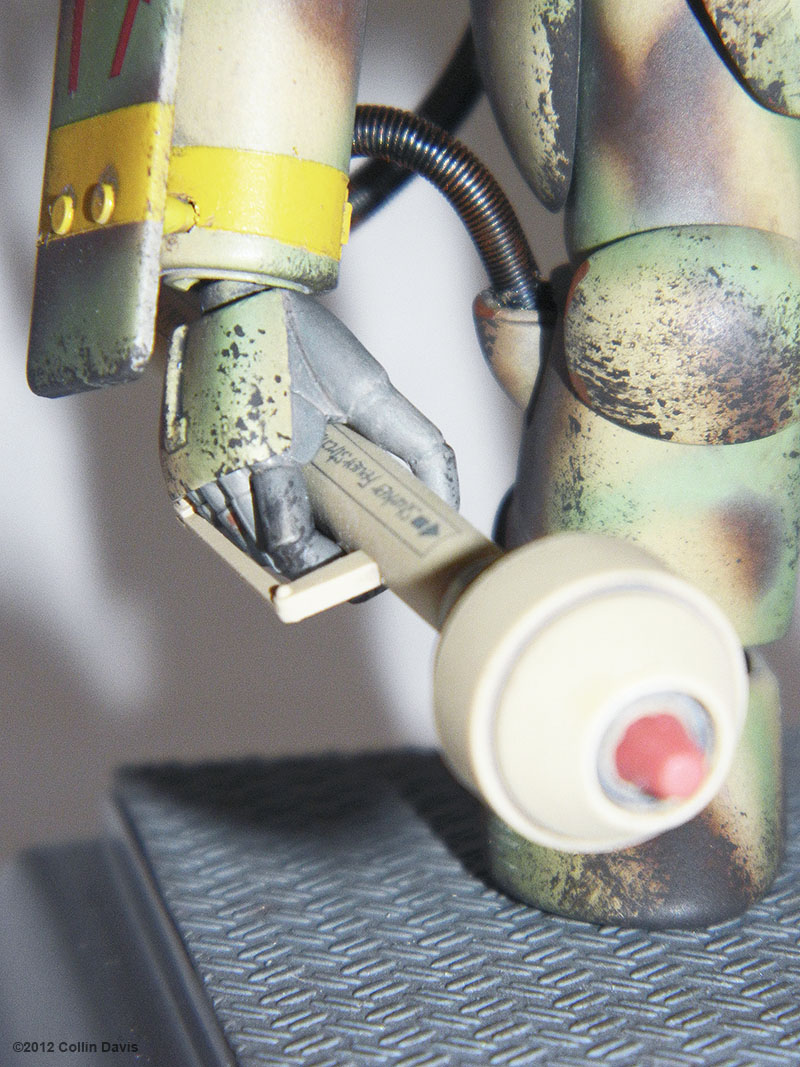
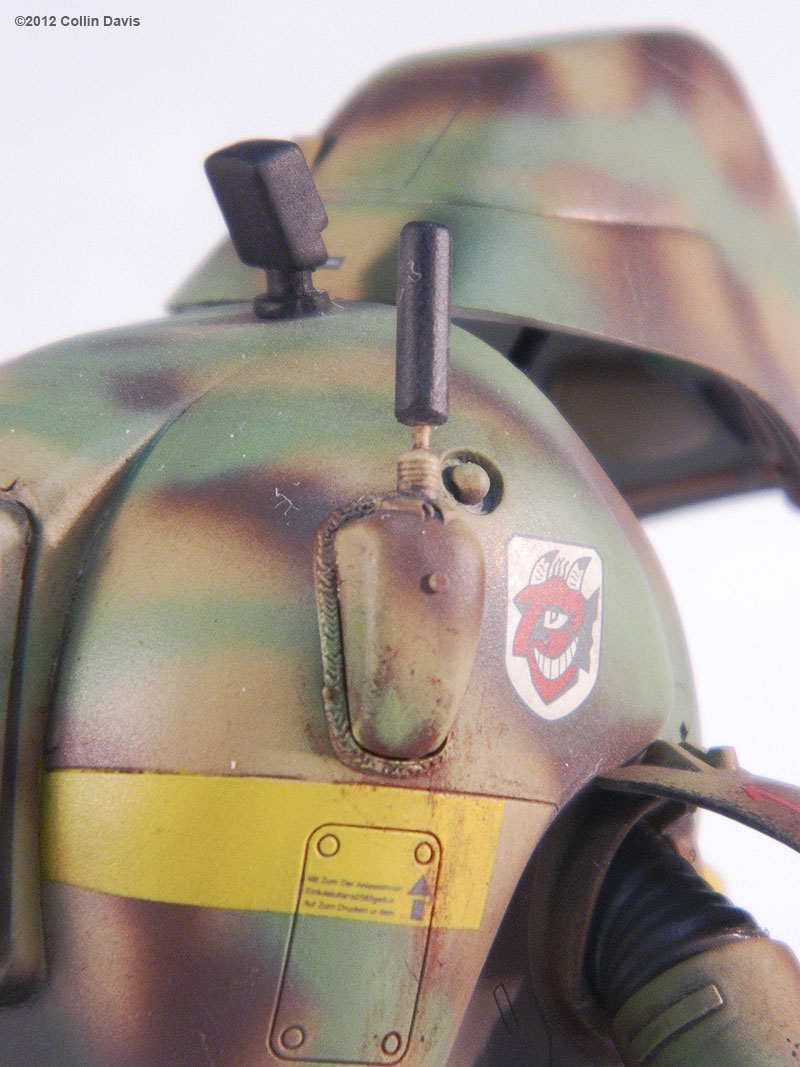
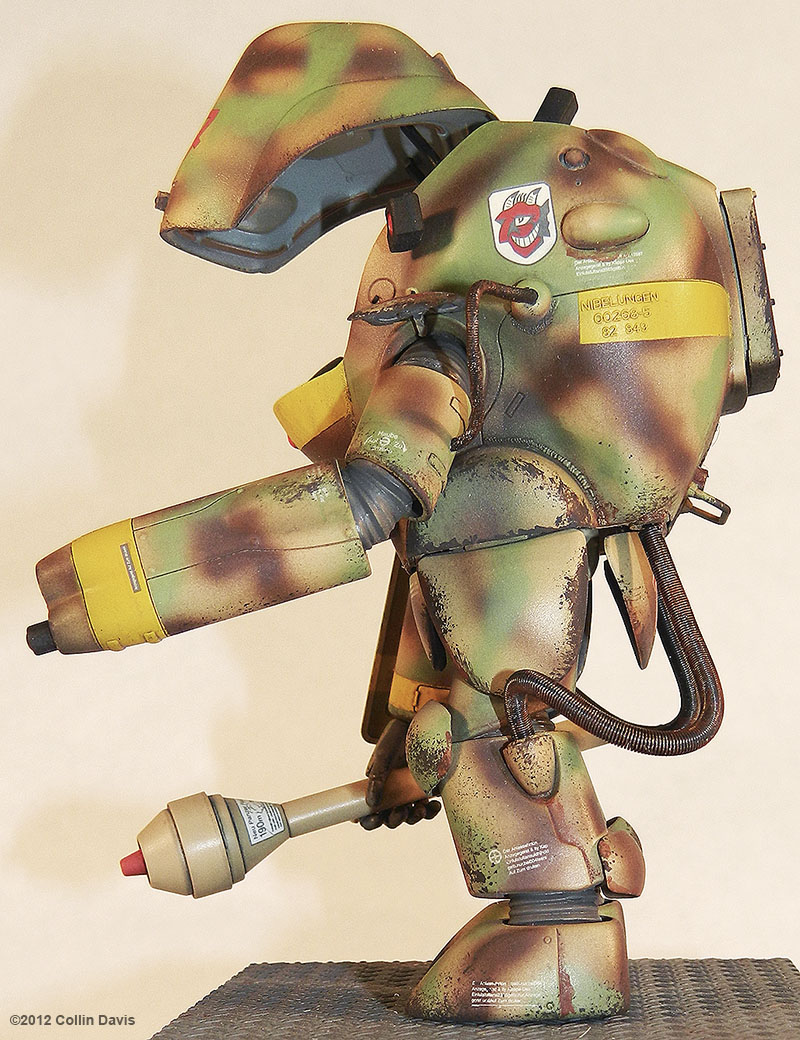
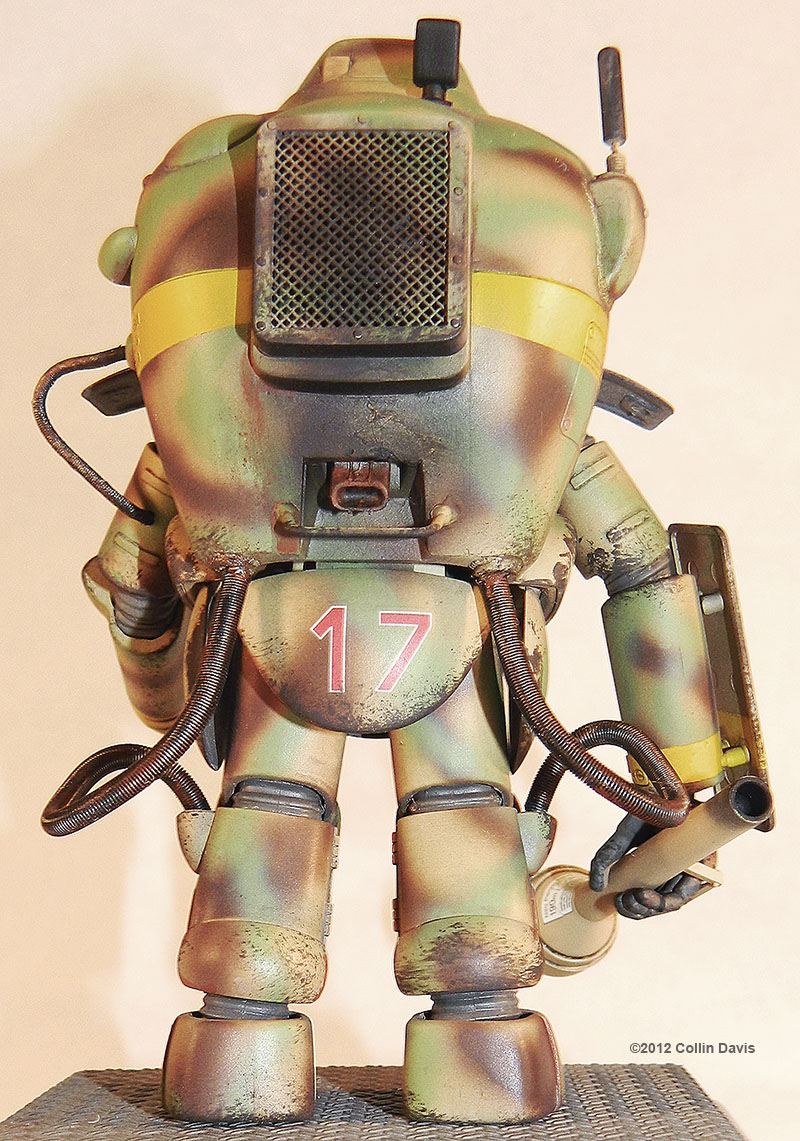
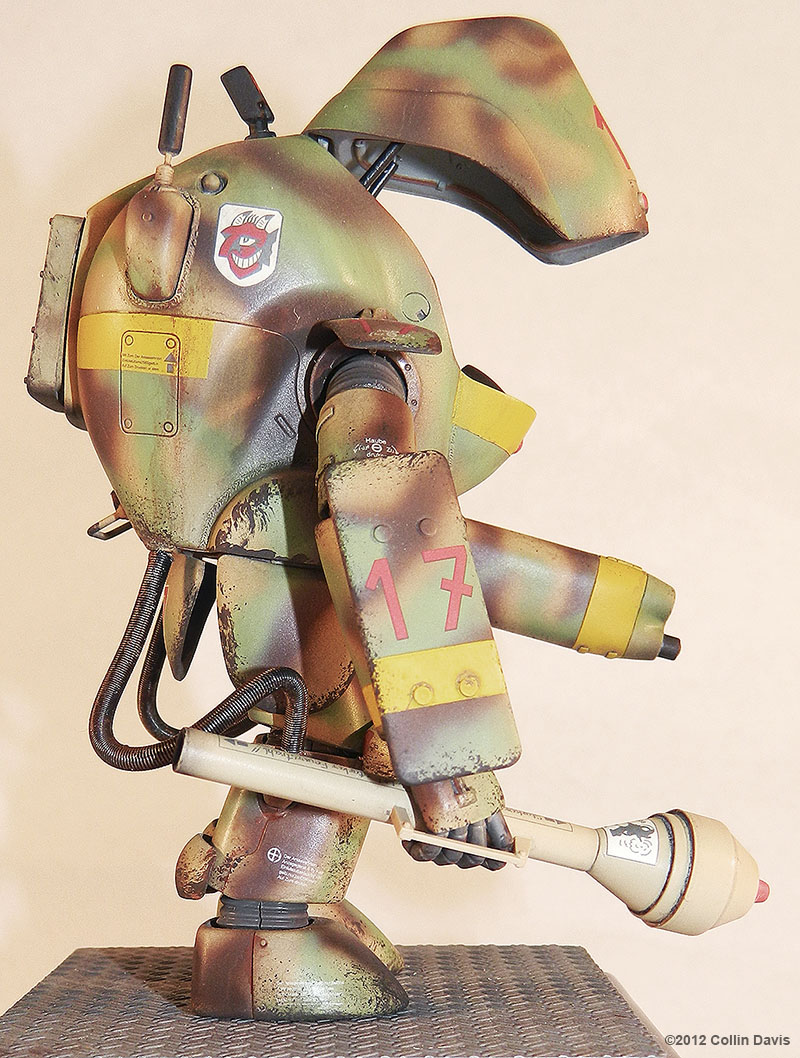
This is the Melusine Panzer Kampf Anzug (PKA) Ausf M. It was designed by Kow Yokoyama as part of his Machinen Krieger (Ma.K.) series of kits. This kit was made by WAVE Corporation and is one of their 3Q kits. With this kit WAVE gives you an entire old NITTO Gustav plus a newly tooled upper body with interior and pilot. Unlike WAVE's other newly tooled Ma.K. kits, this one is not a snap fit kit and requires glue. With the recent release of WAVE's new Ketzer PKA Ausf K-4, I could see an opportunity to combine the new arms and legs from the modern Ketzer kit with the newly tooled Melusine body components to get a Melusine with all newly-tooled parts. The new WAVE tooled Melusine body, interior, and pilot are excellent, often employing slide molding and offering incredibly high detail and level of precision. All molding is crisp and sharp. There is never any flash. Parts alignment is effortless. The new Ketzer is a joy to behold. Like all modern WAVE kits it is a snap together kit. Every effort has been made to conceal seams. I glued mine together and after sanding the bead of glue expelled when the parts where pressed together, I discovered that no additional seam filling was necessary. The new and old parts fit together like they were designed to be combined. The only exception was where the arms inserted into the body; I needed to increase the diameter of the pegs to make them stay put. I painted this kit with Mr. Color lacquer based acrylic paints. I coated the entire model with Super Clear III #GX100 with my airbrush. I got a high gloss finish upon which the decals adhered perfectly with absolutely no silvering. I used MicroSet and the results were perfect. Over the decals I applied a second coat of Super Clear III. At this point I tried to do the panel lines using Testors flat black and lighter fluid. It came out great, with vivid dark panel lines that were lost when I did the dot wash. Next I applied Flat Clear #182 with my airbrush for a nice flat finish. I then did a dot wash using Testors enamels. At this point I used a sponge dabbed in Mahogany #42 to apply the paint chipping and scuffing. I did a final wash with Winsor & Newton Ivory Black and Burnt Umber diluted in Mona Lisa odorless paint thinner. One final coat of Flat Clear #182 and I was done. The base is just Plastruct diamond plate sheet styrene on a wooden plinth. I am moderately happy with the result. Image: Left Arm Image: Pilot Image: Engine Grill Image: Right Hand Image: Right Rear Image: Left Image: Rear Image:Right
|
![]()
Starship Modeler Home | Site Map | Gallery Main Page | Feedback
This page made possible by Starship Modeler™ - copyright © 2013.
