
Battlestar Galactica |
|
|
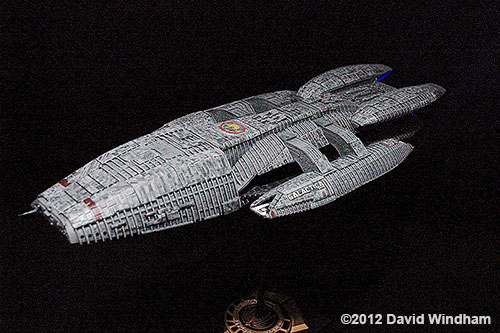
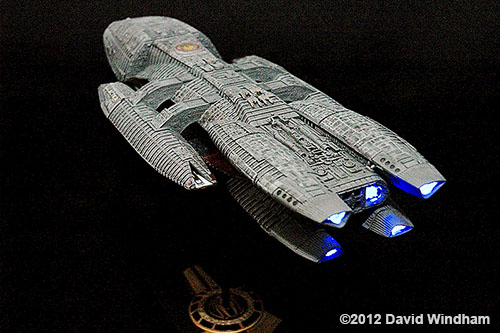
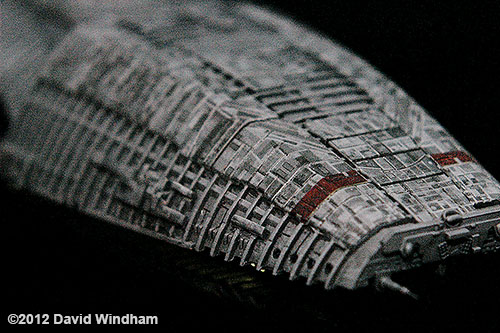
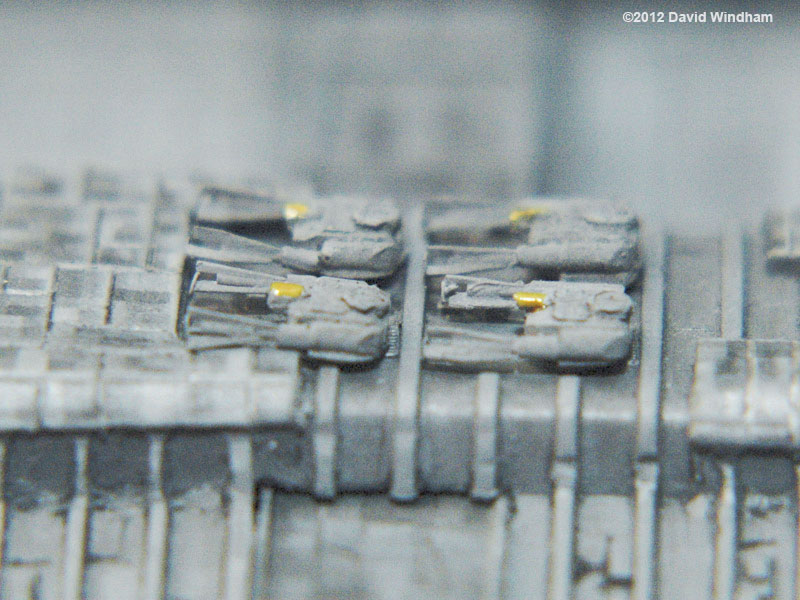
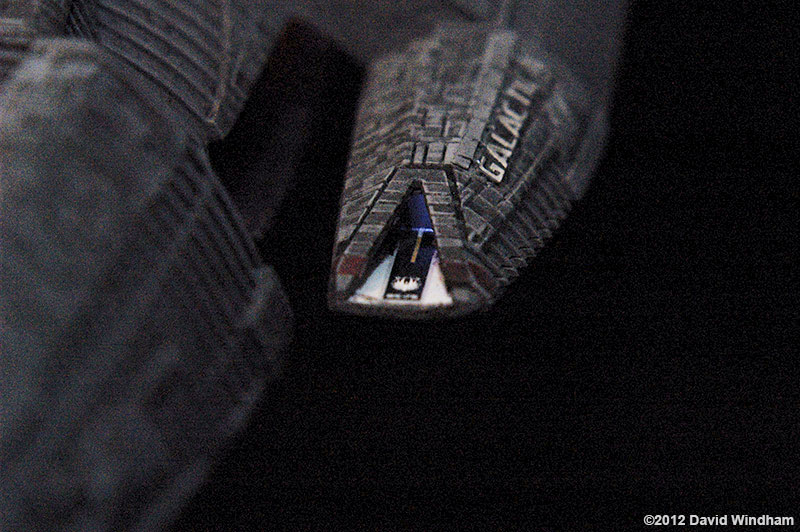
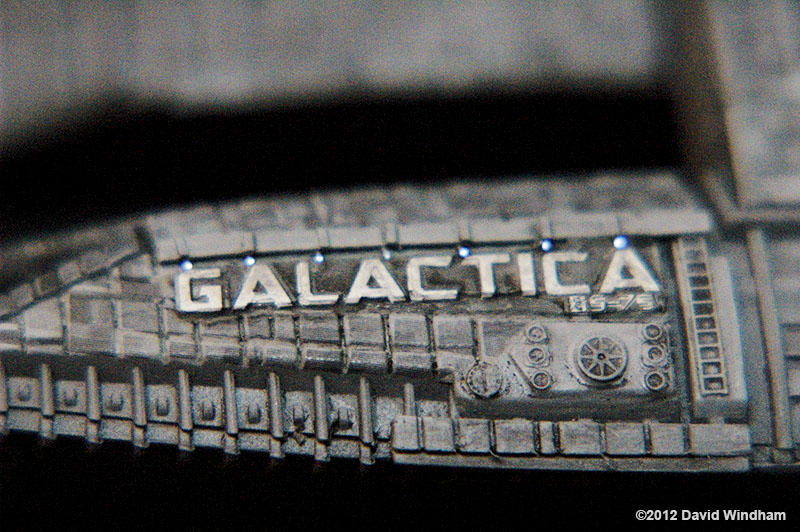
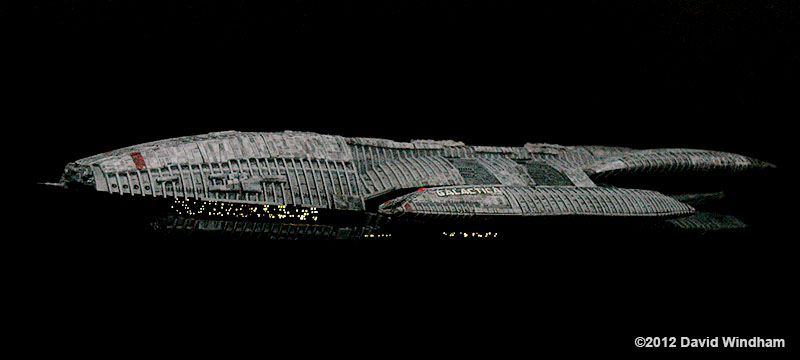
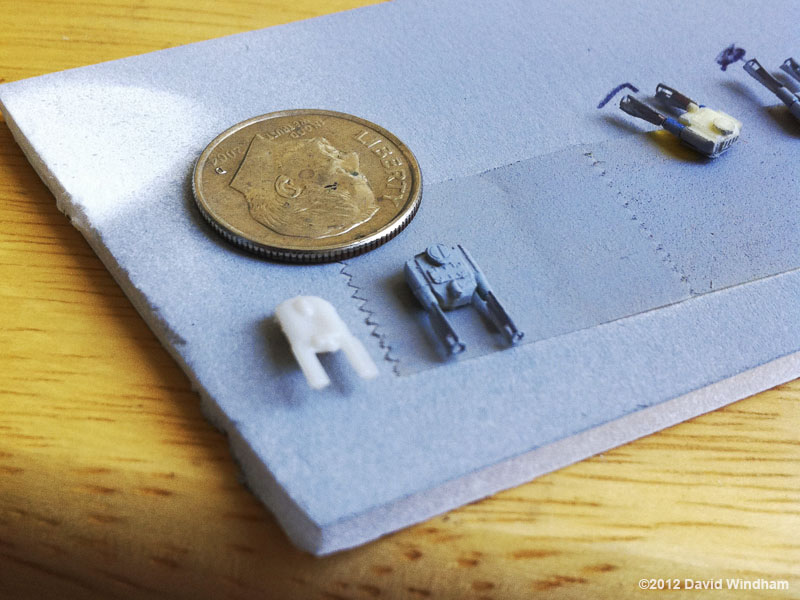
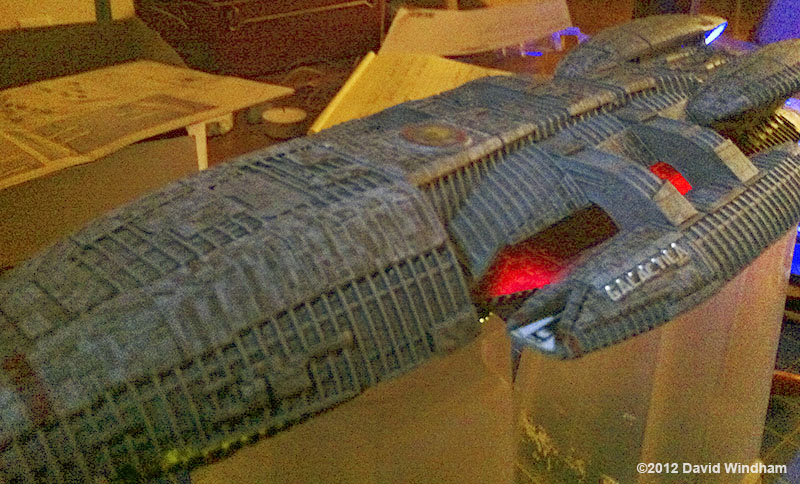
Oh, the Bucket. I remember waiting and waiting for this kit after the original release date had past. When it finally came out I was in no position to buy it. Bummer. Finally picked it up last year. And then, what to do with it. I was just getting back into modeling so I thought I'd go for straight out of the box. But that never works for me. So I ordered all the PE and decal sets I could find. I also decided to light it and made up my own system for that. I also found out everything that was wrong with the kit. Ughh. I fixed as much of the amour panels as I could and there were some annoying seam lines that were tricky but I got it all to my satisfaction. Lighting: I'd already started some construction before I decided to light the thing. Not recommended!! Had to do some tricky wire fishing. I used yellow tinted fiber optics for the window lighting on the front sections. There are recessed red LEDs in the hangar retraction areas. Some LED's in the hangars with some fiber optics running to the name plate area. I tried to get the angle as seen in the show but didn't quite get it to work. Still looks ok to me. And some blue LEDs for the engines. This was before I discovered the flickering votive candle trick (see my Viper Mk II entry) so they are a steady blue. Detailing. As mentioned, I carved out in between the ribs where needed as much as I could and added some greeblies. Added the PE museum windows on the starboard hangar. And added a bunch more antennae on the front section. I didn't use the ParaGraphix Hangar details but added my own ribs inside. Since it's all very hard to see anyway... The main guns were a different matter. The kit ones were lame, the PE ones were lame and the Timeslip ones were out of stock. So I decided to make my own. They say the definition of insanity is performing the same task over and over expecting a different result. In our world of modeling, I think it's performing the same task over and over again and requiring the same result. So, I fashioned a base for the gun using styrene and some old WWII PE and cast what I needed in resin. |
|
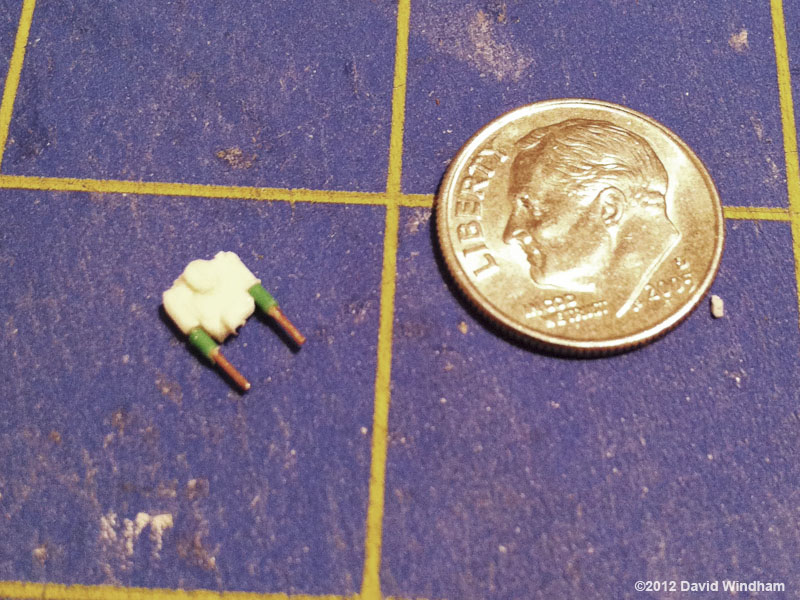
For the gun barrels I use 24ga wire and stripped a bit of it off. (See pic) Once that was done I cut a whole bunch of very thin, very small styrene triangle for the fins/blades on the front of the cannons and then used some 1/350 PE naval life rings for the front. For 24 guns. I'm just glad Blood and Chrome hadn't aired yet cause I would have wanted to do the fully armored, fully armed version! Overall painting was Tamiya light sea grey and light ghost grey on the armor. I then used Acreation's amour plating decals. A bit of turpentine wash and she's ready for action. Now I am eagerly awaiting the Beast to go along side her. So say we all. Image: Guns Image: Hanger Image: Nameplate Image: Front Left Image: Left Image: Gun Construction Image: Gun Assembly Image:Light Test |
|
![]()
Starship Modeler Home | Site Map | Gallery Main Page | Feedback
This page made possible by Starship Modeler™ - copyright © 2013.