
Presidential Escort |
By David Aungst
|
|
|
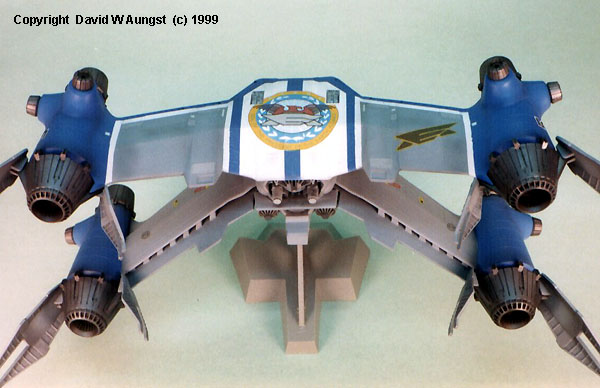
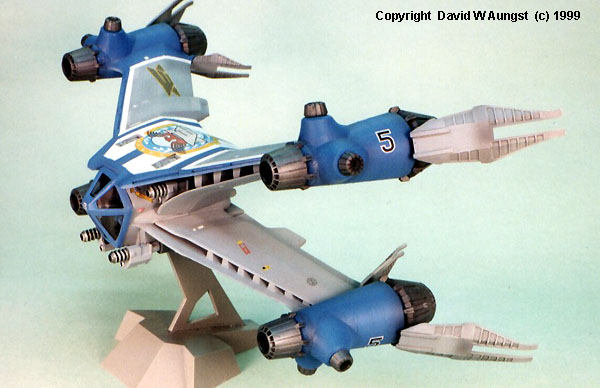
The first model is easily recognized as one of the versions of the Presidential Escort ship. I found that Model Master Bright Blue (F.S.35183) looked about right, like the ships in the TV show looked, so I used it to do the blue. The only modifications to the markings that I made were to extend the white area down the middle of the ship to the trailing edge of the upper wing and to add numbers to the thruster pods and to the "nose". I can't figure out how any pilot in B5 knows "his" ship from the rest without some easily seen numbers. I also added some rescue markings around the cockpit area. I purchased these kits (this one and Blue 3) when they first hit the market. With the exception of drilling out the laser cannon barrels, they are both built right out of the box. I read the Building a Better Starfury reviews and just did not feel the work was worth it (my real love is aircraft, not sci-fi or spacecraft). |
|
Our model club held a contest amongst ourselves to build the Revell Starfury kit and see who could do the best. Neither of these won, but I still had a blast building them. All the major color patterns on the ships were masked and painted using an air brush and Model Master enamel paints. The lightning bolts on the black and yellow ship were particularly challenging, as I wanted to maintain a white border around them. The main gray overall on each ship is Dark Ghost Gray (F.S.36320) with a few odd panels painted in Light Ghost Gray (F.S.36375). I liked these colors better than the gray that the instructions called for. The decals from the kits were ... well ... poor. Like all the reviews I have read, my examples did not react well to setting solutions, not even the powerful solutions like Champ. I ended up thinning down some clear lacquer and applying so it would run under the decals and minimize the silvering. This was only a marginal improvement, though. I spent 37-3/4 hours building the pair. I had very little trouble constructing and painting them. Decals presented the most trouble of the whole project. The real challenge was in figuring out how to handle the models once all the big "paddles" were in place. And then, how to keep them mounted on the cheesy display stands that came in the kits (the members of my model club were more interested in how I got the stands to work than the actual models). I give this kit:
|
|
![]()
Starship Modeler Home | Site Map | Gallery Main Page | Feedback
This page made possible by Starship Modeler™ - copyright © 1999.
![[Top View]](da_14.GIF)
![[Front View]](da_11.GIF)